If you’re wondering ‘how to do a timeline in PowerPoint’, then this guide is for you. Keep reading to discover how to insert a timeline in PowerPoint with step-by-step instructions, understand its limitations and why Creately is the best alternative.
What is a Timeline in Microsoft PowerPoint?
A timeline in Microsoft PowerPoint is a visual graphic that displays key events, milestones, or stages in chronological order. It’s widely used in presentations to illustrate project schedules, business plans, or historical progress in a simple, engaging way. PowerPoint’s SmartArt feature offers built-in layouts like Basic Timeline or Circle Accent Timeline, allowing you to add dates, descriptions, and customize colors or animations to reveal events step by step during your presentation. While this method works well for straightforward visuals, it can become tedious when managing complex projects, frequent updates, or collaborative edits.
How to Make a Timeline in PowerPoint
You can learn how to put a timeline in PowerPoint with SmartArt by following these steps.
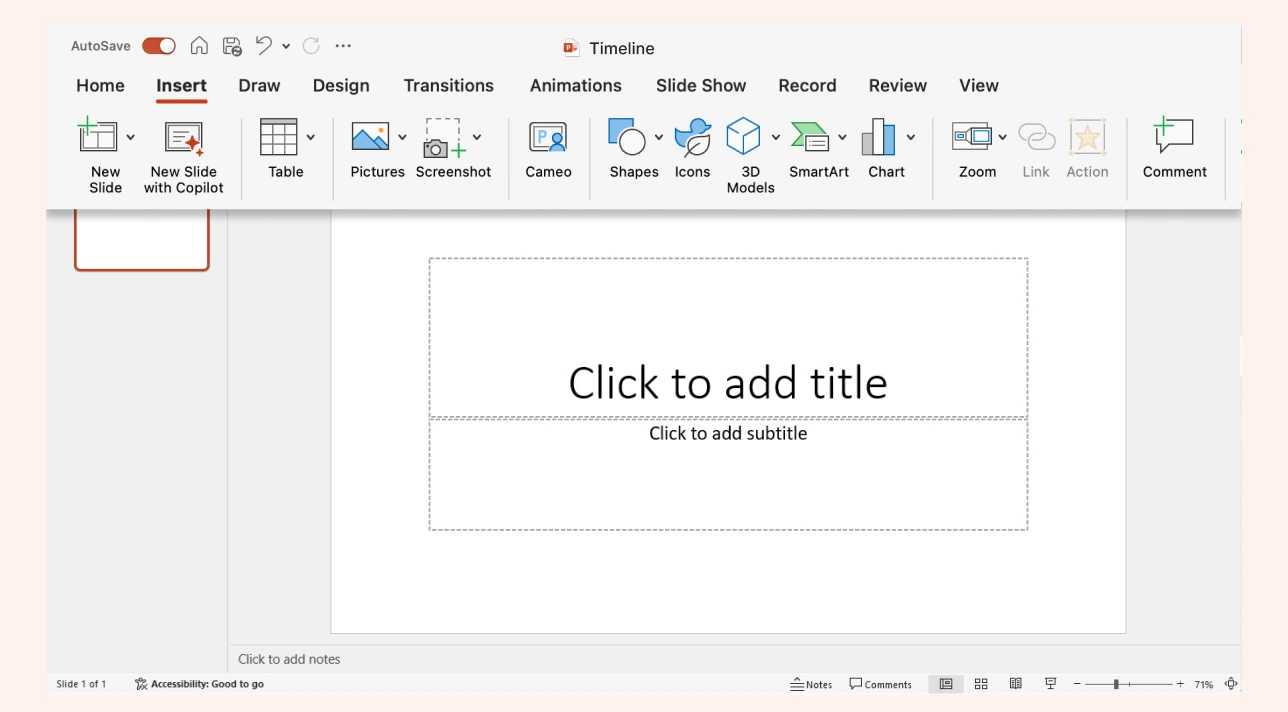
Step 1: Open PowerPoint and Insert SmartArt
Open your presentation and navigate to the slide where you want to add the timeline. For best results, start with a blank layout to maximize space. Then go to the Insert tab on the ribbon, click SmartArt in the Illustrations group, and open the Choose a SmartArt Graphic window.
Note: PowerPoint’s workspace is fixed, so if your timeline has many milestones, spacing can become tight quickly.
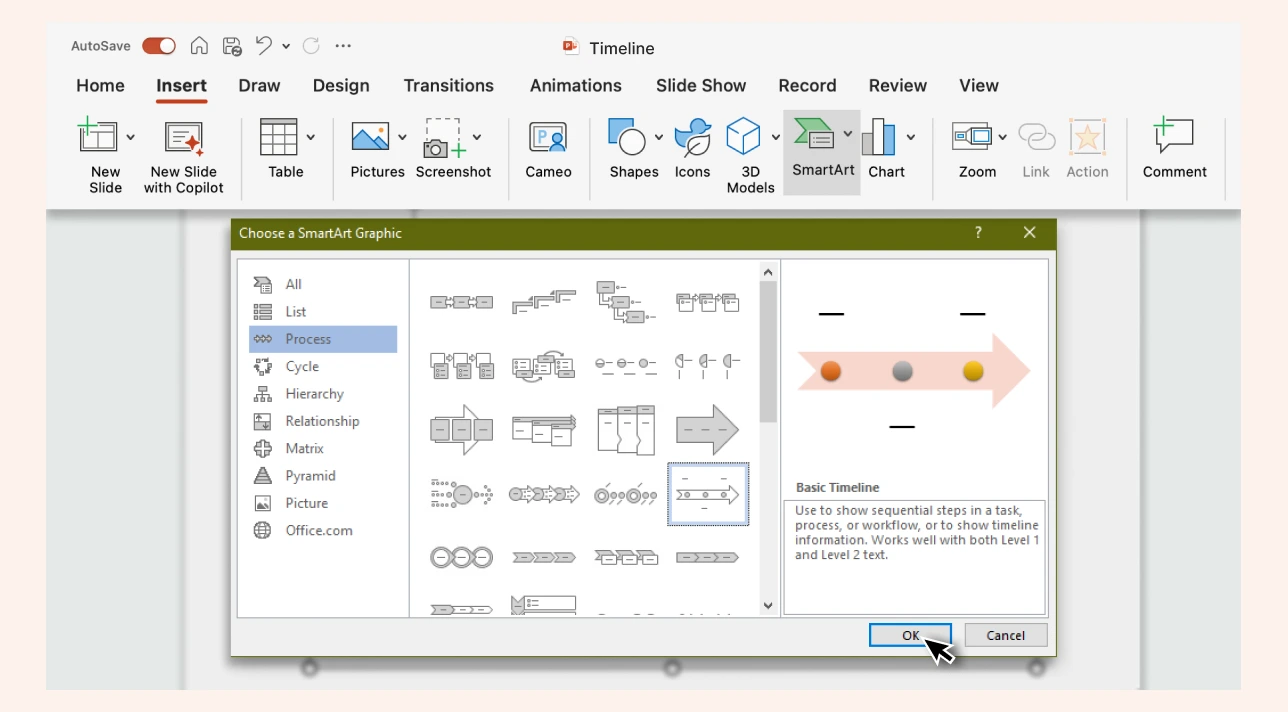
Step 2: Select a Timeline Layout
In the left panel, choose Process, then select a layout such as Basic Timeline or Circle Accent Timeline. Click OK to insert it into your slide. Switching between layouts later can sometimes distort text placement or spacing, so choose your layout carefully before entering data.
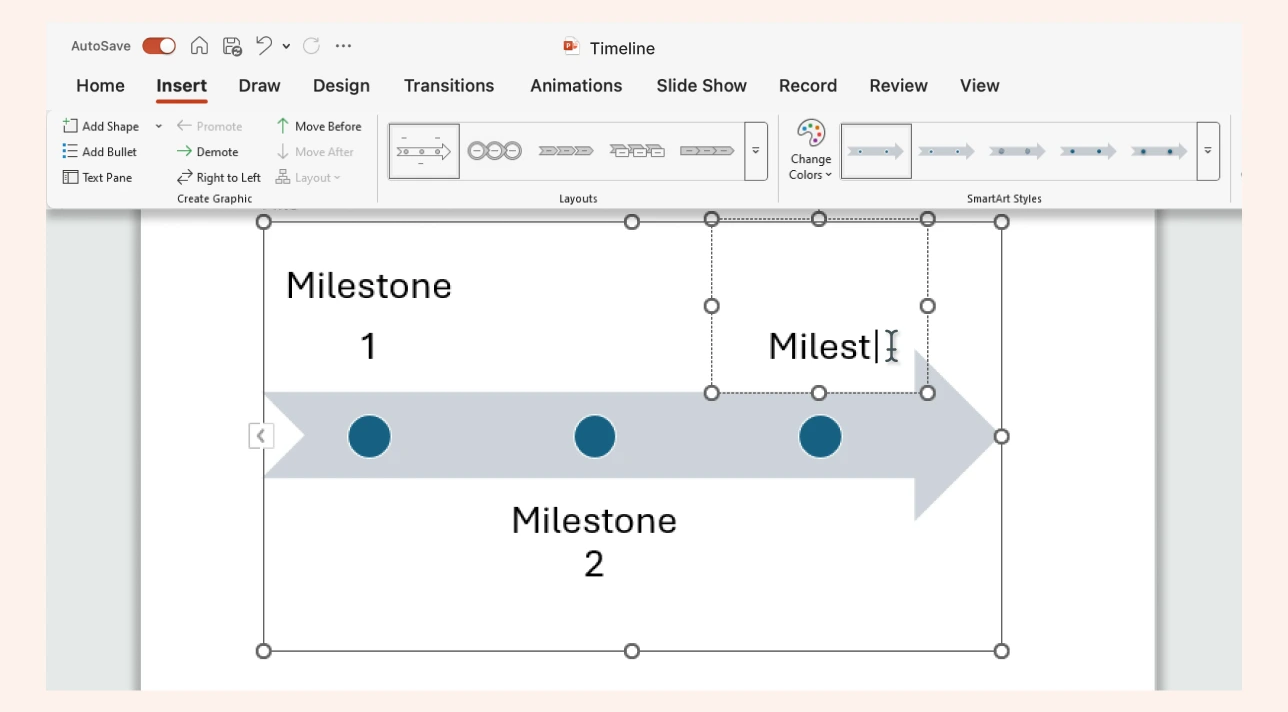
Step 3: Add Your Timeline Data
Click inside the text pane that appears beside the SmartArt graphic and type your key dates, events, or milestones. Each bullet point represents one event on the timeline. Adding many milestones can make the timeline visually crowded because PowerPoint doesn’t auto-balance content across slides.
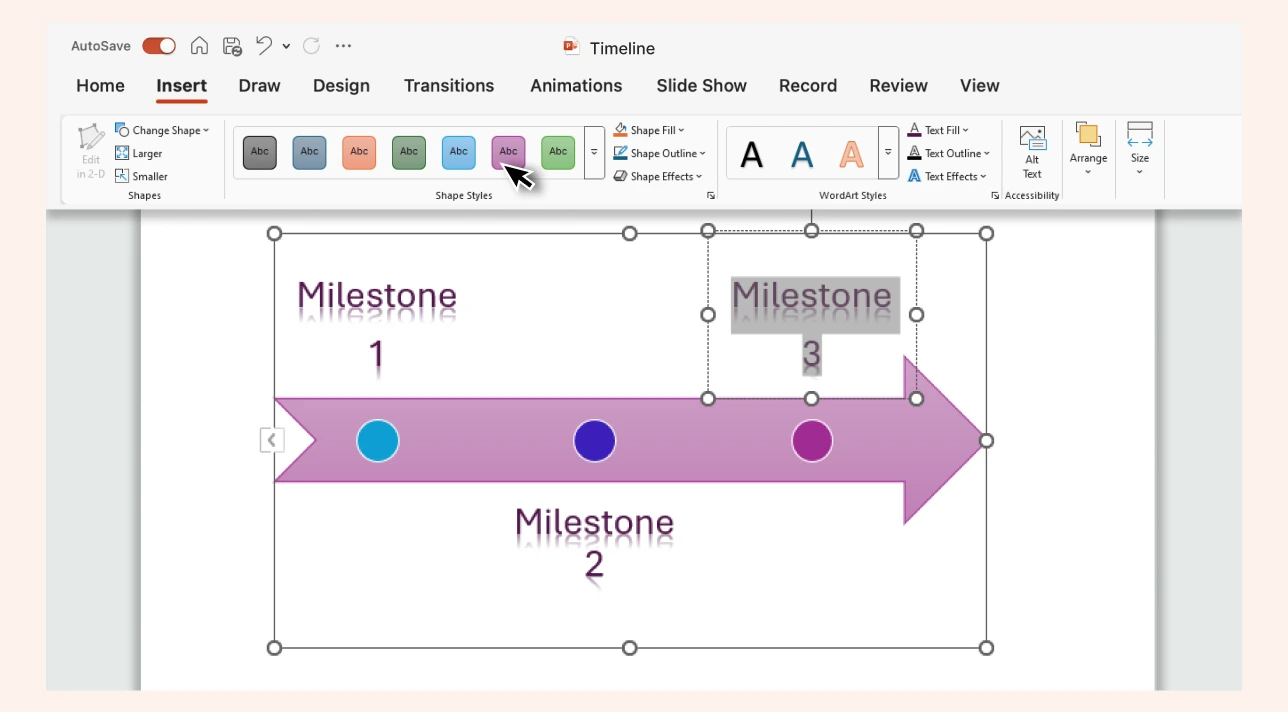
Step 4: Customize the Design
Use the SmartArt Design and Format tabs to adjust colors, shapes, and layouts. You can change the timeline’s style, apply themes, or switch to a different SmartArt layout to suit your presentation’s design. Precise alignment often requires manual tweaking since SmartArt’s automated formatting tools have limited control over fine adjustments.
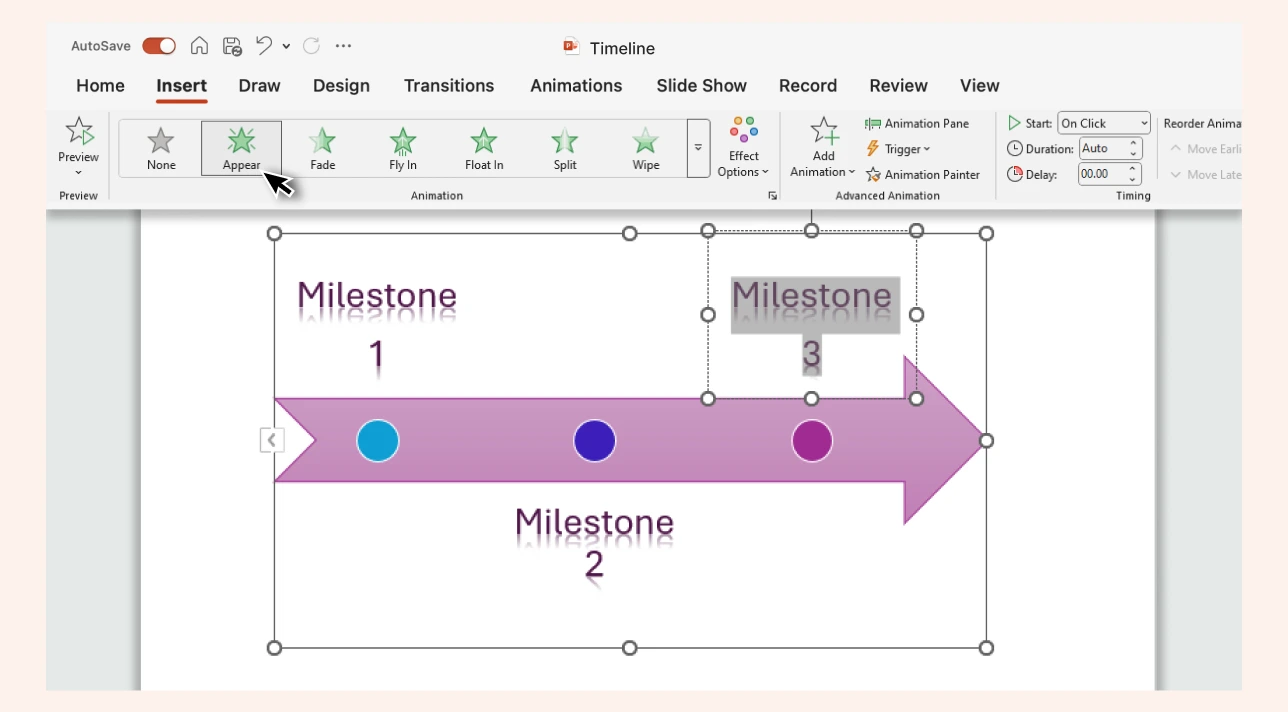
Step 5: Animate the Timeline (Optional)
If you’re presenting, you can animate the timeline so events appear one at a time. Select the timeline, go to the Animations tab, and choose Appear or Wipe. Adjust the animation order using the Animation Pane for smooth sequencing. Adding multiple animations can make your file heavy and slightly laggy during live presentations.
Step 6: Review, Finalize, and Share
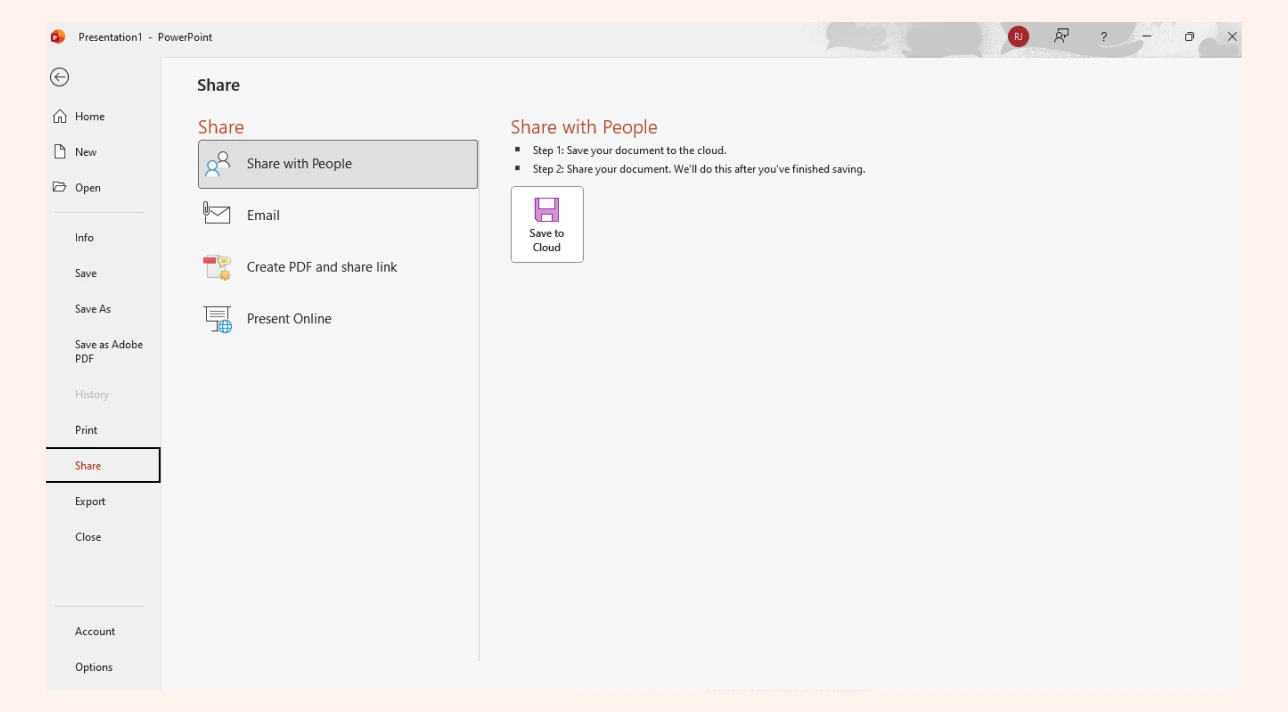
Check spacing, alignment, and readability to ensure all text is clear and milestones are evenly distributed across the slide. When finished, save your presentation and share it via OneDrive, Teams, or email so others can view or collaborate on the file. Keep in mind that simultaneous editing in PowerPoint is limited, and shared files may appear differently across devices or versions.
Limitations of Creating a Timeline in PowerPoint
No data connection: Timelines in PowerPoint are static visuals and cannot be linked to live data or spreadsheets, requiring manual updates for every change.
Limited precision: PowerPoint isn’t designed for data management, so aligning milestones evenly or accurately spacing dates can take extra effort.
Restricted layout options: SmartArt timelines offer limited flexibility, and customizing the spacing, direction, or structure beyond preset designs can be difficult.
Manual editing: Adding or removing milestones often disrupts the layout, requiring realignment and resizing.
Not ideal for long timelines: PowerPoint slides have limited space, so timelines with many events can quickly become cluttered or hard to read.
Lack of automation: Unlike Excel or project management tools, PowerPoint doesn’t support automatic scaling or updating when new data is added.
Minimal interactivity: Timelines are presentation-only visuals and cannot include dynamic filters or real-time collaboration features.
Design limitations for print: A timeline designed for slides may not format well for reports or printed materials.
These constraints make PowerPoint best suited for simple, presentation-ready timelines, while a specialized tool like Creately offers more flexibility, collaboration, and automation for professional or data-driven projects.
Why Creately is the Best Alternative to PowerPoint for Timelines
Save Time and Work Smarter
Ready-to-use templates: Start instantly with professionally designed timeline templates for projects, events, or roadmaps. There’s no need to manually draw shapes or align text boxes.
Intuitive drag-and-drop tools: Create and modify your timeline effortlessly without struggling with PowerPoint’s rigid layouts or manual positioning.
Smart alignment and connectors: Automatically organize milestones, labels, and connectors for a clean, evenly spaced layout with no tedious fine-tuning required.
Collaborate Better
Real-time collaboration: Invite teammates to edit, comment, and refine timelines together in one Creately workspace. PowerPoint’s limited co-editing can’t match this.
Integrated task tracking: Attach milestones to tasks or workflow stages to visualize progress directly on your timeline instead of relying on static visuals.
Data-linked updates: Connect your timeline to live data sources or tables so updates happen automatically, saving hours of manual revisions.
Design Beautifully
Greater creative control: Customize fonts, colors, icons, and shapes for full creative freedom which goes beyond PowerPoint’s preset SmartArt styles.
Flexible layout options: Build horizontal, vertical, or multi-phase timelines that scale easily to any project size, free from PowerPoint’s fixed slide limits.
All-in-one workspace: Combine timelines with flowcharts, project maps, and other visuals in a single collaborative platform.
Present and Share Professionally
Seamless integration: Embed or share timelines directly with Google Workspace, Confluence, or Slack for cross-team access.
High-resolution output: Export polished visuals as images, PDFs, or interactive links, perfect for reports, websites, or client presentations.
Use Creately’s timeline maker to start your first interactive timeline in minutes. It’s free to edit, customize, and collaborate with your team.
Creately Vs. PowerPoint Timeline Features Comparison
Here’s how creating timelines in Microsoft PowerPoint compares to using Creately:
Feature | Microsoft PowerPoint | Creately |
Built-in Templates | Limited SmartArt options | A library of professionally designed timeline templates |
Auto Alignment | Manual resizing and repositioning | Smart connectors with automatic alignment |
Real-Time Collaboration | Limited co-editing | True multi-user editing with comments and live updates |
Visual Styling | Restricted to preset SmartArt styles | Fully customizable fonts, colors, icons, and shapes |
Data Integration | None | Connect timelines to live data tables or tasks |
Layout Options | Fixed to slide dimensions | Flexible horizontal, vertical, or multi-phase layouts |
Scalability | Difficult to manage longer timelines | Infinite canvas for scalable, detailed timelines |
Export & Sharing | Static presentation format | Export as images, PDFs, or interactive links |
Ease of Editing | Manual shape and spacing adjustments | Drag-and-drop editing with smart alignment tools |
PowerPoint is great for static visuals, but Creately gives you dynamic, scalable timelines that are easier to build, update, and collaborate on. For a more detailed walkthrough and design best practices, visit the how to create a timeline guide on creating effective timelines.
Free Timeline Templates to Get Started


Helpful Resources for Making Timelines
Discover how to make timelines using Google Docs.
Discover how to make timelines using SmartArt in Microsoft Word.
Start learning how to make timelines in Microsoft Excel in three different methods.