If you were wondering ‘how do you make a timeline on Google Docs’, then this is the guide for you. Keep reading to learn how to make a timeline chart in Google Docs with step-by-step instructions, understand its limitations and why Creately is a better alternative.
What is a Timeline in Google Docs?
A timeline in Google Docs is a simple visual layout created using the built-in Drawing tool to display events or milestones in chronological order. By combining shapes, lines, text boxes, and connectors, you can design horizontal or vertical timelines directly within a document to organize key dates, project stages, or historical events. While this method works well for basic visuals, it quickly becomes time-consuming and limited when you need to manage multiple milestones, collaborate with others, or reuse the same layout for different projects
How to Create a Timeline in Google Docs
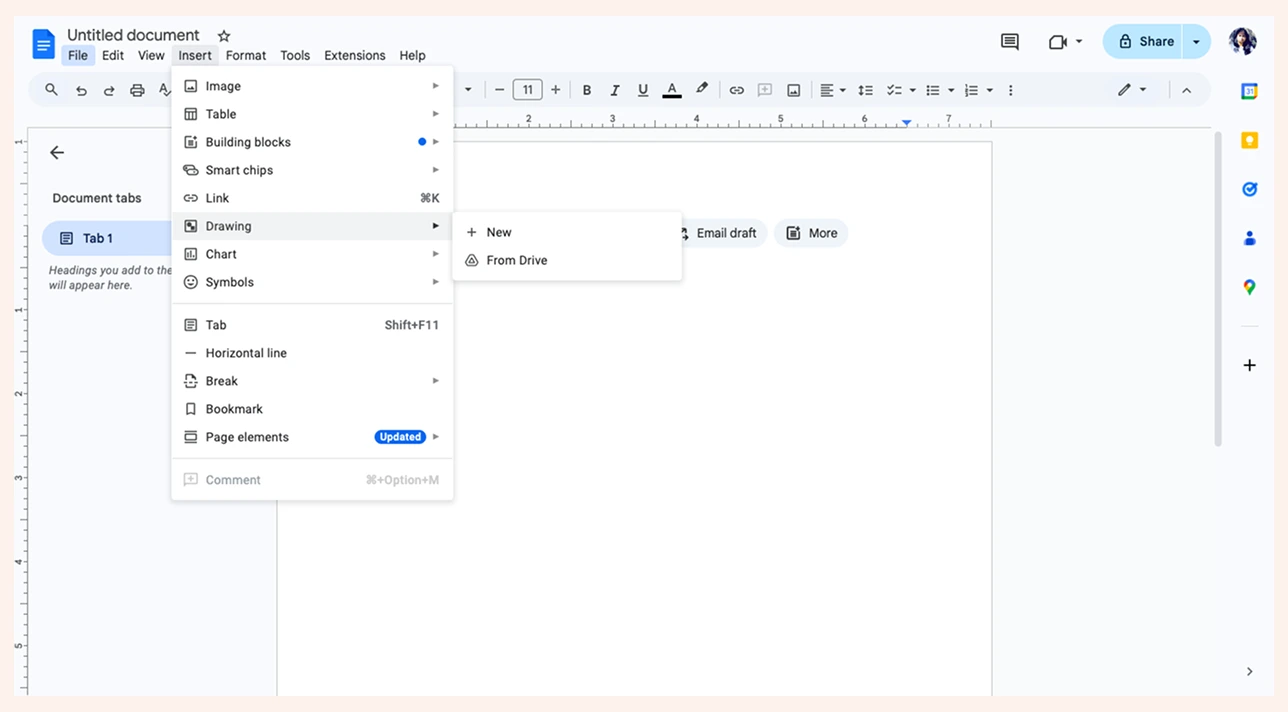
Step 1: Open the Drawing Tool
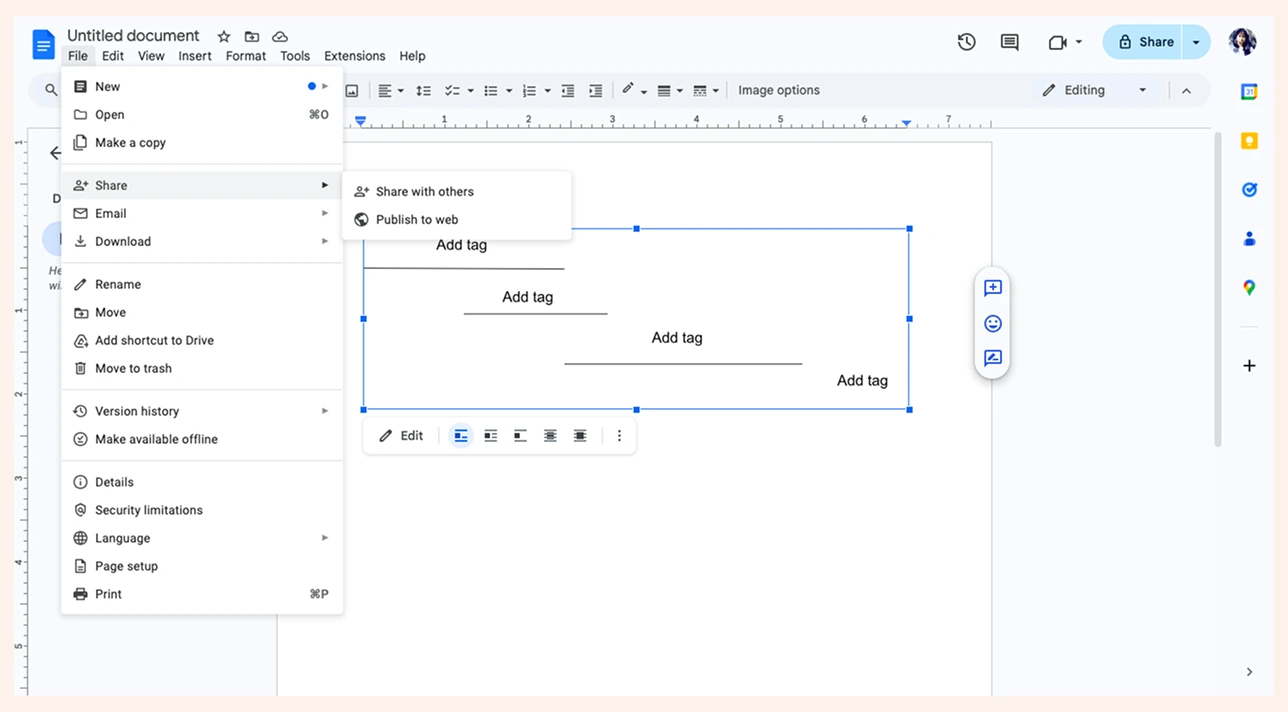
Open Google Docs, open the drawing workspace via Insert → Drawing → New. This opens a canvas where you’ll design your timeline. For more horizontal space, go to File → Page setup → Landscape, then click OK.
Tip: You can also use Google Drawings separately and insert it later.
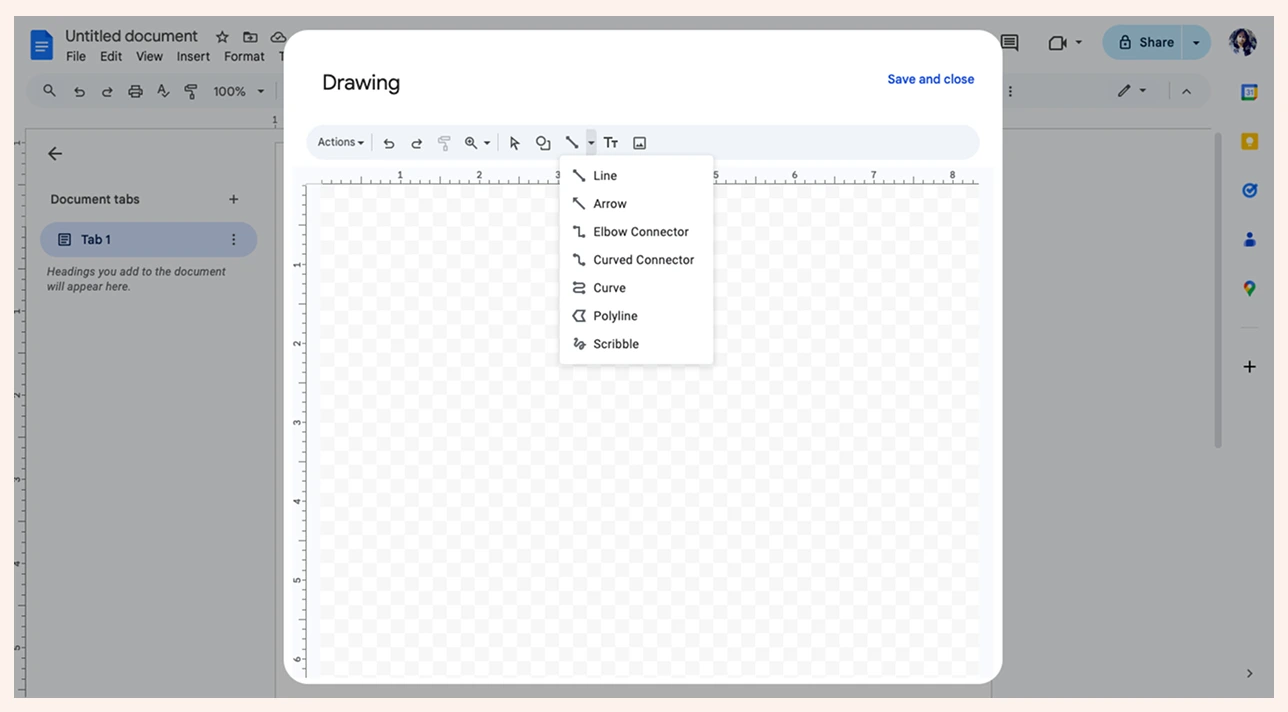
Step 2: Create the Timeline Base
From the toolbar, select the Line tool → Arrow, then drag a straight horizontal line across the canvas. To adjust its appearance, use Line start to add arrowheads and Line weight to modify thickness. Note that this step can get tedious for longer timelines since alignment is completely manual, and you’ll need to adjust carefully.
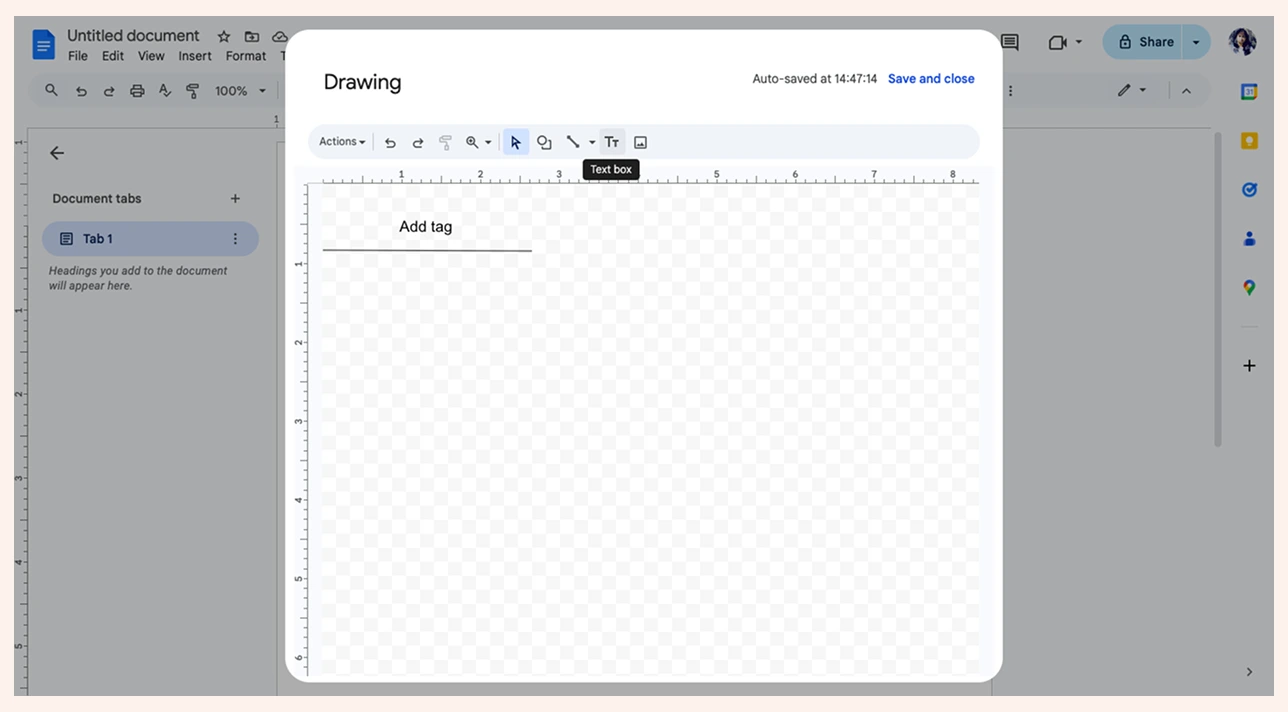
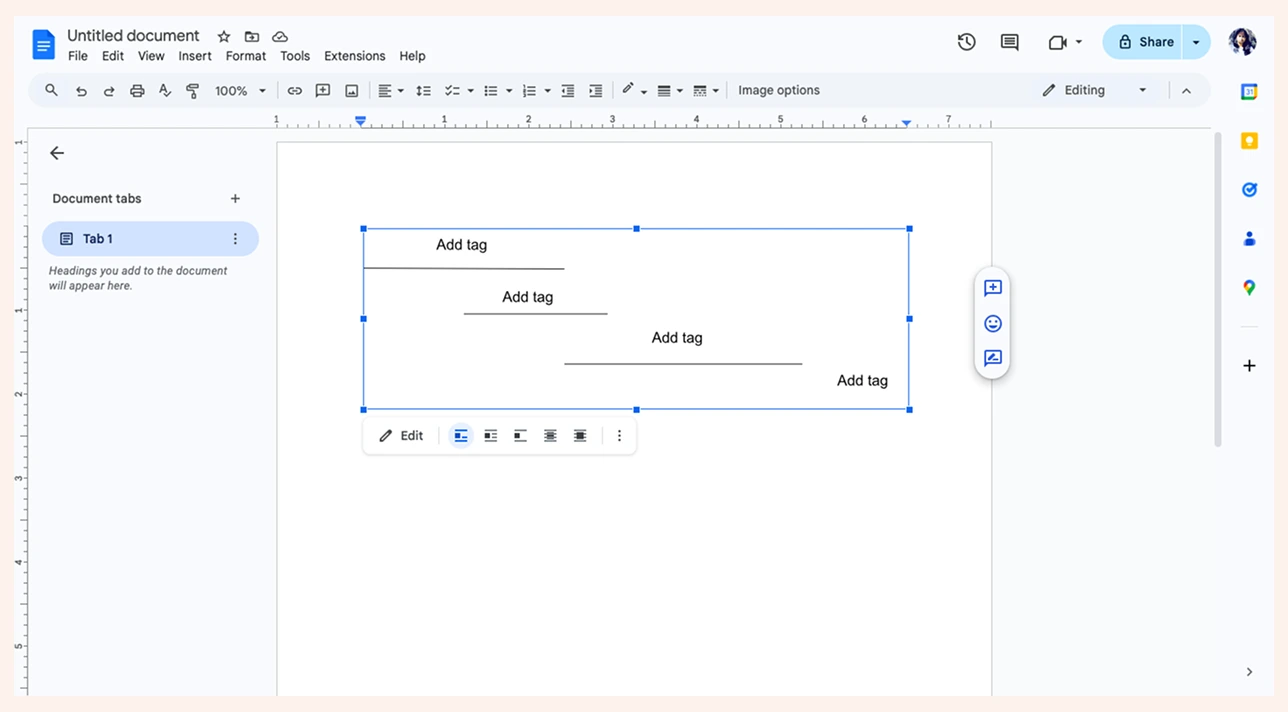
Step 3: Add Events or Tasks
Click the Text box icon and draw boxes above or below the line to label dates, tasks, or milestones. Resize or reposition them as needed, then format the text using bold, color, or alignment options. To keep formatting consistent, copy and paste existing boxes, then update their content. You can also add short vertical lines from the base arrow to connect each text box for clarity. Adding and aligning many shapes one by one can be slow, especially when spacing needs to be exact.
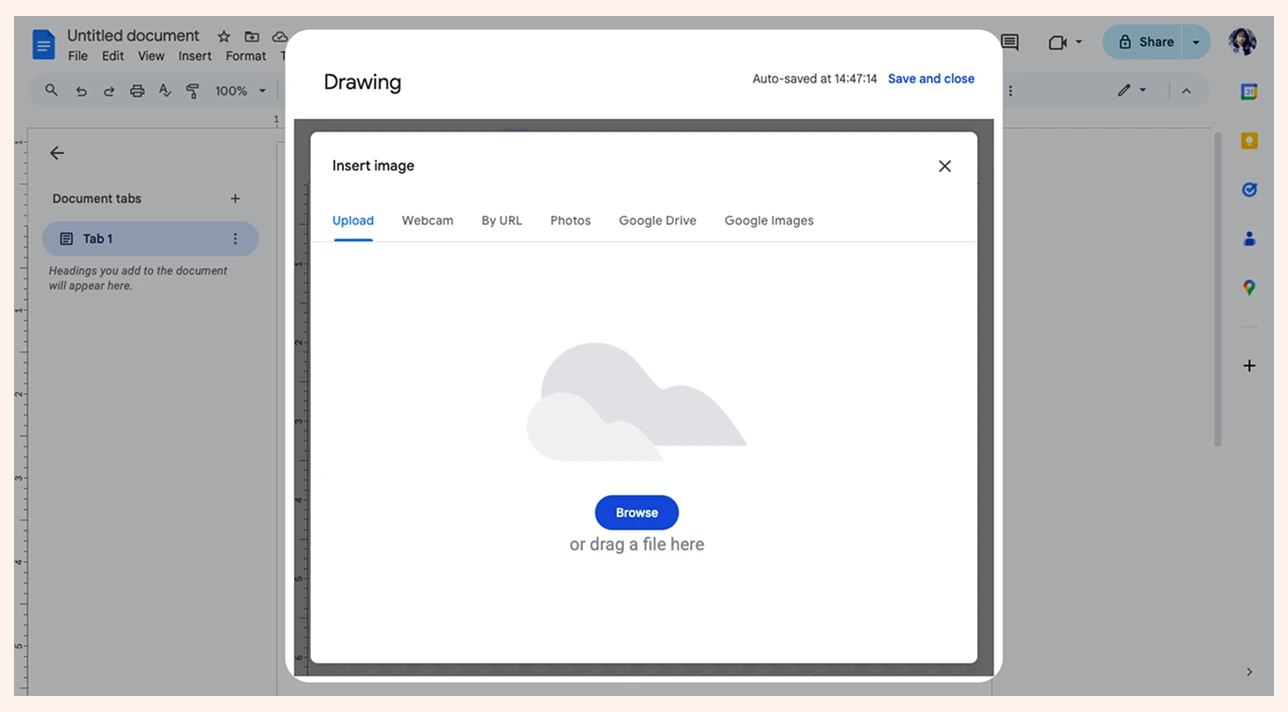
Step 4: Add Optional Images
To make the timeline more visual, use the Image icon in the toolbar. You can upload from your computer, search Google, or select from Drive or URLs. Resize and drag images to fit alongside your events. Be mindful — images can easily shift or overlap other elements when resizing.
Step 5: Save, and Insert
Click Save and Close to add the timeline to your document. You can resize or move it directly within the page. To make edits later, double-click the timeline to reopen the drawing canvas.
Step 6: Share Timeline
When ready to collaborate, click the Share button in the top-right corner, add collaborators’ email addresses, and set permissions to Viewer, Commenter, or Editor for real-time teamwork.
If you’re a Microsoft Office user, read how to make a timeline in Word to learn how to create timelines with SmartArt in MS Word.
Challenges and Limitations of Using Google Docs for Timelines
Creating a timeline in Google Docs can be effective for simple visuals but comes with several drawbacks, especially when compared to dedicated diagramming or project tools.
No built-in timeline feature: You must manually draw lines and shapes, which takes more time and precision than using predesigned templates.
Inconsistent formatting: Keeping font sizes, spacing, and alignments consistent across all events is difficult without guide tools.
Limited design flexibility: Aligning, layering, and evenly spacing multiple events or labels can be tedious.
Human error risks: Manual placement increases the chance of misaligned elements, incorrect dates, or inconsistent spacing.
Static visuals: Timelines are not dynamic—new data or dates have to be added manually, and there’s no automatic resizing or adjustment.
Difficult scaling: Large or complex timelines don’t fit neatly on standard pages, which makes them hard to print or share clearly.
Restricted data capacity: Limited page space makes it challenging to include many events or detailed notes without overcrowding the layout.
Lack of flexibility: If you want to switch orientations (e.g., from horizontal to vertical), you have to rebuild the layout from scratch.
Restricted collaboration: While Docs supports file sharing, simultaneous editing of the Drawing tool is limited compared to real-time co-editing tools.
Few visual and interactive elements: Docs lacks advanced connectors, styles, and dynamic features that make professional timelines more engaging.
No date automation: Dates must be entered manually, as there’s no built-in logic to populate or update them automatically.
These limitations make Google Docs better suited for simple timelines, while more complex or visually detailed timelines are best created using specialized tools like Creately.
Why Creately is the Best Alternative to Google Docs
Save Time and Effort
Ready-made templates: Start instantly with professionally designed timeline templates for projects, company history, events, or education.
Smart alignment and connectors: Automatically keep events evenly spaced and linked — no more manual resizing or guesswork.
Easy drag-and-drop editing: Add, move, or adjust timeline elements in seconds using intuitive visual controls.
Collaborate Better
Real-time collaboration: Work together on the same timeline with comments, live editing, and instant updates.
Dynamic task management: Link events directly to tasks, milestones, or workflow steps to track progress visually.
Seamless integration: Connect your Creately workspace with Google Workspace, Confluence, or Slack for smooth team communication.
Design Beautifully
Customizable visuals: Personalize colors, fonts, and shapes, or add icons and images for a professional look.
Multiple layout options: Create horizontal, vertical, or segmented timelines that fit any project or presentation.
All-in-one workspace: Combine timelines with flowcharts, mind maps, and project plans on the same visual canvas.
Present and Share Professionally
Data-linked timelines: Connect to tables or data sources to automatically update events as your project evolves.
Presentation-ready output: Export timelines as images, PDFs, or interactive links for slides, reports, or client reviews.
Use Creately’s timeline maker to get started with your first interactive timeline in minutes. It’s free to edit, customize, and share with your team.
Creately Vs. Google Docs Timeline Features Comparison
Here’s how creating timelines in Google Docs compares to using Creately:
Feature | Google Docs | Creately |
Built-in Templates | Manual creation required | A library of ready-made timeline templates |
Auto Alignment | Fully manual positioning | Smart connectors for instant alignment |
Real-Time Collaboration | Limited to document sharing | Live multi-user editing with comments and cursors |
Visual Styling | Basic formatting only | Advanced themes, icons, and shape customization |
Data Integration | Not supported | Link timelines to data tables or tasks |
Layout Options | Horizontal only (manual) | Horizontal, vertical, and segmented layouts |
Scalability | Hard to manage long timelines | Infinite canvas with zoom and grouping tools |
Export & Sharing | Static document format | Export as image, PDF, or interactive link |
Ease of Editing | Time-consuming adjustments | Drag-and-drop simplicity |
In short, Creately is faster, more collaborative, and visually professional without the manual effort required for making a timeline in Google Docs. Read how to create a timeline for a detailed walkthrough on designing timelines easily with Creately.
Free Timeline Templates to Get Started


Helpful Resources for Making Timelines
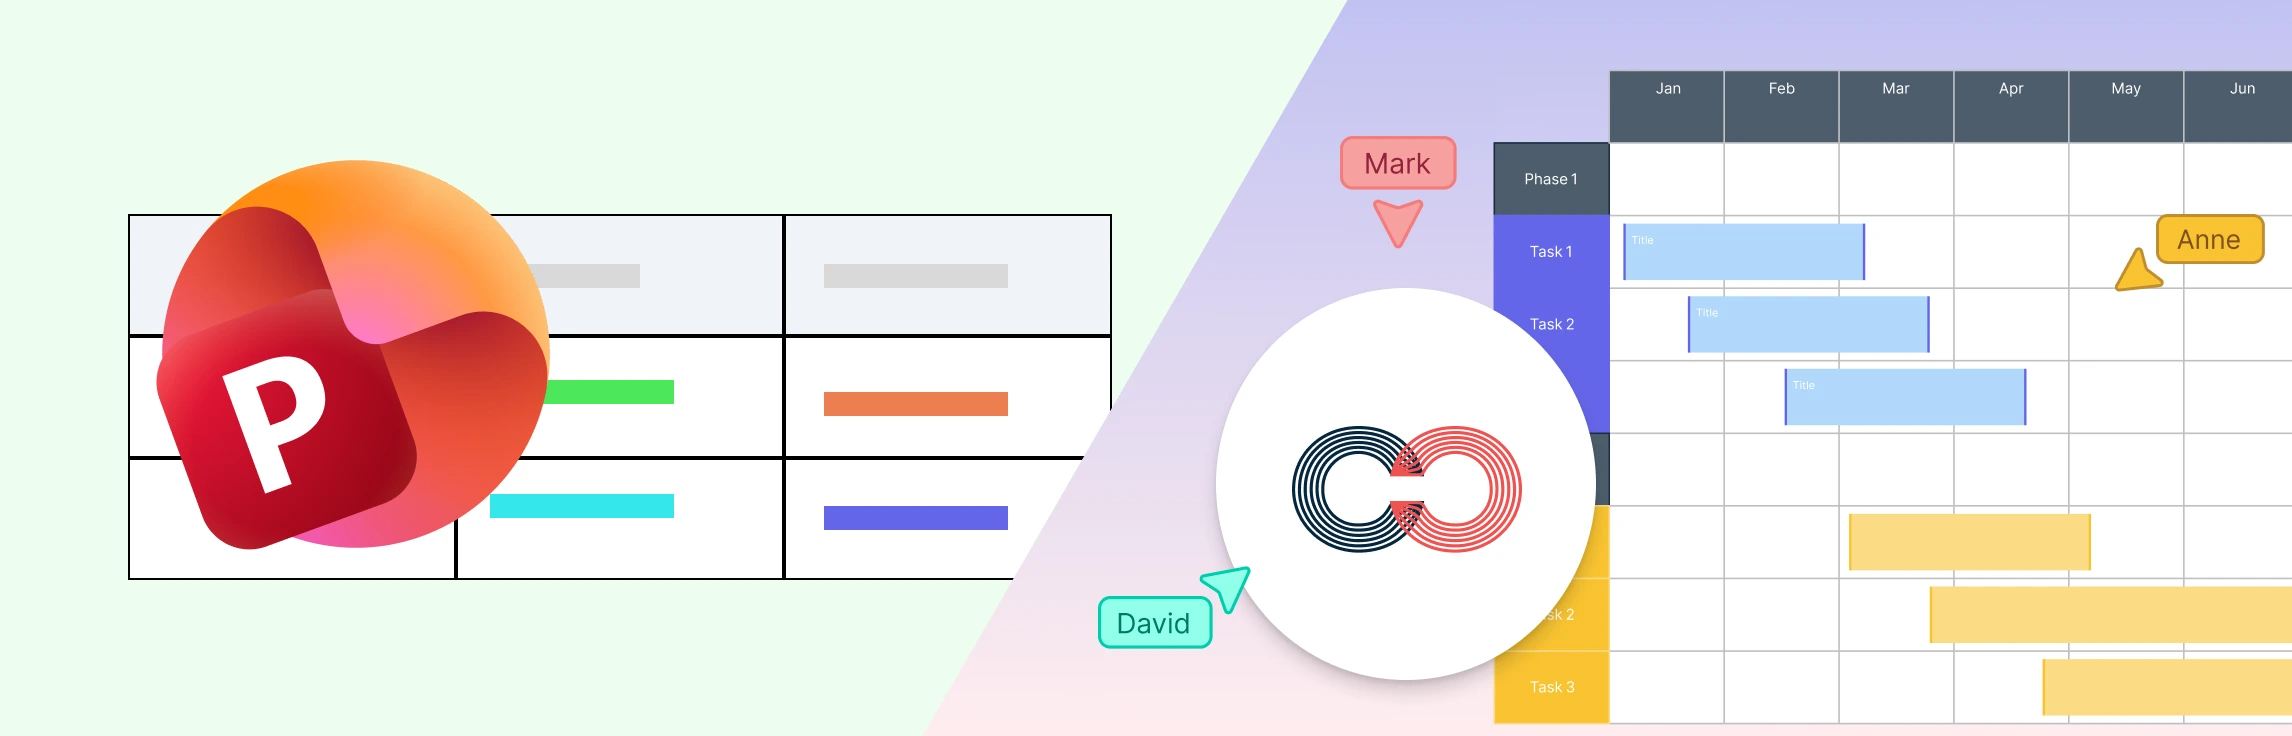
Learn how to make timelines with animations in Microsoft PowerPoint.
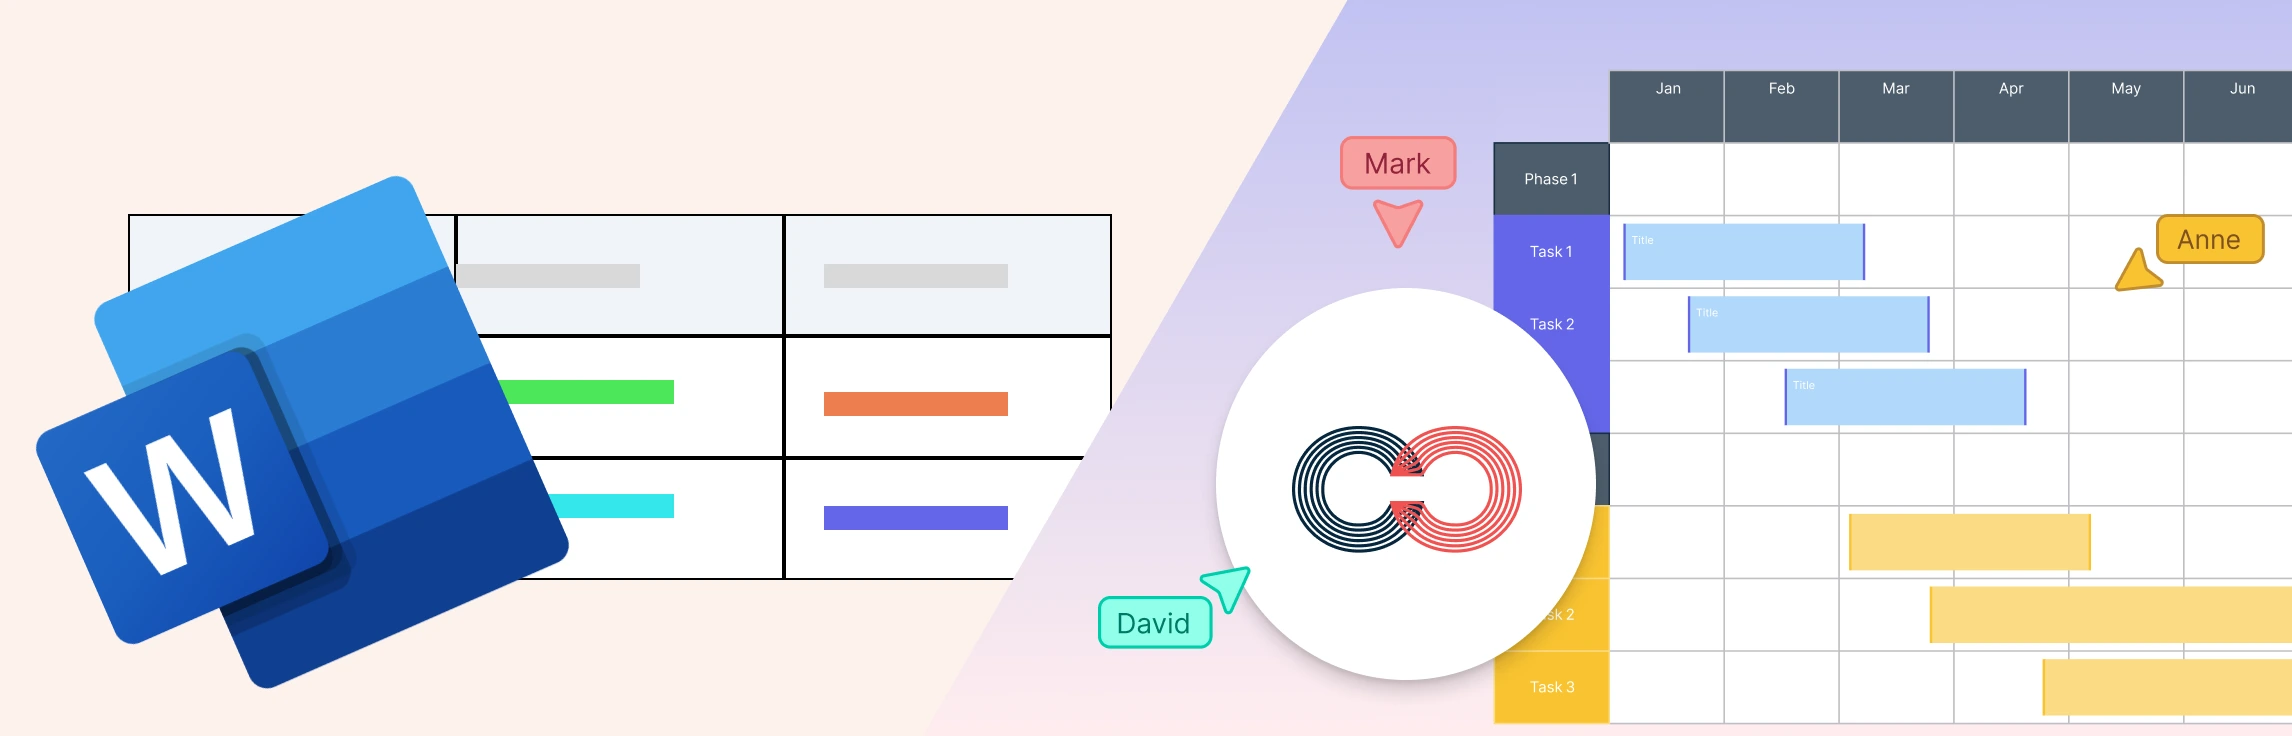
Discover how to make timelines using SmartArt in Microsoft Word.
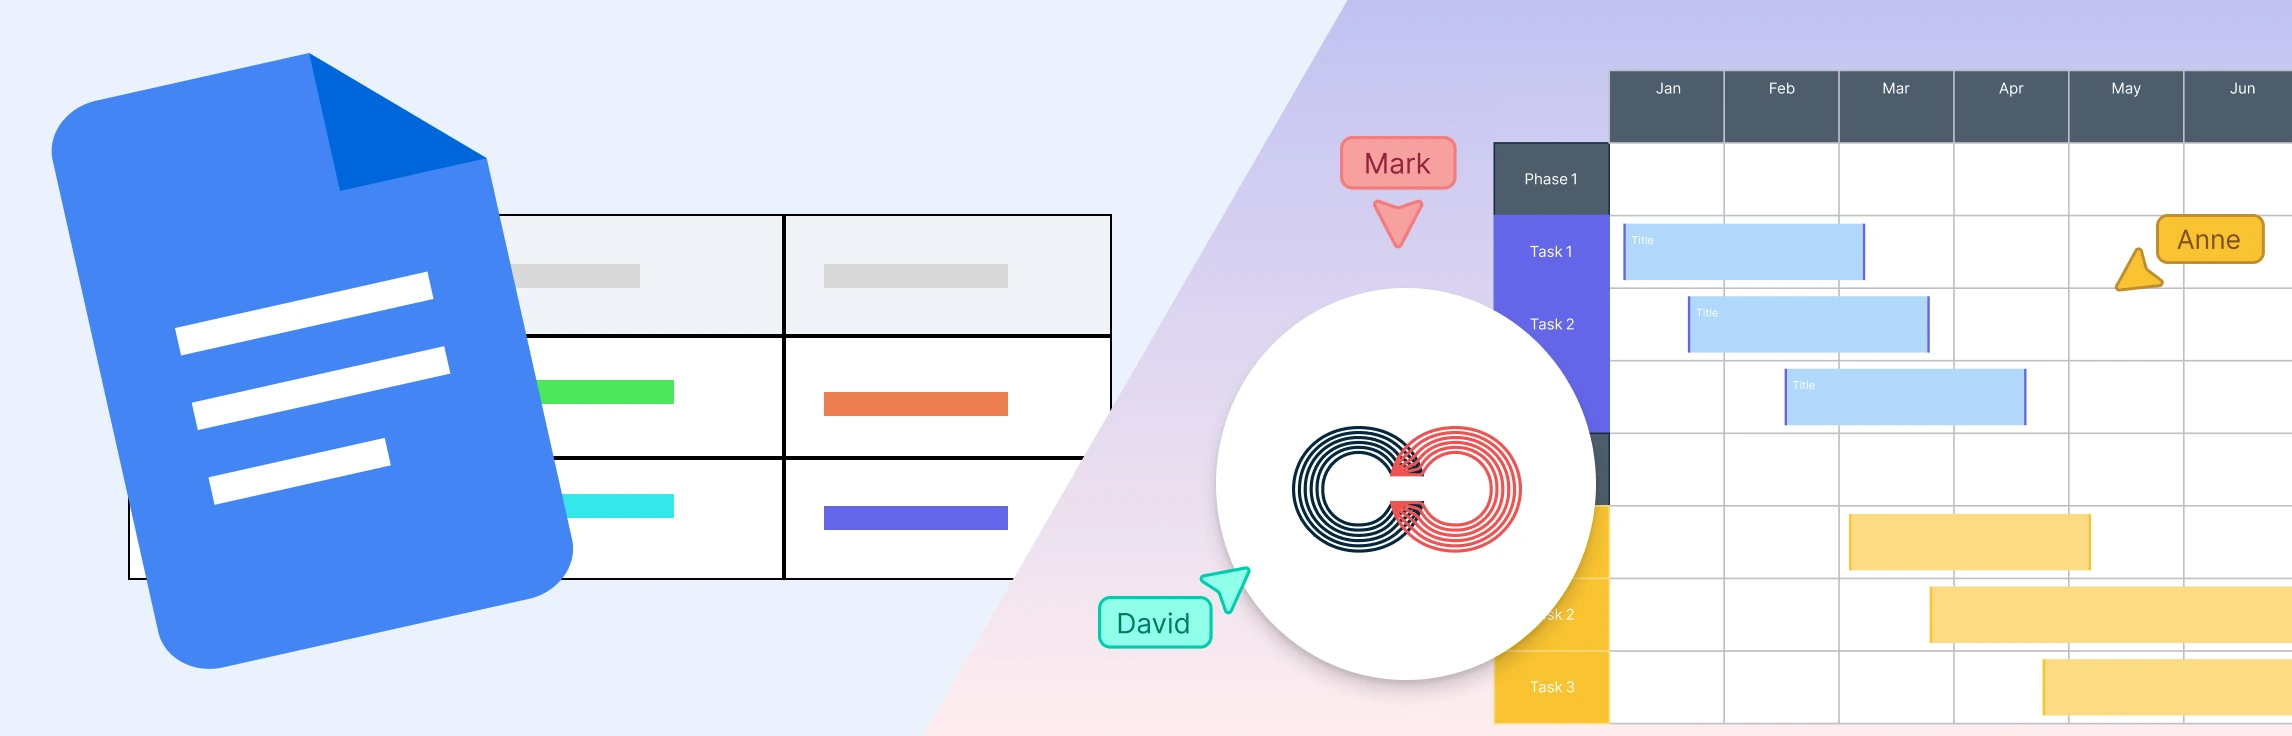
Start learning how to make timelines in Microsoft Excel in three different methods.