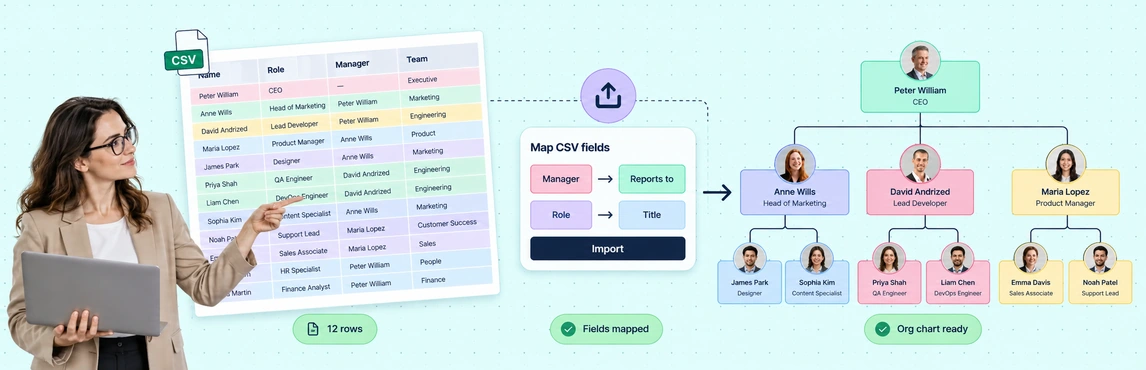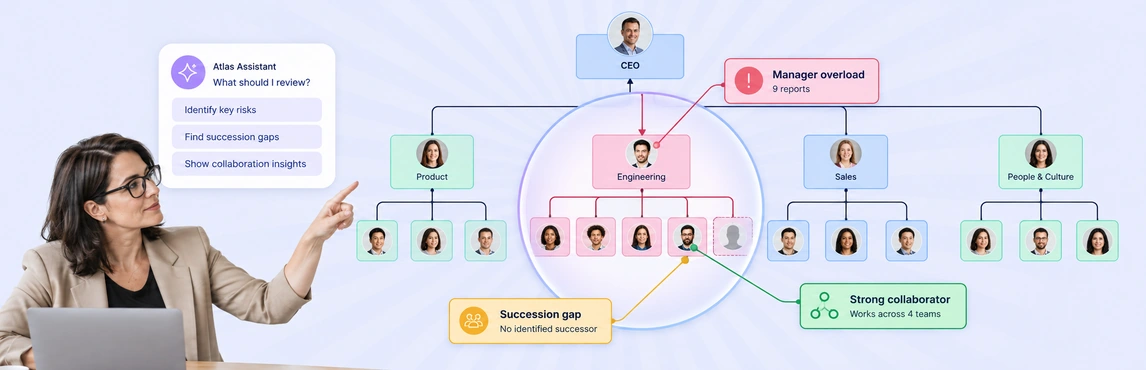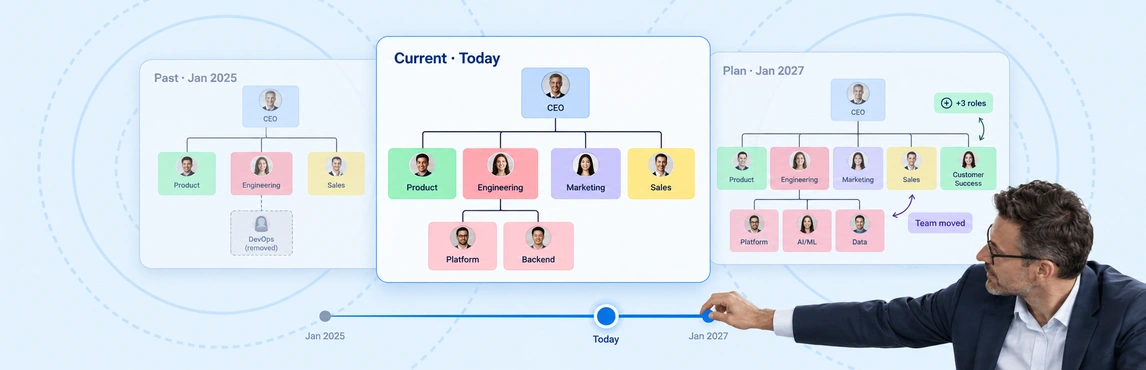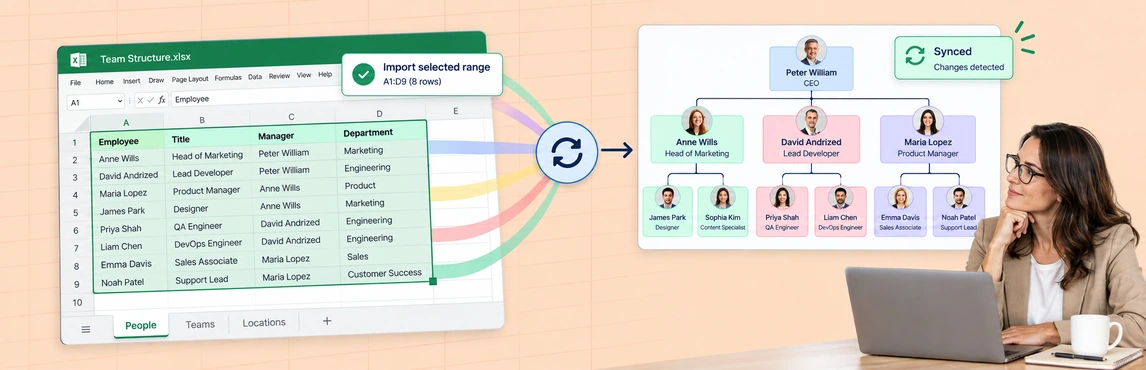
Use Creately Atlas to turn Excel employee data into org charts. Prepare one worksheet, export it as CSV, and review the column mappings, validation results, and import change counts in Atlas. After importing, check the automatically arranged reporting hierarchy before sharing it.
Want to build a chart manually inside Excel? Use how to make an org chart in Excel. This tutorial is for importing Excel employee data into Atlas. For a comparison of spreadsheet-based methods, see the spreadsheet org chart guide.
The steps below cover worksheet preparation, preserving employee IDs, exporting CSV, and reviewing the Atlas import. Already have a clean CSV? Use the Atlas CSV tutorial. To evaluate the workflow first, explore Excel to org chart.
Before You Start: Prepare the Employee Data
Keep a copy of your original workbook. Create a dedicated export worksheet containing only the people and fields you intend to import, with one employee per row and a single header row.
Start with these columns:
| Column | What to put in it | Example |
|---|---|---|
| Employee ID | A unique identifier that stays with the person | E001 |
| Name | The employee’s display name | Priya Shah |
| Job Title | Their current role | Managing Director |
| Department | The team or function they belong to | Leadership |
| Manager ID | The identifier of their direct manager | E001 |
Atlas needs a unique person ID and a reporting-line reference. These are example source headings; you review how they map to Atlas fields during import.
Only include additional employee information when you need it for the chart’s purpose and have checked who should see it. For data beyond names and reporting lines, see the org chart field packs guide.
How to Turn Excel Data into Org Charts with Creately Atlas
1. Prepare One Employee Worksheet
If your workbook separates departments into different tabs, bring the intended records into one export worksheet with the same columns. Keep the managers needed to connect those departments to the wider organization, and remove duplicate records when the same manager appears on multiple tabs.
Remove merged headings, subtotal rows, explanatory notes, and blank records from the export table. Write a department value in each relevant row so the relationship does not depend on a colored cell or a heading above the table.
Here are the ID and name columns from a fictional worksheet. Keep job titles and departments in their own columns alongside these records.
| Employee ID | Name | Manager ID |
|---|---|---|
| E001 | Priya Shah | |
| E002 | Daniel Lee | E001 |
| E003 | Maya Silva | E002 |
| E004 | Alex Reed | E002 |
Daniel reports to Priya; Maya and Alex report to Daniel. Priya is the top-level person, so her manager cell is empty. Check that root record in the Atlas preview rather than assigning her as her own manager.
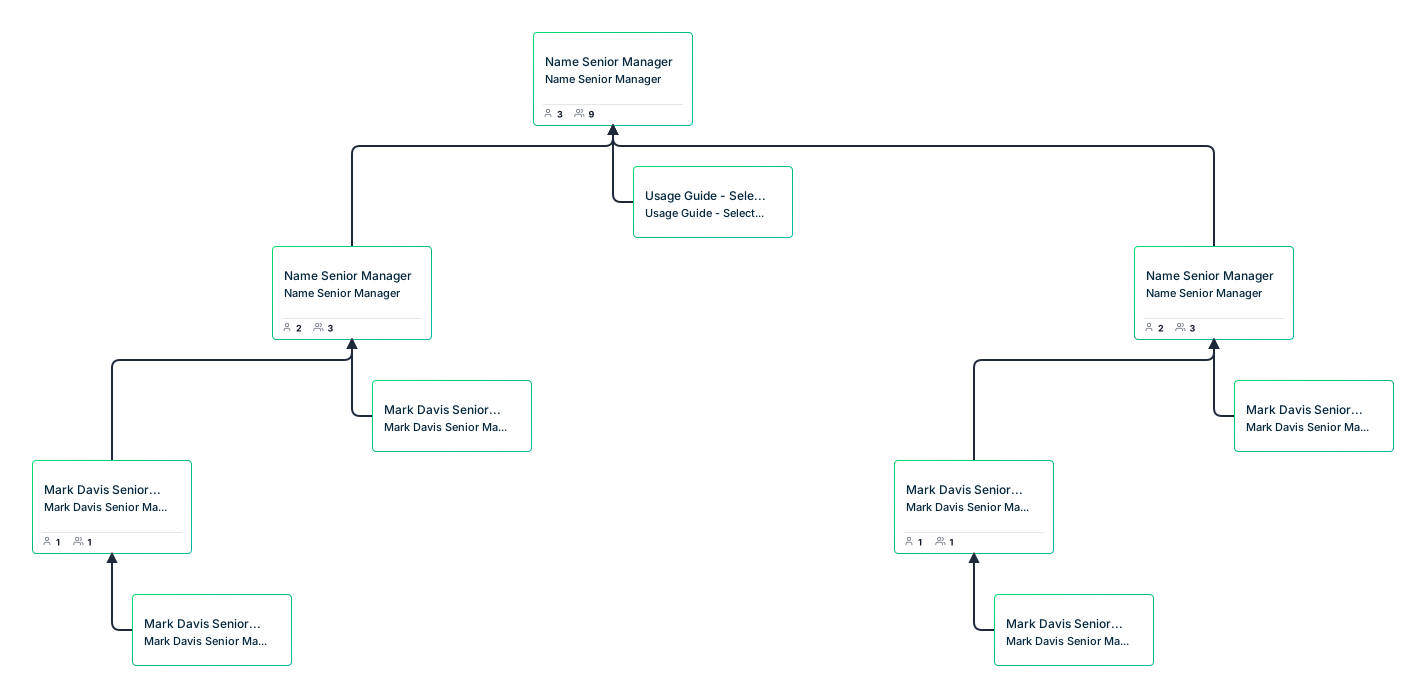
Use this hierarchical org chart template to sketch the reporting pattern you expect before importing. It is an editable visual reference; your Excel worksheet supplies the employee records.

2. Check IDs and Manager References
Use a consistent ID format in both identifier columns. For example, a manager reference of E002 must match Daniel’s employee ID exactly. Check for spaces, missing characters, and duplicate IDs before exporting.
If your existing IDs include leading zeros, preserve the original text values. Inspect the exported CSV as text; reopening it in Excel can change how numeric-looking identifiers are interpreted. Microsoft’s CSV import guidance explains how to control column interpretation.
Review any formulas used to assemble names, departments, or manager IDs. Resolve lookup errors such as #N/A and confirm the intended results; a copy of the export worksheet with values pasted into the relevant cells makes that final check easier.
Before exporting, verify that:
- Every employee ID is present and unique.
- Each manager reference matches the intended person.
- Each reporting chain reaches the expected top-level person without a loop.
- Calculated fields contain the values you want to import.
3. Export the Worksheet as CSV
Save your original Excel workbook, then select the prepared export worksheet. In desktop Excel, use File → Save As or Save a Copy, choose a CSV file type, and save a separate file. The menu wording may vary by version.
CSV saves the active worksheet and removes workbook formatting. Review any format warning before proceeding; retain the original workbook for its other sheets and features. See Microsoft’s instructions for saving a workbook as CSV for the export options.
Check the exported file before uploading:
- Confirm that it contains the intended header row and employee records.
- Compare several employee and manager IDs with the workbook.
- Check names with accented characters and confirm that columns remain separate.
Changing a file’s extension from .xlsx to .csv does not convert it. Use Excel’s export or save options to create the CSV.
4. Map the Columns in Creately Atlas
Open Atlas and select Import from CSV from the assistant panel or blank canvas welcome screen. Upload the file you exported from Excel.
Atlas suggests column mappings with confidence indicators and AI badges. Check the suggestions against your worksheet: the employee ID identifies the person, while the manager reference establishes their reporting relationship. Review name, job title, and department mappings as well.
Map extra columns to supported fields or include them as custom data where appropriate. For a detailed walkthrough of the mapping stage, use the step-by-step CSV tutorial.
5. Resolve Errors and Review the Import Preview
Atlas validates the data for missing IDs, unknown managers, reporting cycles, and empty rows. Correct the affected records or mappings before continuing.
The preview shows how many records will be created, updated, or deactivated. Compare those counts with the change you intended, especially if you are updating an existing chart. A department-only export should not be treated as an organization-wide update without checking its impact.
For the four-person example, review the intended records and confirm that the manager mappings support the three reporting relationships. Proceed only when the preview reflects the intended structure.
6. Check, Share, and Maintain the Org Chart
After import, Atlas applies automatic layout to the hierarchy. Compare the chart with the worksheet: Priya should be above Daniel, with Maya and Alex reporting to Daniel.
Check another branch if you imported a larger organization, and review names, titles, and departments on several cards. Atlas can generate department views after import to support focused reviews. The organizational chart best practices guide has more advice on keeping the structure readable.
If the import is wrong, Ctrl+Z on Windows or Cmd+Z on Mac undoes it as one operation. Correct the source data or mappings before retrying.
Share the reviewed chart with viewer or editor permissions appropriate to each person’s role. Field-level sensitivity controls continue to apply to shared links. You can export a visual as PNG, SVG, or PDF, or export org data as CSV.
Agree who owns future updates. Editing the Excel workbook does not automatically update this imported chart; review each subsequent export and import, or maintain the relevant records in Atlas. For proposed reporting changes, explore org chart scenario planning before changing the live structure.
Troubleshooting Excel Data Before Import
| What you notice | What to check next |
|---|---|
| A department is missing | Confirm you exported the worksheet containing the intended records. |
| IDs no longer match | Compare the CSV text with the original IDs; restore lost characters from the source. |
| An employee has an unknown manager | Include the required manager record and check that the reference matches its ID. |
| A name or manager field contains an error | Resolve the formula or lookup in Excel and export the corrected values. |
| Several fields appear as one column | Inspect the CSV separator and re-export so Atlas recognizes the intended columns. |
| Import counts show unexpected updates or deactivations | Stop and compare the file’s scope with the existing chart before applying the import. |
Org Chart Templates for Planning and Presenting Your Structure
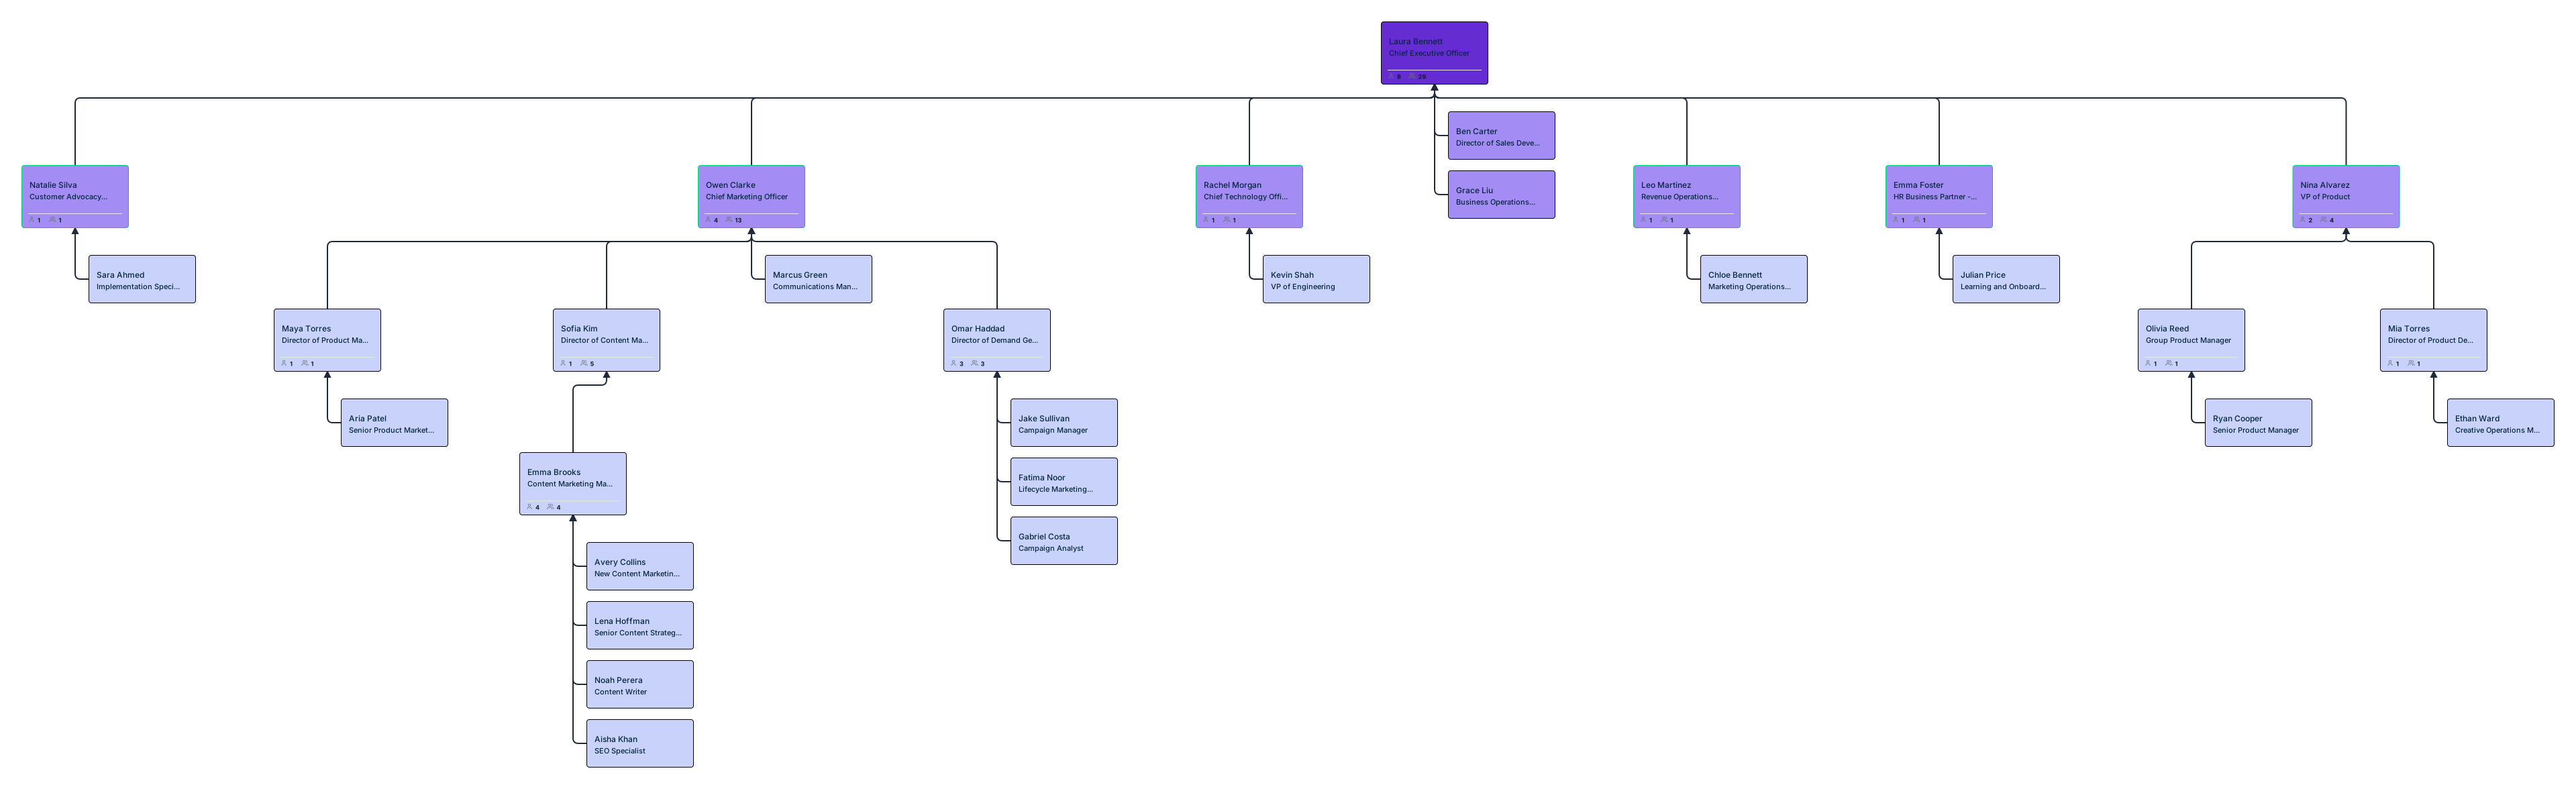
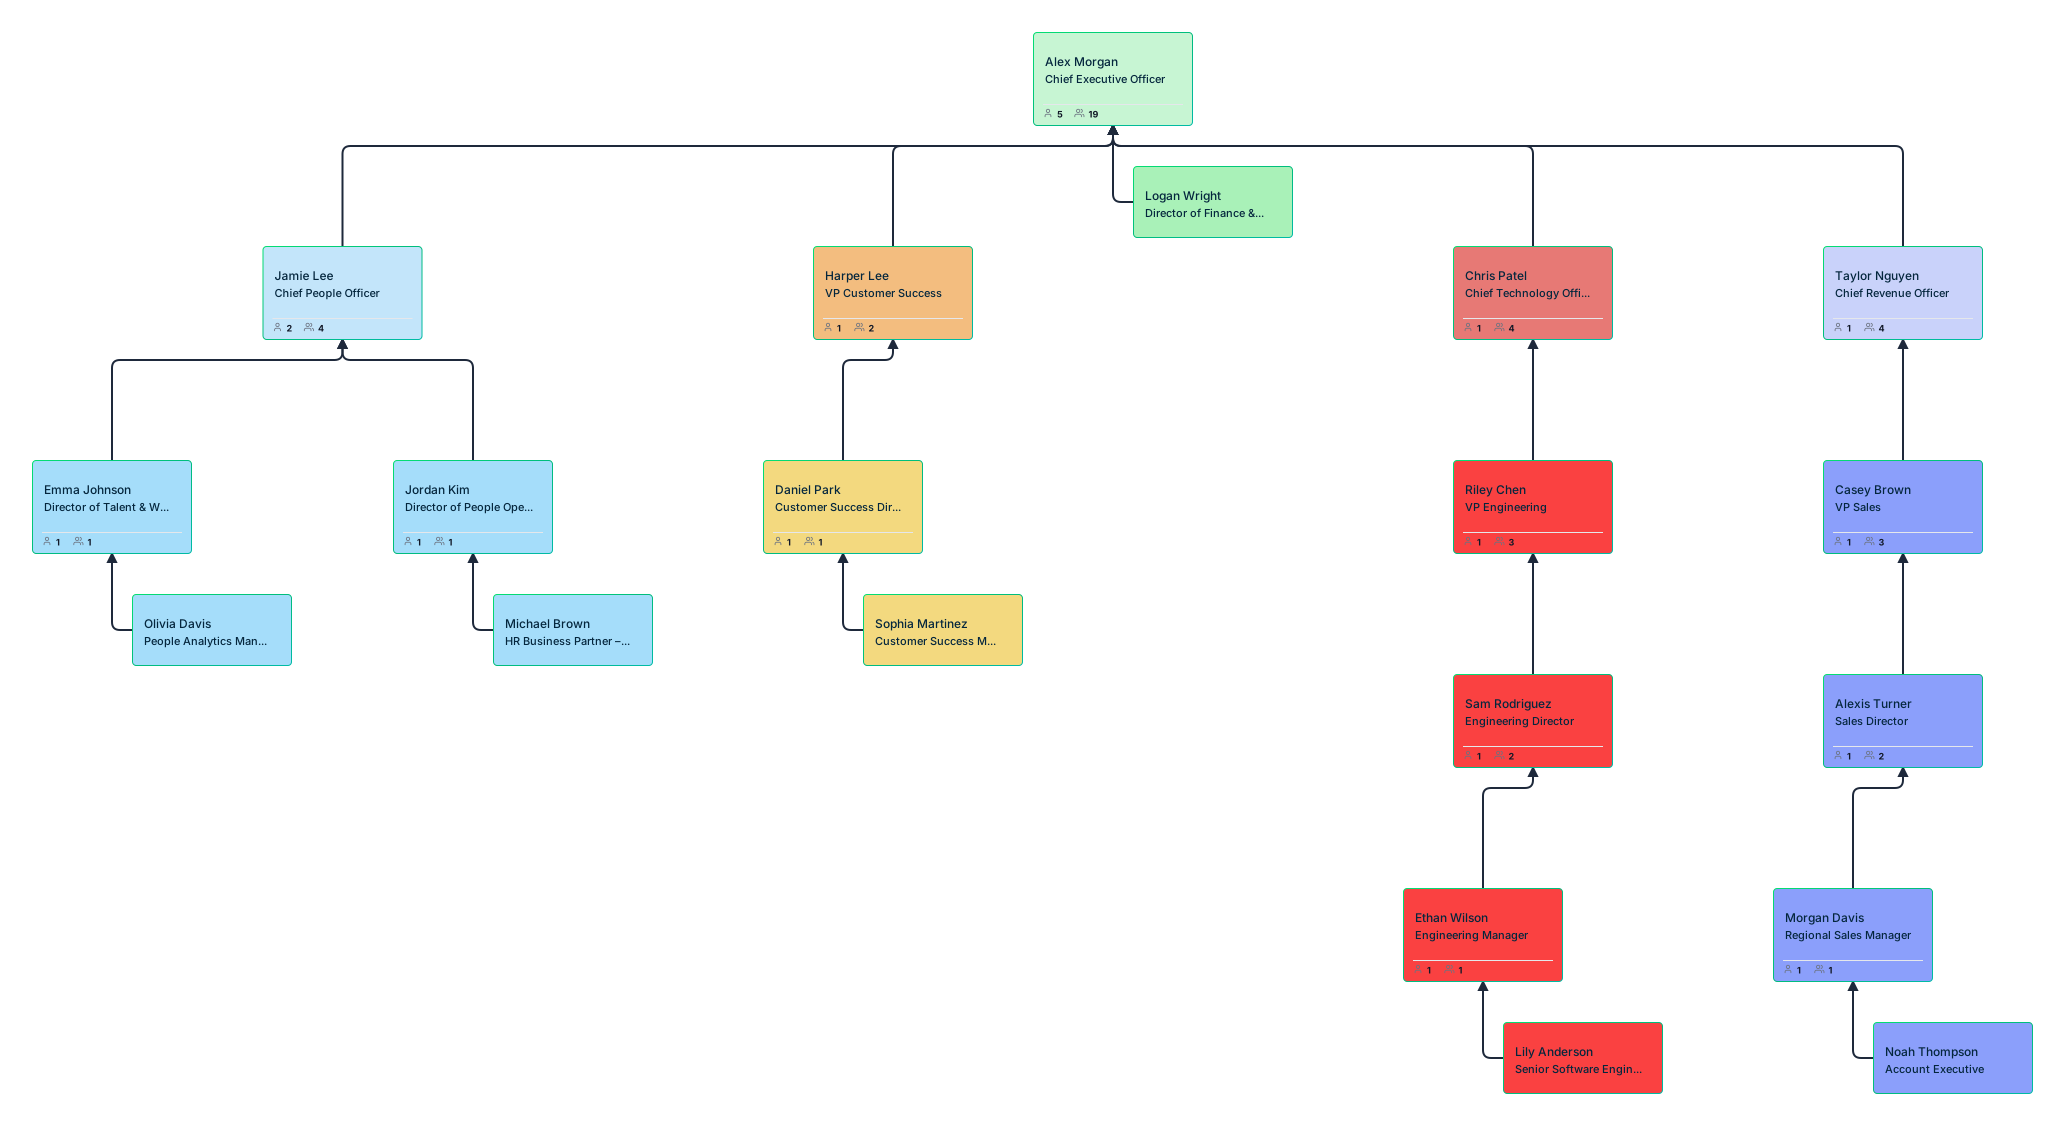
Use these editable examples to present a company-wide structure, introduce new hires to their teams, or support succession and workforce planning. The templates are separate from the Excel-to-CSV workflow; the importer builds the hierarchy from your mapped employee records.




Helpful Org Chart Resources
Follow the Atlas importer from column mapping through validation and sharing.
Compare reporting structures before planning your team's chart.
Use your reviewed organization structure for headcount and staffing discussions.