In this guide, we’ll explain what workflow mapping is, why it matters, and how to create one step by step, with examples and templates you can use to streamline processes like onboarding, content publishing, or purchase approvals.
What Is Workflow Mapping
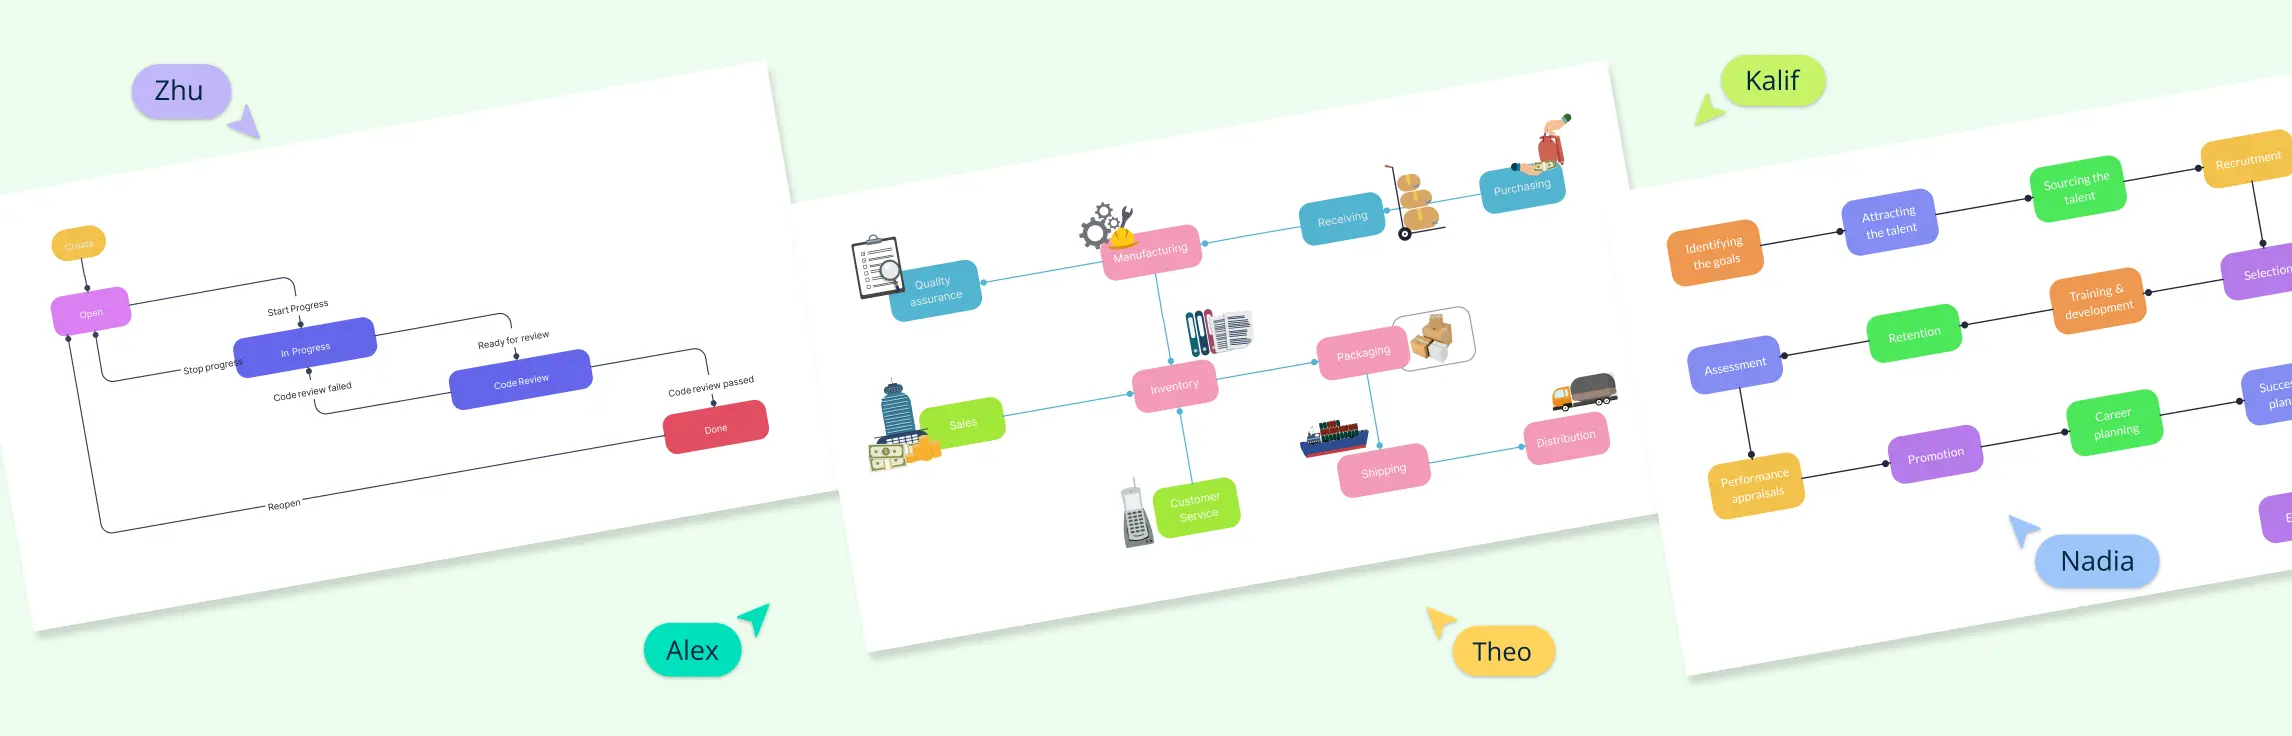
Workflow mapping is the process of drawing out how work gets done, step by step. It shows the sequence of tasks, the people or teams involved, and the decisions that move things forward. Think of it as a visual roadmap of your process — instead of guessing who should do what or when, everyone can see it laid out clearly. By mapping workflows, you can spot where tasks slow down, where handoffs happen, and where improvements or automation might save time.


When to Use Workflow Mapping
Workflow mapping is a powerful tool for transforming disorganized or inefficient processes into clear, streamlined workflows. Here are key scenarios where it can make a significant difference:
Onboarding new employees: Mapping the employee onboarding process helps ensure consistency, reduces confusion, and accelerates integration for new hires.
Documenting complex workflows: When dealing with intricate processes, mapping workflows provides a visual representation that simplifies understanding and communication.
Identifying bottlenecks and inefficiencies: By visualizing workflows, teams can pinpoint areas where delays or redundancies occur, enabling targeted improvements.
Training and knowledge transfer: Workflow maps serve as effective training tools, capturing institutional knowledge and facilitating smoother transitions when team members change roles.
Process improvement initiatives: Whether aiming to reduce cycle times, enhance quality, or automate repetitive tasks, mapping workflows provides a clear foundation for continuous improvement efforts.
Compliance and standardization: In regulated industries, mapping workflows ensures adherence to standards and facilitates audits by providing clear documentation of processes.
Implementing new tools or technologies: Before introducing new software or systems, mapping workflows helps align the technology with existing processes, ensuring a smoother integration.
Workflow Mapping Methods
Workflow mapping is like creating a visual guide that shows how tasks move from one step to the next. Different methods help you map workflows in ways that suit your team’s needs. Here are some common types:
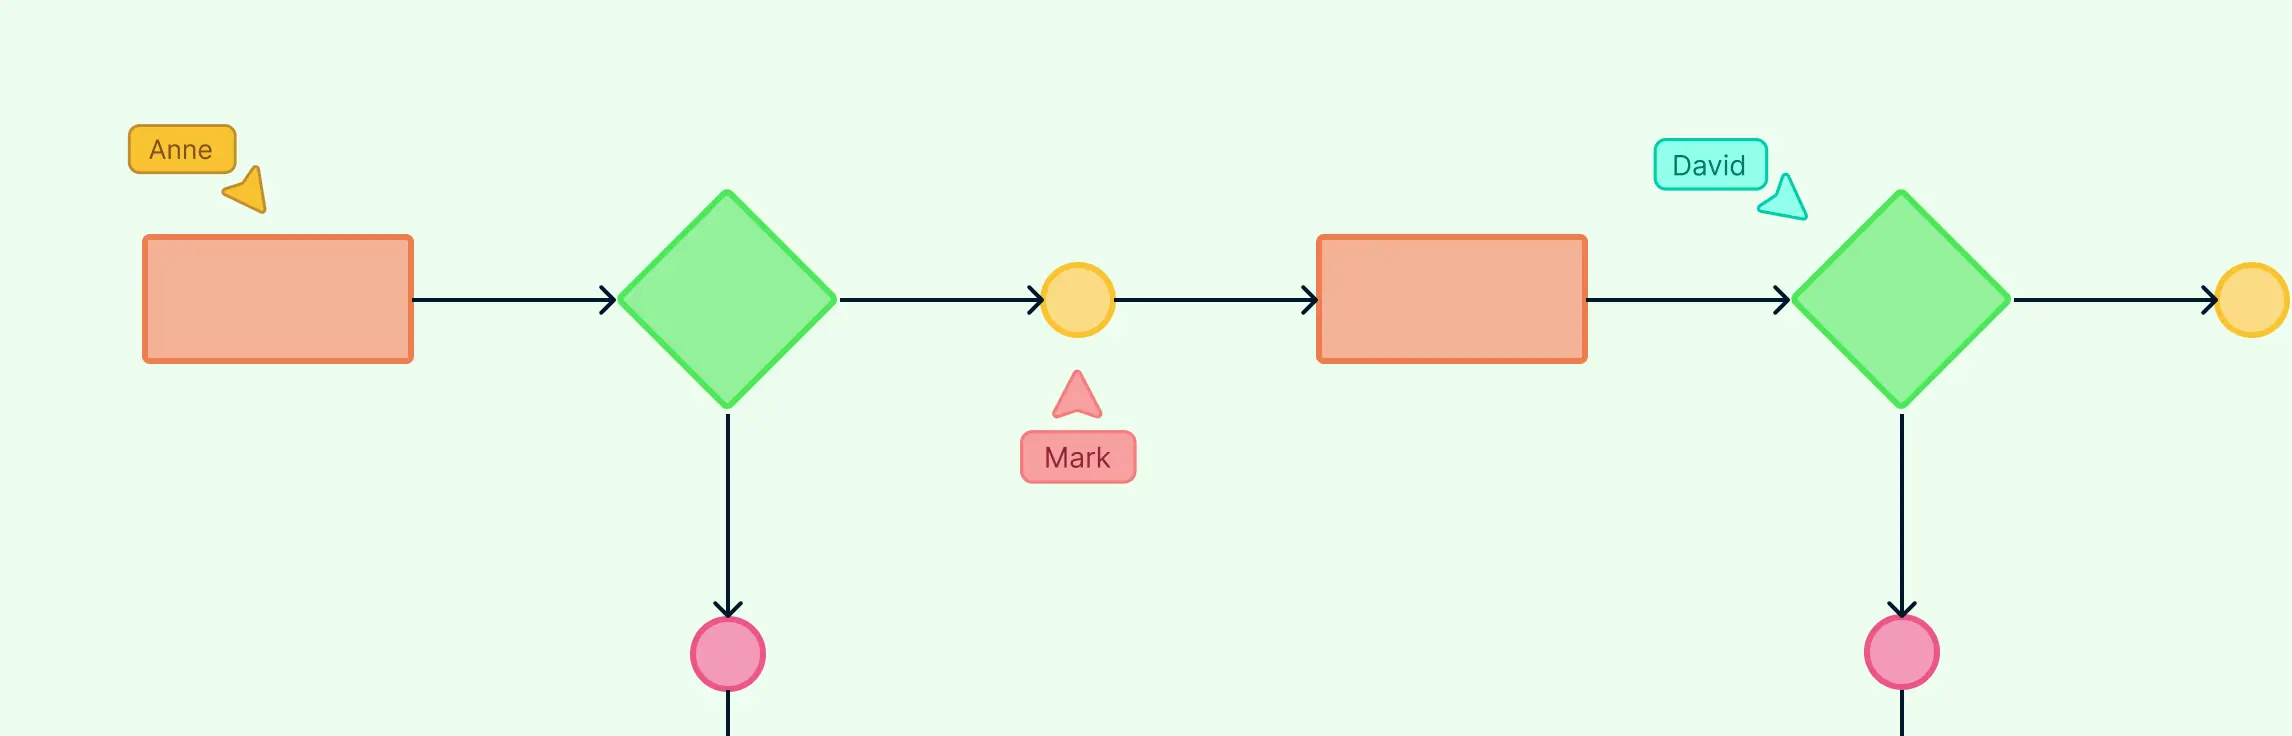
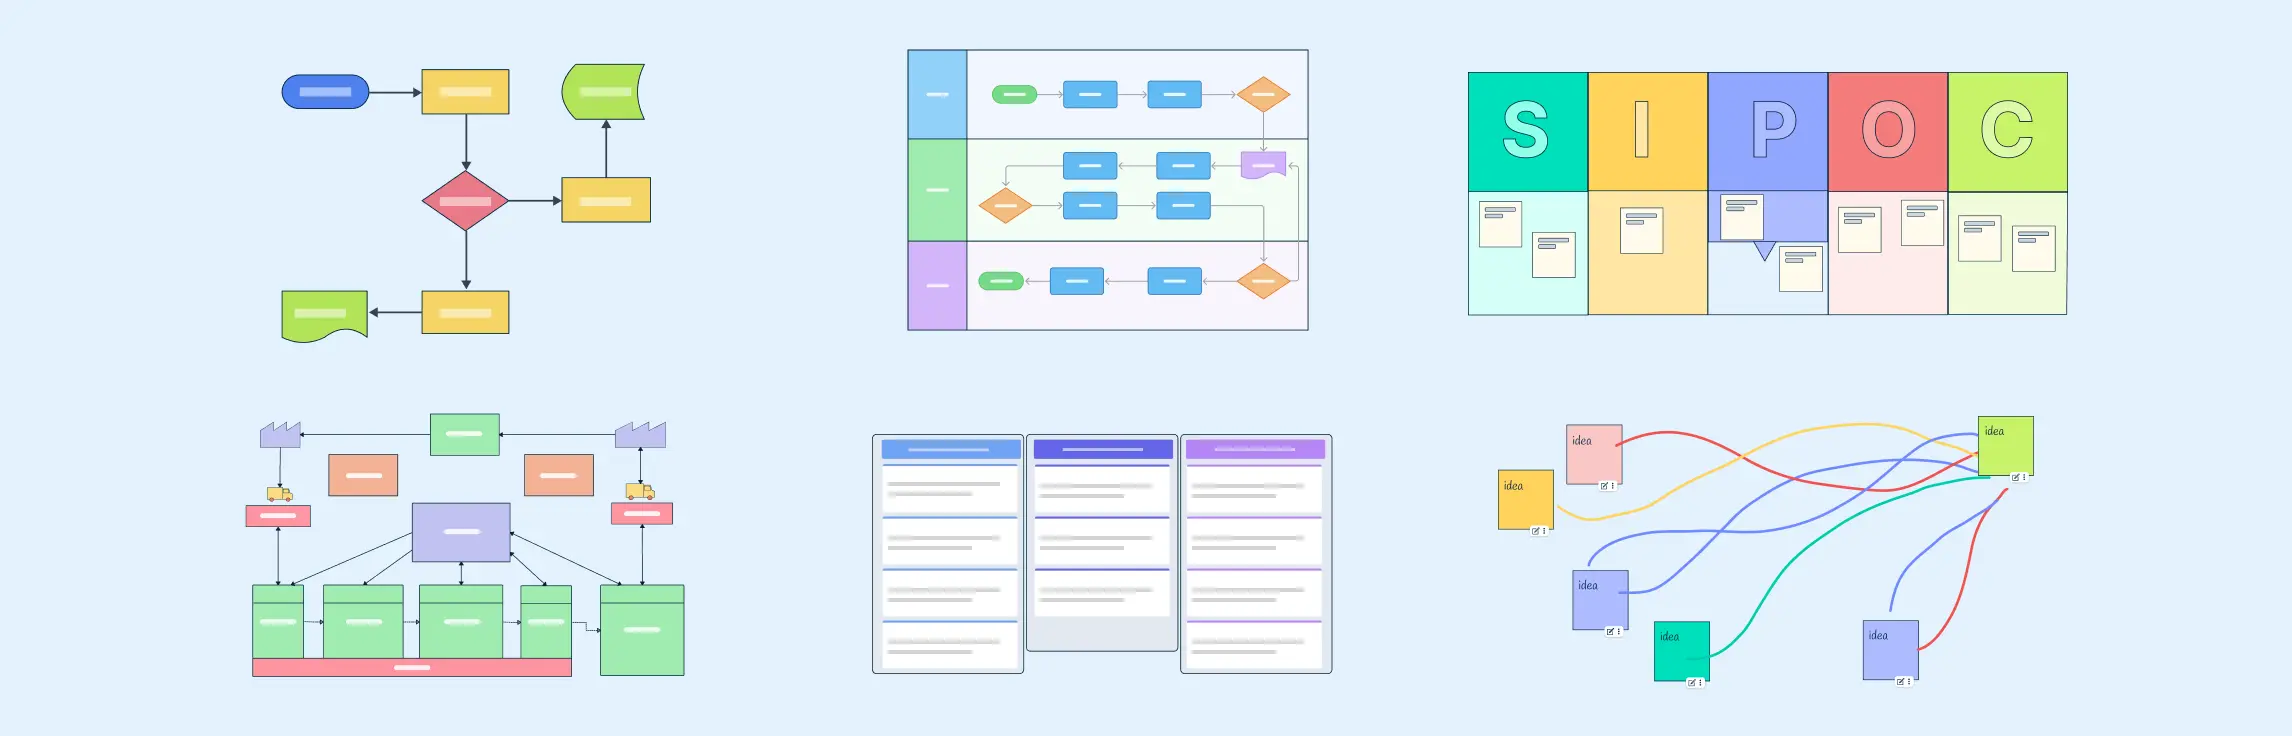
- Flowchart: The most straightforward method, using shapes and arrows to show the sequence of steps in a process. The flowchart is great for simple workflows where tasks follow one after another.

- Swimlane diagram: This method divides the flowchart into lanes, each representing a person, team, or department. The swimlane diagram helps show who does what and when, making it easier to spot handoffs and bottlenecks.

- Value stream map: Often used in lean management, value stream mapping focuses on the flow of materials and information through a process. It helps identify waste and areas for improvement by highlighting delays and inefficiencies.

- SIPOC diagram: Standing for suppliers, inputs, process, outputs, and customers, this high-level map provides a broad overview of a process. The SIPOC diagram is useful for understanding the big picture before diving into details.

- Spaghetti diagram: This method visually traces the path of materials or people through a workspace. The spaghetti diagram is particularly helpful in manufacturing or warehouse settings to identify unnecessary movement and streamline operations.

- Kanban board: While not a traditional map, a kanban board visualizes workflow by showing tasks in columns like “to do,” “in progress,” and “done.” It’s widely used in software development and project management to manage work in progress and improve efficiency.

How to Map Workflows
Mapping a workflow is about making invisible work visible. Instead of guessing where things slow down or overlap, you capture the real flow of tasks, people, and decisions. Here’s how to do it in five clear steps:
Step 1: Set the purpose and scope
Start by asking: Why are we mapping this process? It could be to speed up approvals, reduce errors, or prepare for automation. Then define the boundaries—where the process begins and where it ends. For example, “from receiving a customer order to final delivery.” Without a clear scope, workflow maps tend to grow messy or miss the bigger picture.
Step 2: Engage the people who do the work
Processes often look neat on paper but run differently in real life. Talk to frontline employees, not just managers, because they know the shortcuts, delays, and exceptions. Shadowing people as they work can reveal insights no document ever will—like duplicate data entry or steps added just to “make the system work.” Involving the right people also builds buy-in when it’s time to improve the process.
Step 3: Capture each step and decision
Break the process into every task, decision point, and handoff. Write them down in sequence, including approvals, notifications, or escalations. Also note who is responsible for each step. Many teams discover overlaps (“two people checking the same document”) or gaps (“nobody owns the follow-up”) at this stage. The key is to capture the messy reality, not an idealized version.
Step 4: Visualize the workflow
Once you have the steps, choose a method that makes sense for your process—like a simple flowchart for a straightforward sequence, a swimlane diagram for cross-department work, or a SIPOC for high-level views. The goal is clarity. A good workflow map should be easy to read at a glance and intuitive enough that someone unfamiliar with the process can still follow along.
Step 5: Validate and improve
Share the draft map with everyone involved. Ask: Does this reflect how work really gets done? Often, this is when gaps, bottlenecks, or redundant steps come to light. From there, create a “future state” map that removes unnecessary steps, shortens delays, or highlights tasks ready for automation. Treat this as a living document—processes evolve, and the map should evolve with them.
Free Workflow Mapping Templates
Here are some workflow map examples to get you started.
1. Employee onboarding workflow
This map shows all the steps involved in bringing a new hire on board, such as preparing paperwork, setting up accounts, arranging training, and assigning mentors. It helps make sure nothing is missed and every new employee gets a smooth start.

2. Purchase order workflow
This workflow covers the process of requesting, approving, and fulfilling purchase orders, including steps like manager approval, vendor checks, sending the order, receiving goods, and processing payment. Mapping it helps spot delays and makes the approval process more transparent.

3. Order-to-fulfillment process
This map follows the journey from when an order is received to final delivery, including order validation, inventory checks, packaging, shipping, and confirmation. It makes it easier to see where time is lost and how to speed up delivery to customers.

4. Content publishing workflow
This example covers how content moves from idea to publication—drafting, editing, approvals, formatting, scheduling, and promotion. Mapping this workflow keeps everyone aligned, shortens review cycles, and helps teams publish more consistently.

5. Cross-functional workflow (swimlane)
This type of map shows how a process moves across different departments, such as HR, IT, and finance. Each lane represents a role or team, making it clear who is responsible at each step and helping to reduce confusion or duplication of effort.

Workflow Mapping Tips
Start small before going big: Don’t try to map an entire organization at once. Begin with a single process that’s causing issues or has clear improvement potential.
Map the real process, not the ideal one: People often describe how a process should work, but that hides the real bottlenecks. Capture how it actually happens day to day, even if it looks messy.
Use the right level of detail: Too much detail makes the map hard to read, too little leaves gaps. Focus on key steps, decisions, and handoffs that affect outcomes.
Involve the right people: Those who do the work know the process best. Including them avoids missing steps and builds ownership for improvements.
Keep the visuals clear and simple: Use consistent shapes and symbols. Avoid clutter—your map should be easy to follow at a glance.
Highlight problem areas: Mark delays, bottlenecks, or repeated tasks on the map. This makes it easier to spot opportunities for improvement.
Treat it as a living document: Processes change. Review and update workflow maps regularly so they stay relevant and useful.
Advantages and Disadvantages of Workflow Process Mapping
| Advantages | Disadvantages |
| Makes processes clear and easy to understand | Can be time-consuming to create, especially for complex workflows |
| Helps identify bottlenecks, delays, and inefficiencies | Requires input from multiple people, which may slow progress |
| Improves communication and accountability across teams | If done poorly, maps can misrepresent the real process |
| Supports training and onboarding for new employees | Too much detail can make maps overwhelming and hard to read |
| Provides a foundation for automation and digital transformation | Needs regular updates to stay accurate as processes change |
| Aids in compliance and audit readiness by documenting steps | May face resistance from employees who fear increased scrutiny |
Why Use Creately for Workflow Mapping
Creately makes mapping workflows easier by combining diagramming, collaboration, and data handling in one platform. Instead of just drawing shapes, you can build living workflow maps that your team can use every day. Key features that make it useful include:
Easy-to-use templates and shapes – Start quickly with ready-made workflow templates, flowchart symbols, and swimlane diagrams that can be customized to fit your process.
Drag-and-drop visual editor – Build workflows without complexity. The interface is simple enough for beginners yet flexible for detailed mapping.
Quick access toolbar – Edit colors, text, and styles directly on shapes for fast updates while you map.
Real-time collaboration – Work with your team on the same map, leave comments, and track changes—ideal for remote or hybrid teams.
Data-linked workflows – Go beyond static diagrams by attaching notes, links, or documents directly to workflow steps for added context.
Presentation and sharing options – Share your workflow as a link, export it, or present directly from Creately, making it easy to communicate processes.
AI-powered support with Creately AI – Quickly generate workflows or refine them using AI to save time in the mapping process.