Using Notes
Note-taking is an essential part of writing and editing content on Creately. You can now add notes to any shape. You can also select different sets of content blocks, or even create your own database using the Notes & Data feature on Creately.
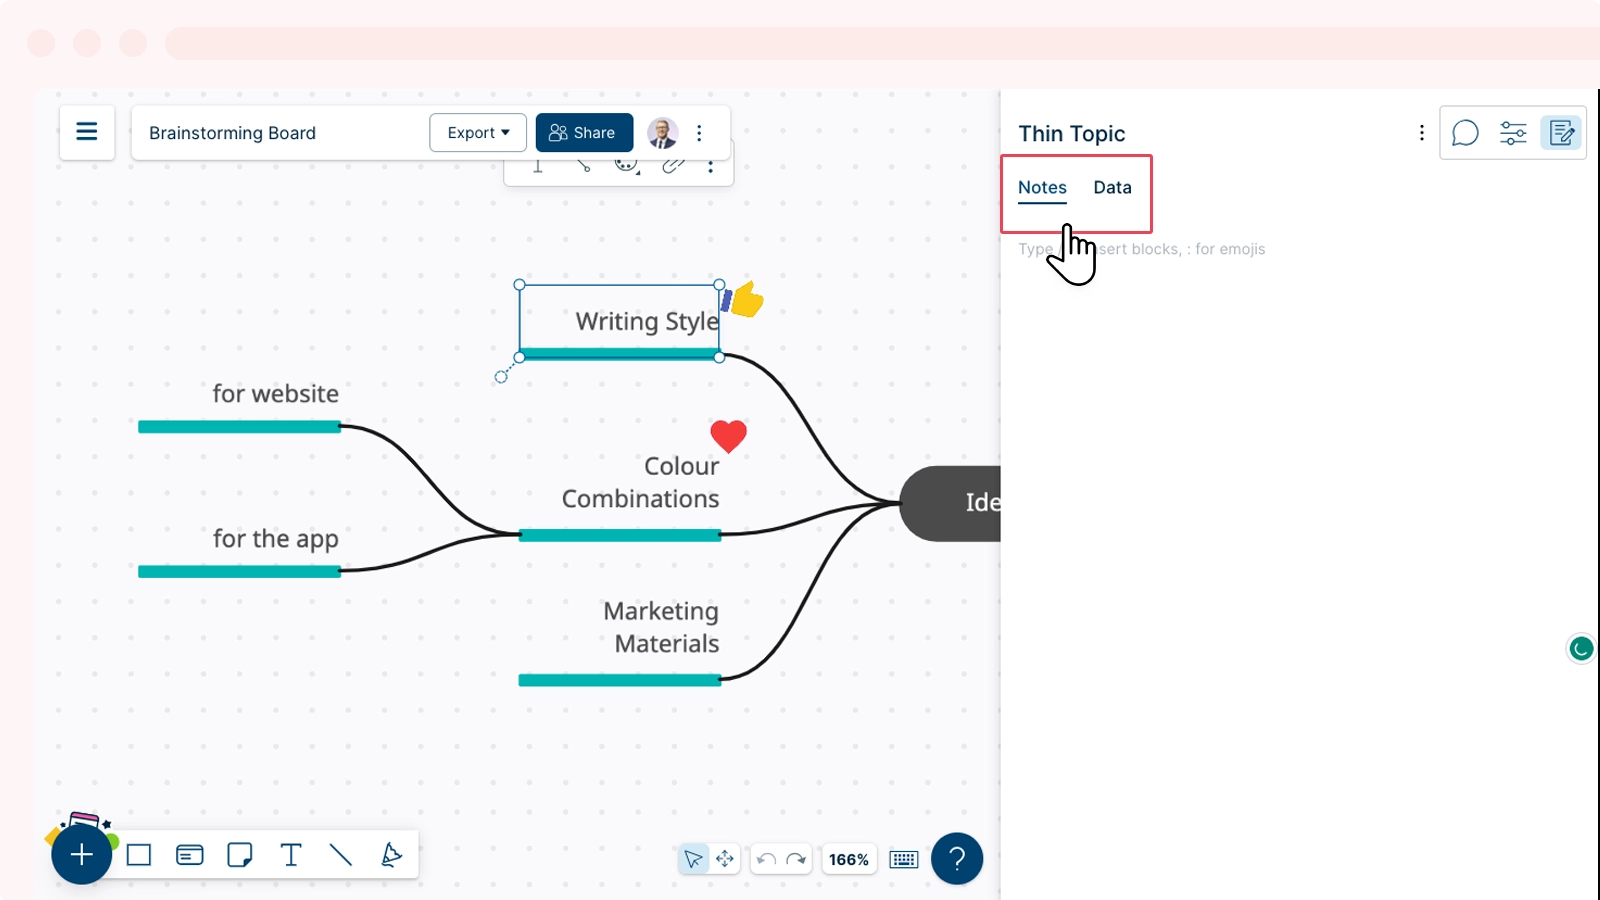
Using Notes & Data on Creately
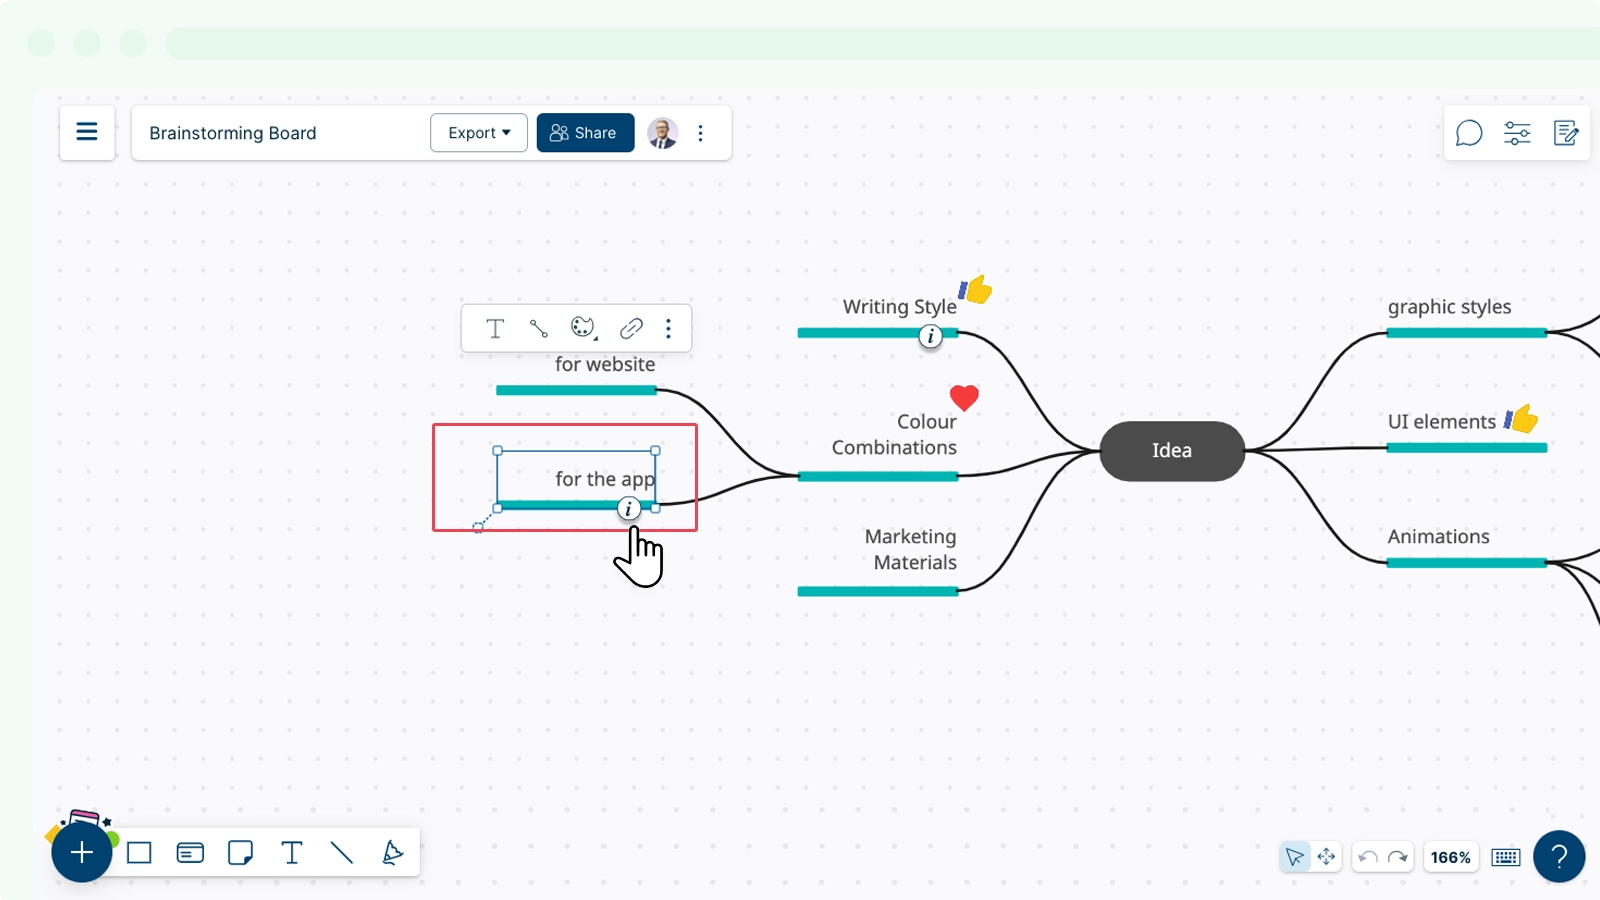
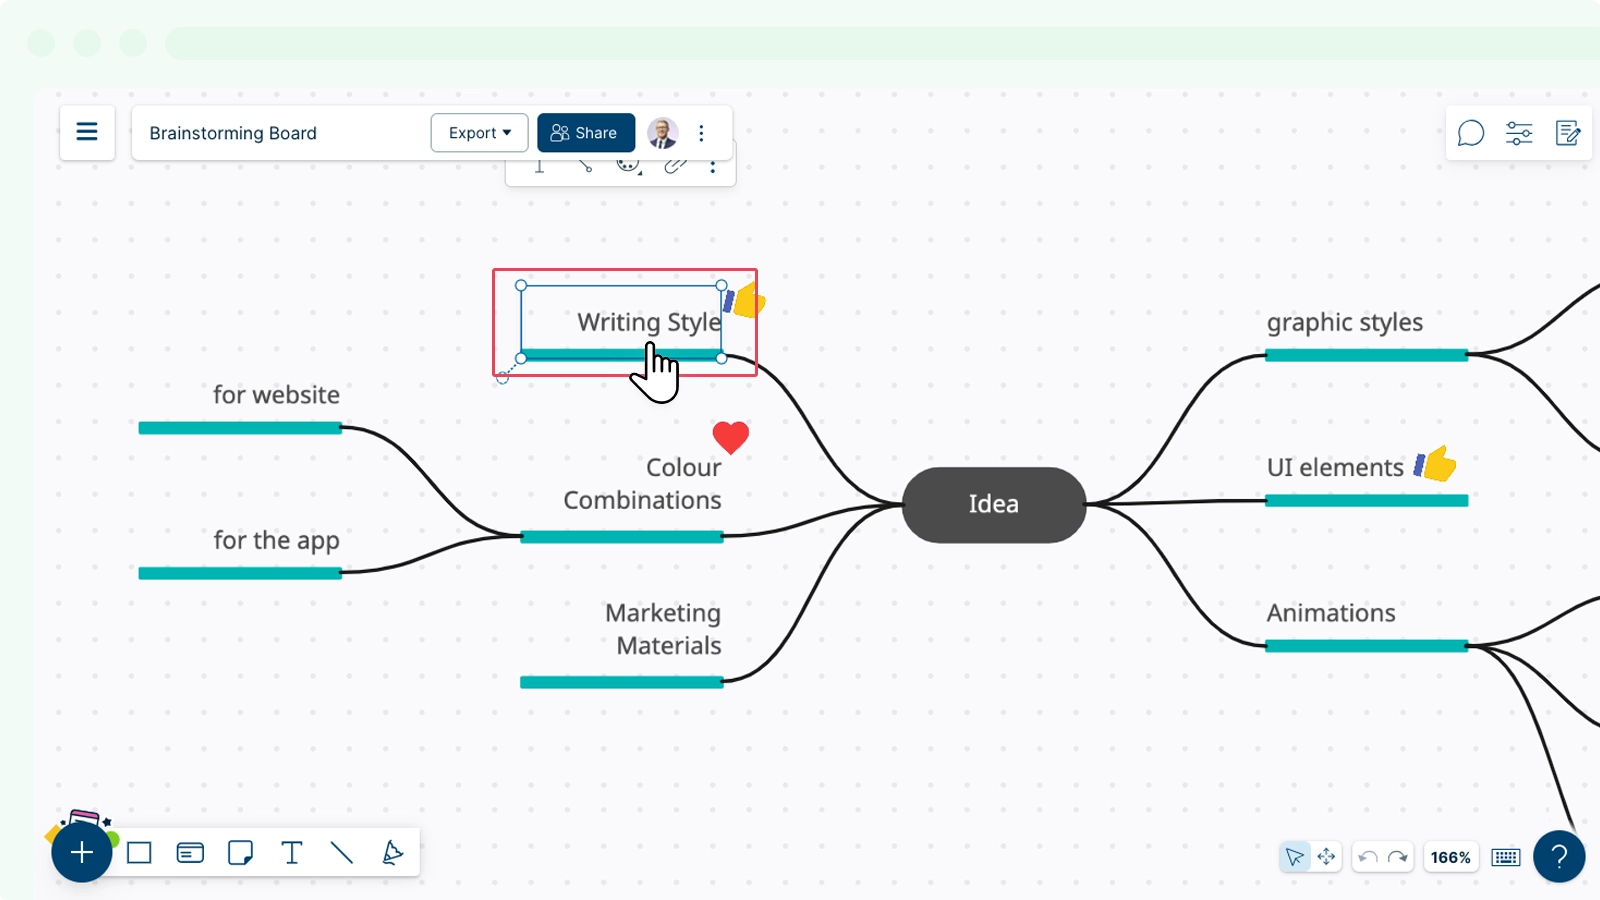
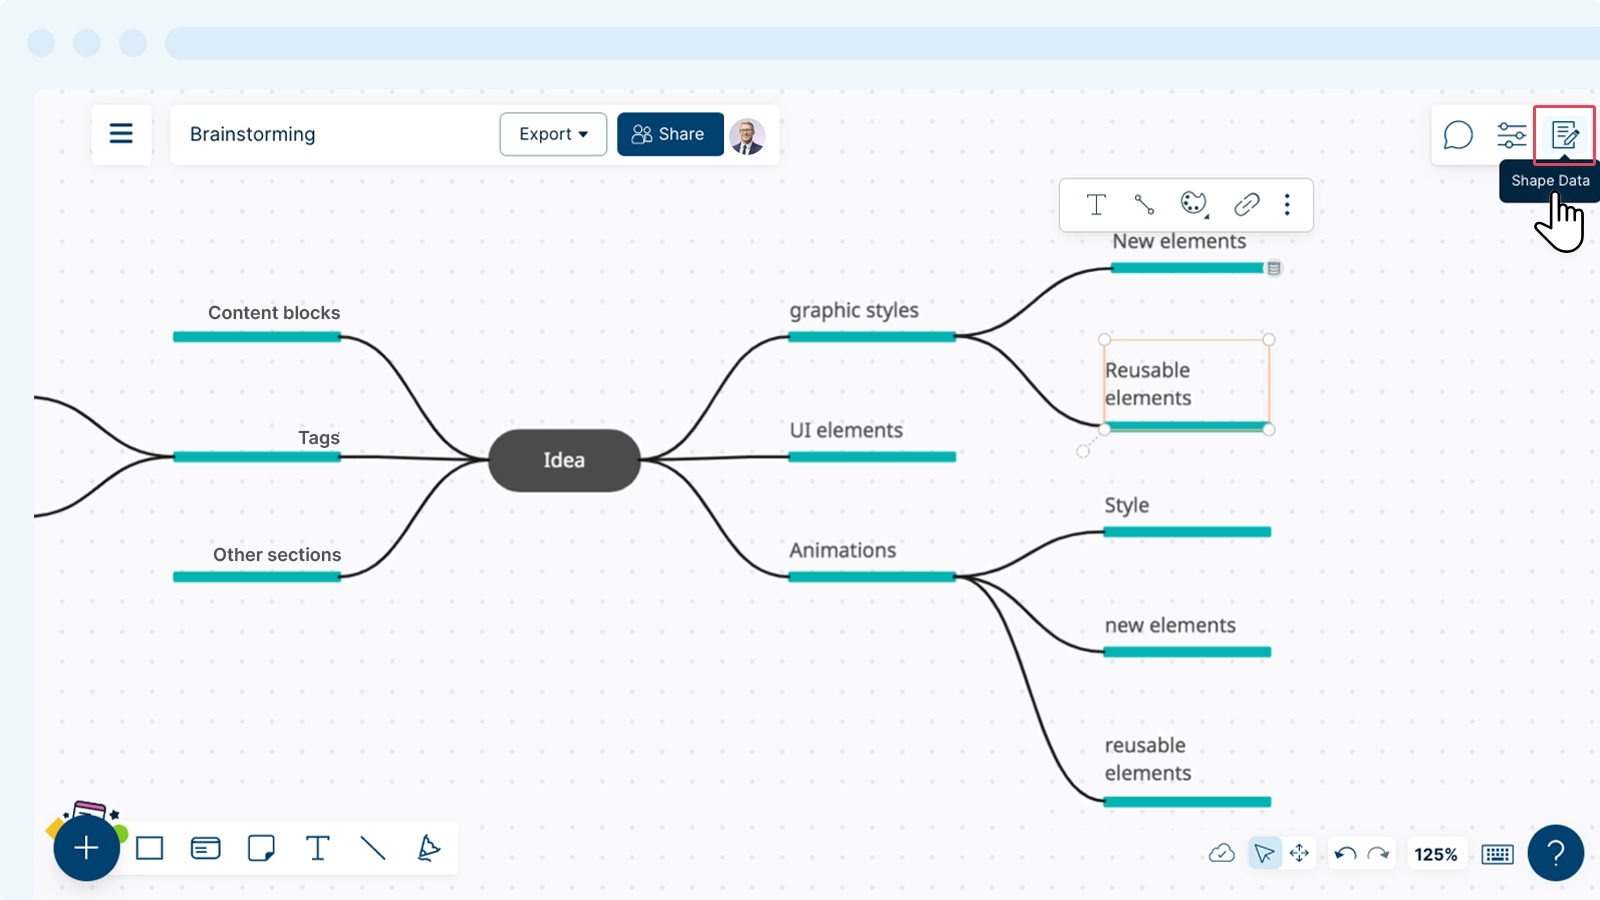
- Select a shape you want to add notes to.
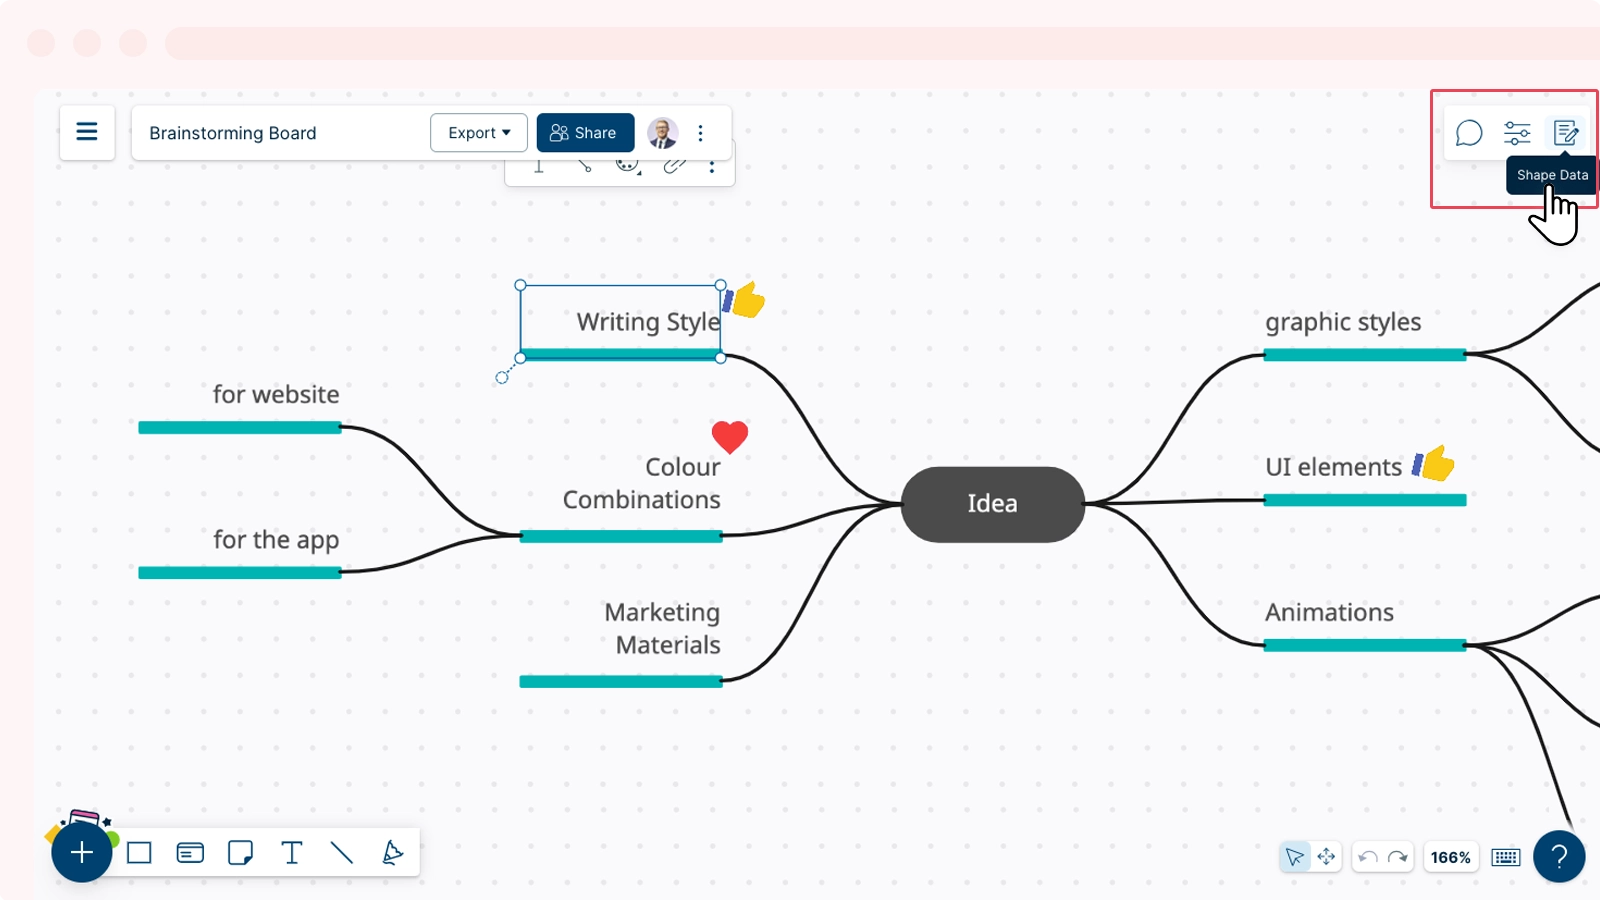
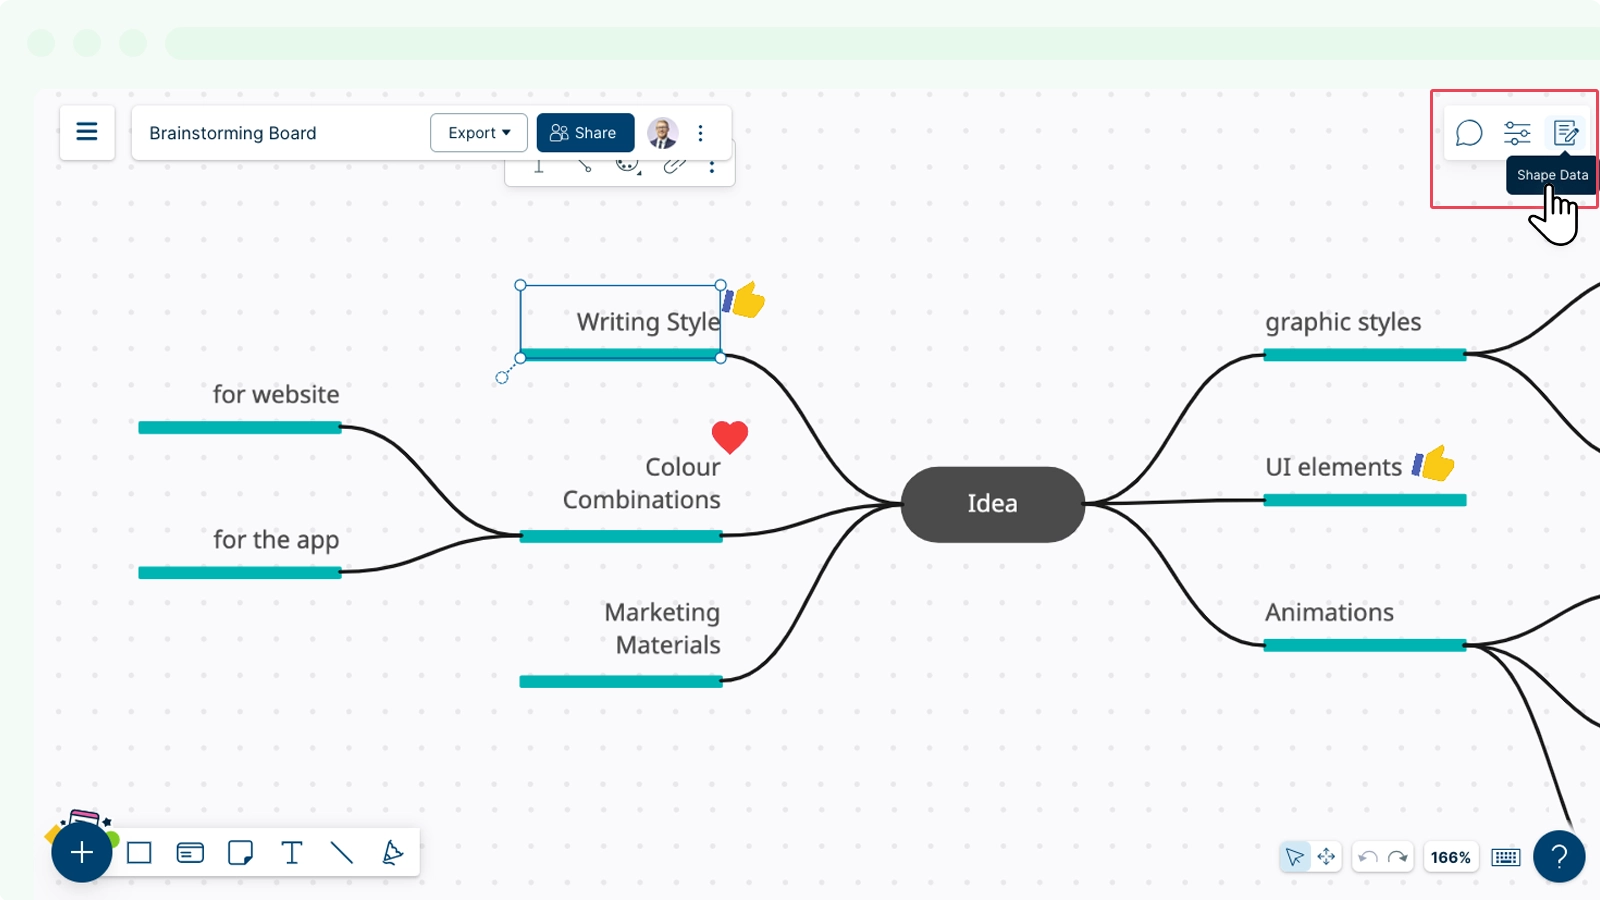
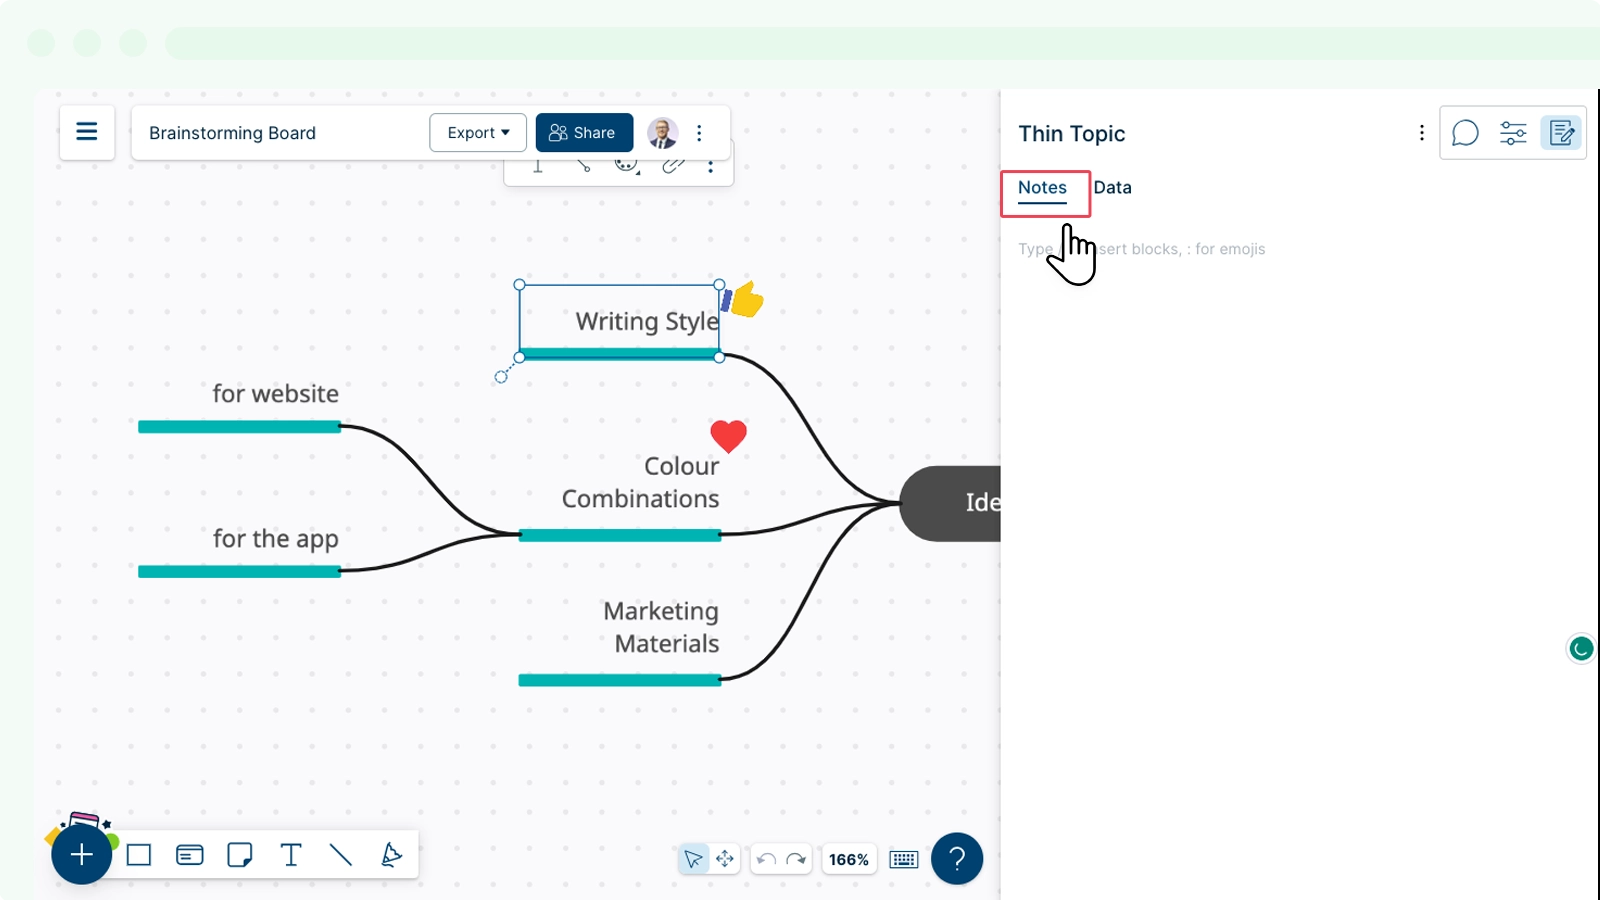
- Select
 Shape Data in the top right corner.
Using Content Blocks
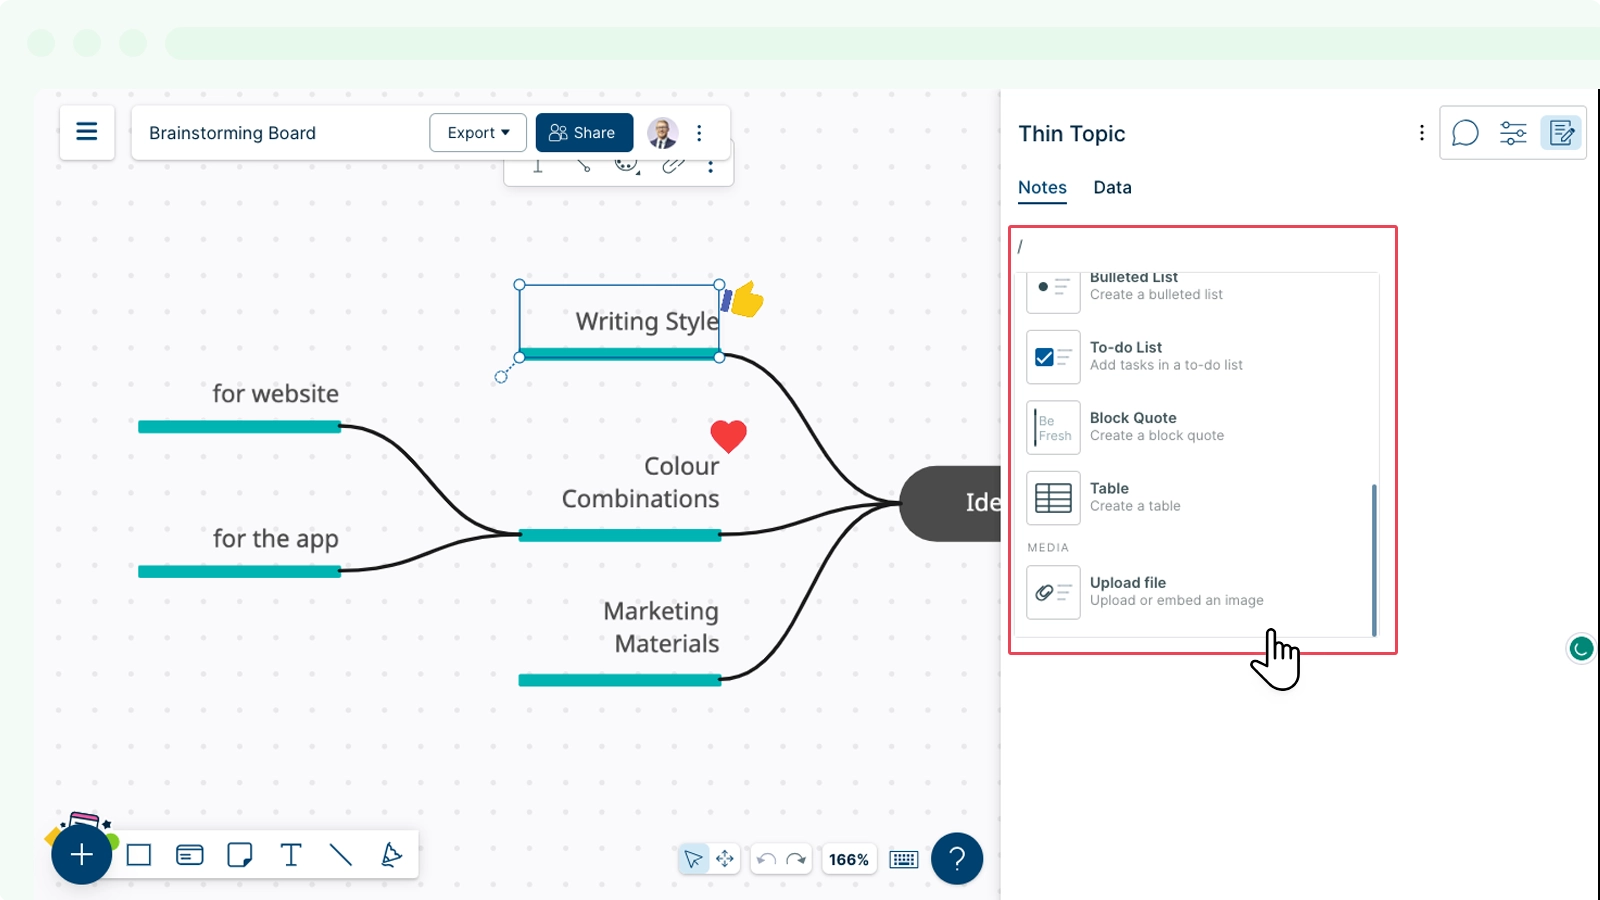
The rich notes section allows you to add content in multiple ways. You can format the notes attached to any shape on the workspace using the following Rich-Text formatting features available on the Notes & Data panel:
- Data Fields
- Headings
- Numbered Lists
- Bulleted Lists
- To-do Lists
- Block Quote
- Table
- Attachment
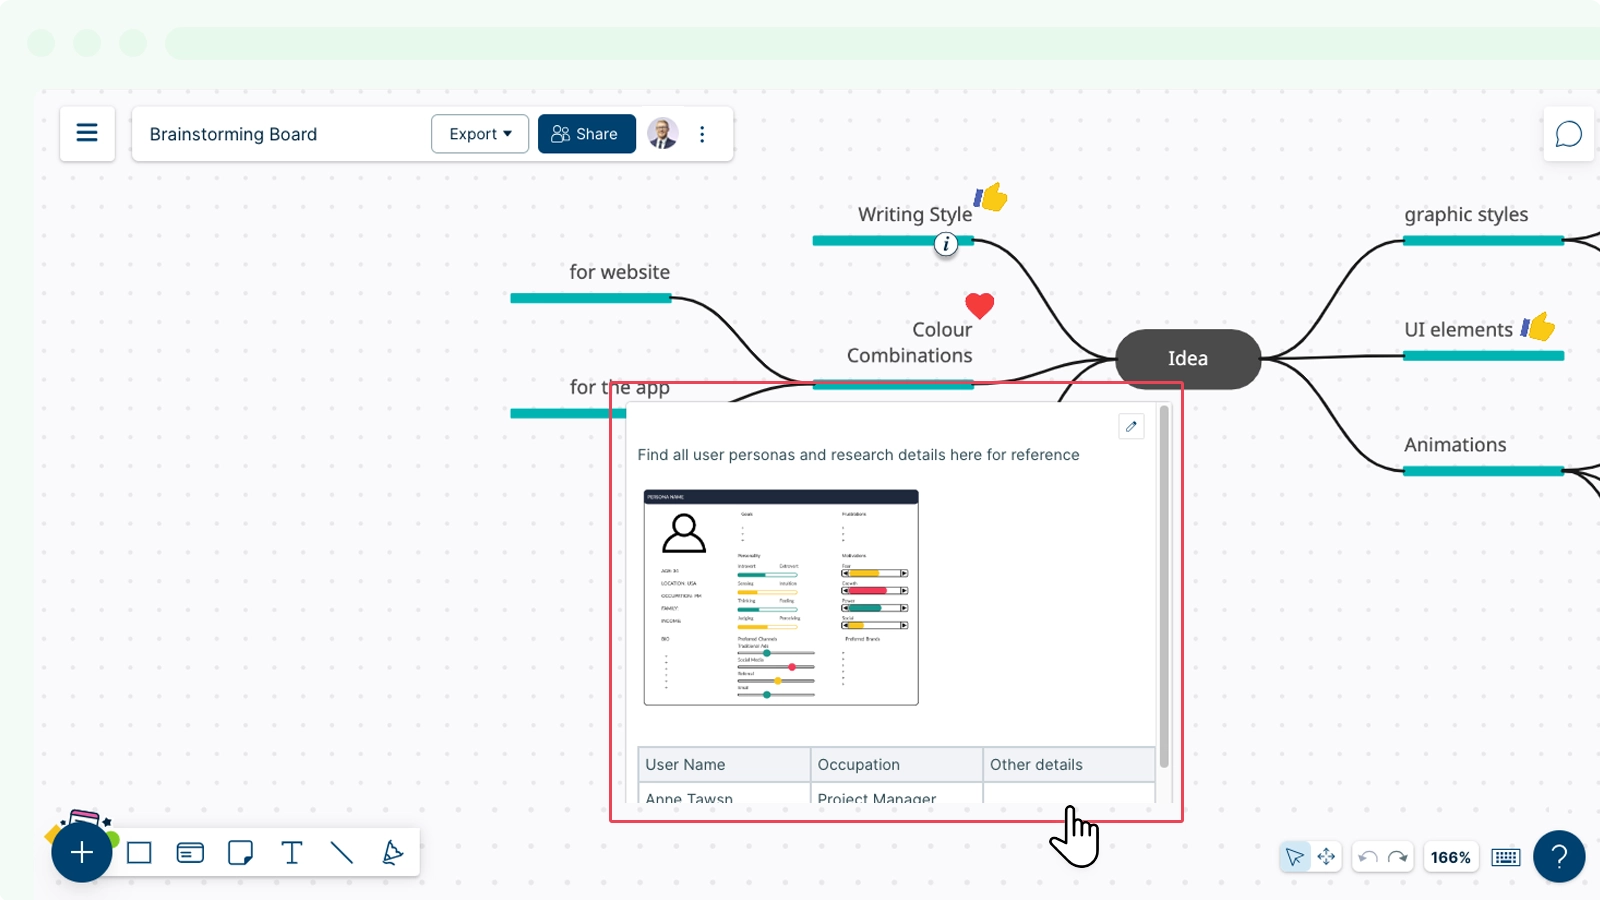
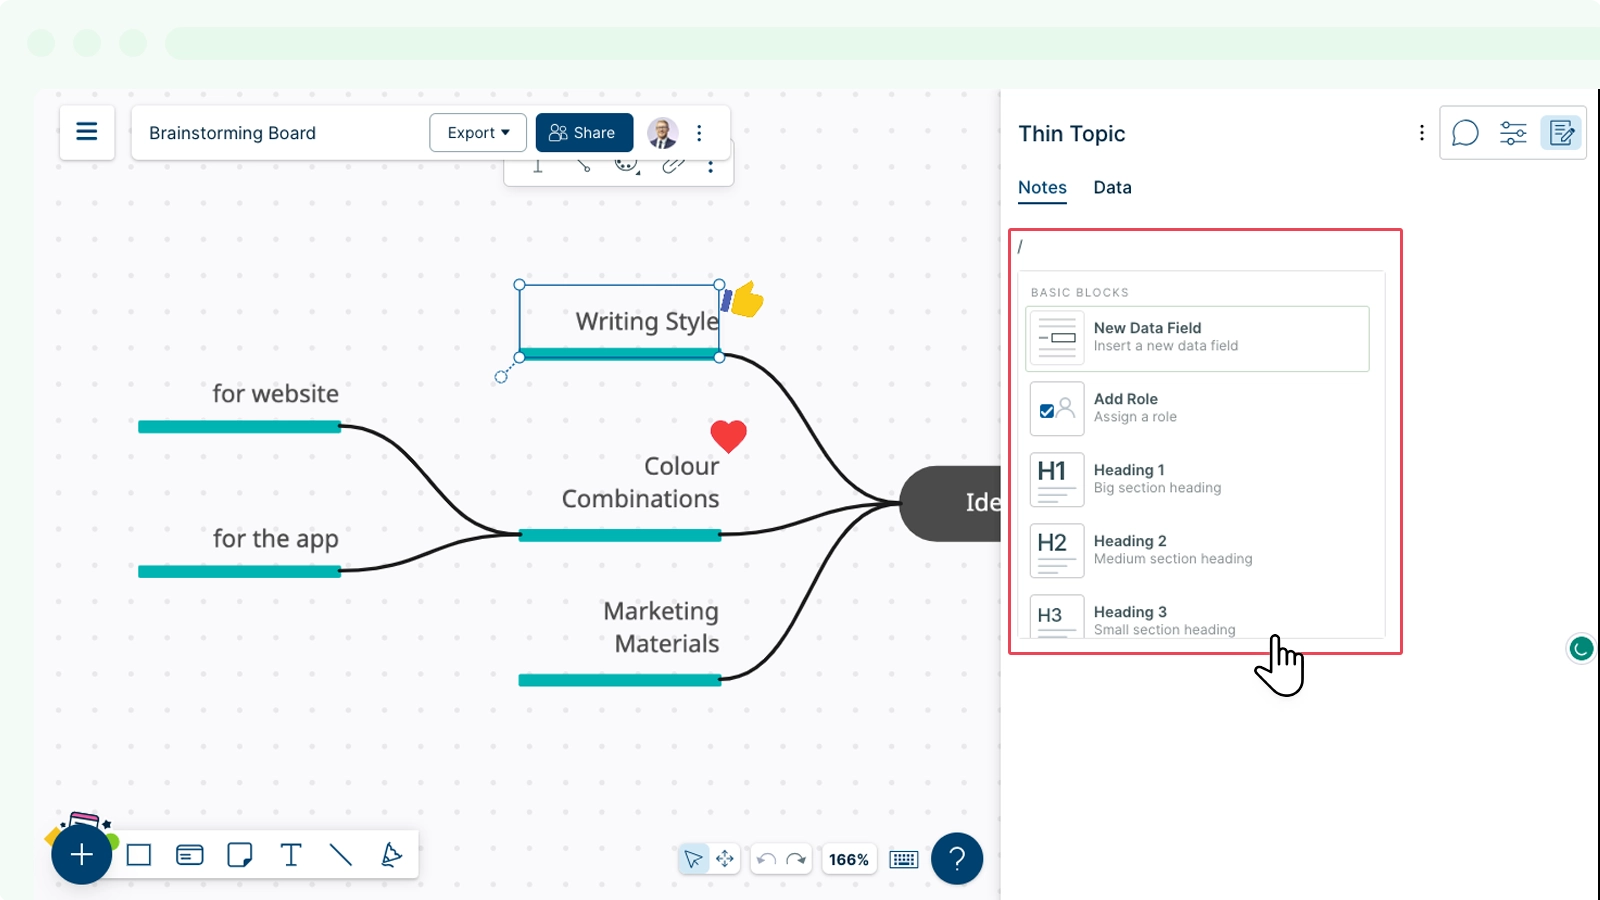
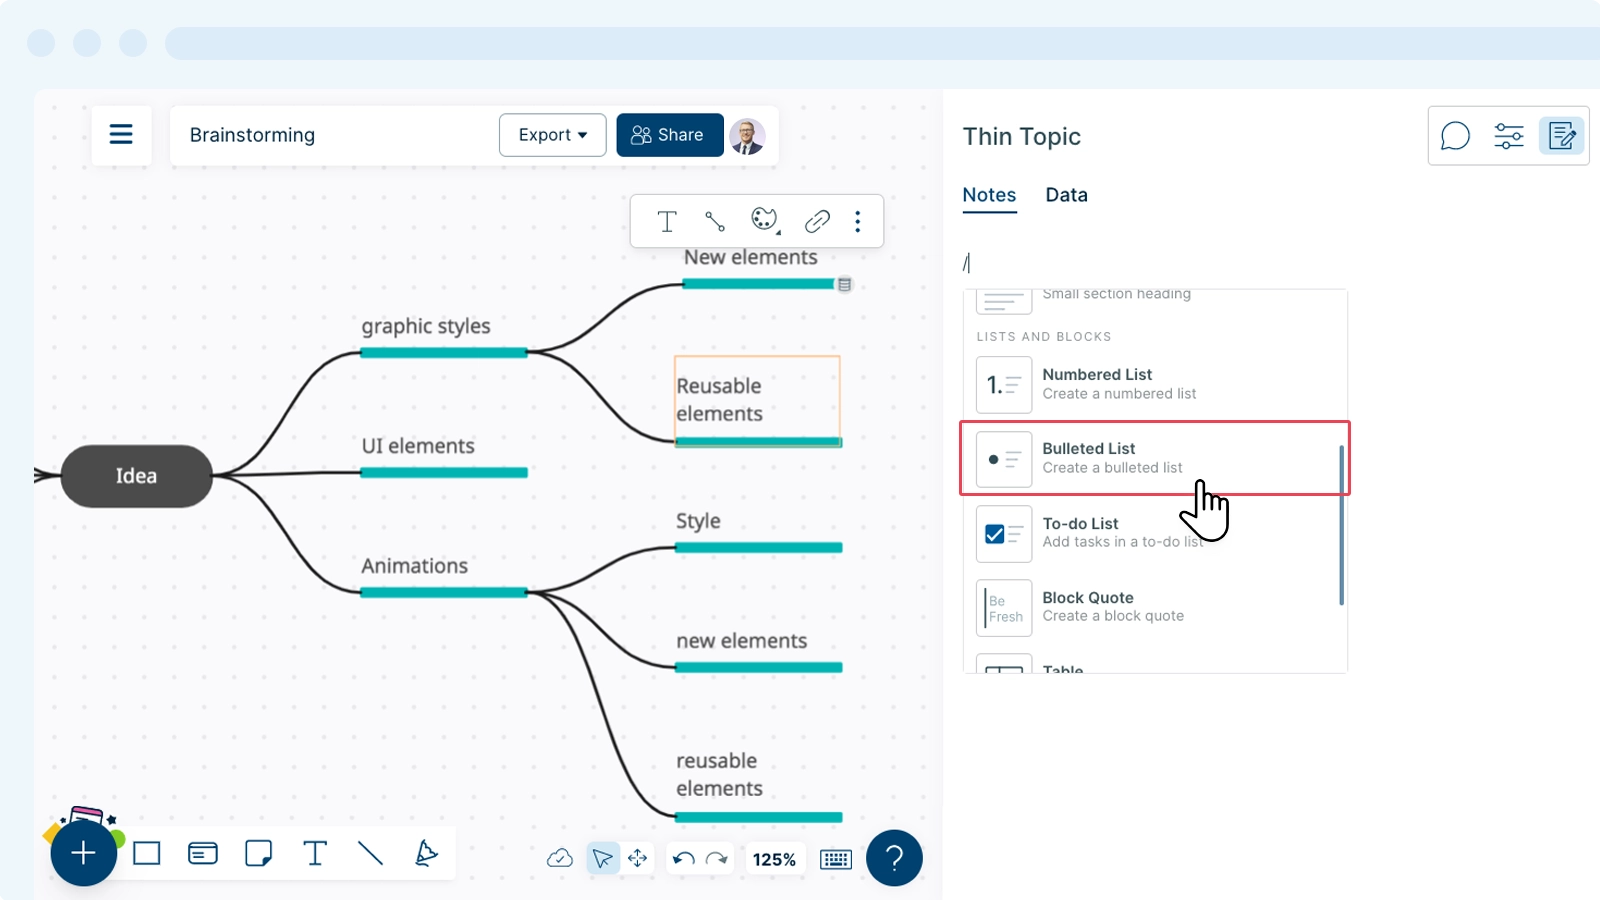
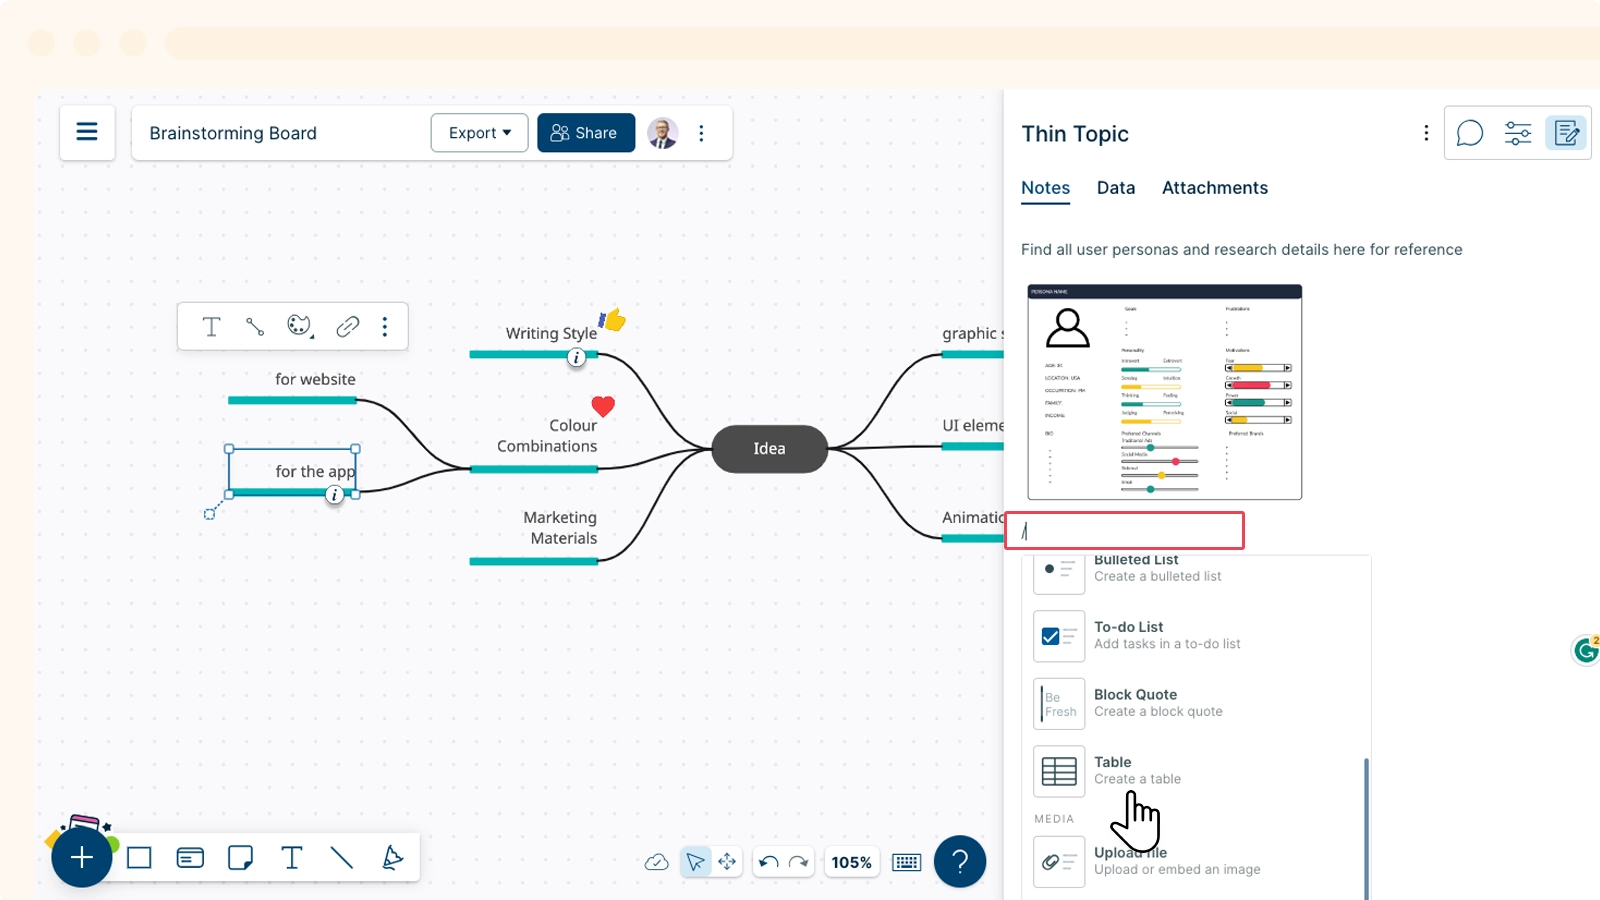
Adding a Content Block in Notes
Once you select a shape on the canvas and go to the ![]() Shape Data panel of it, enter /(forward slash) and select a content block from the drop-down list as shown below:
Shape Data panel of it, enter /(forward slash) and select a content block from the drop-down list as shown below:

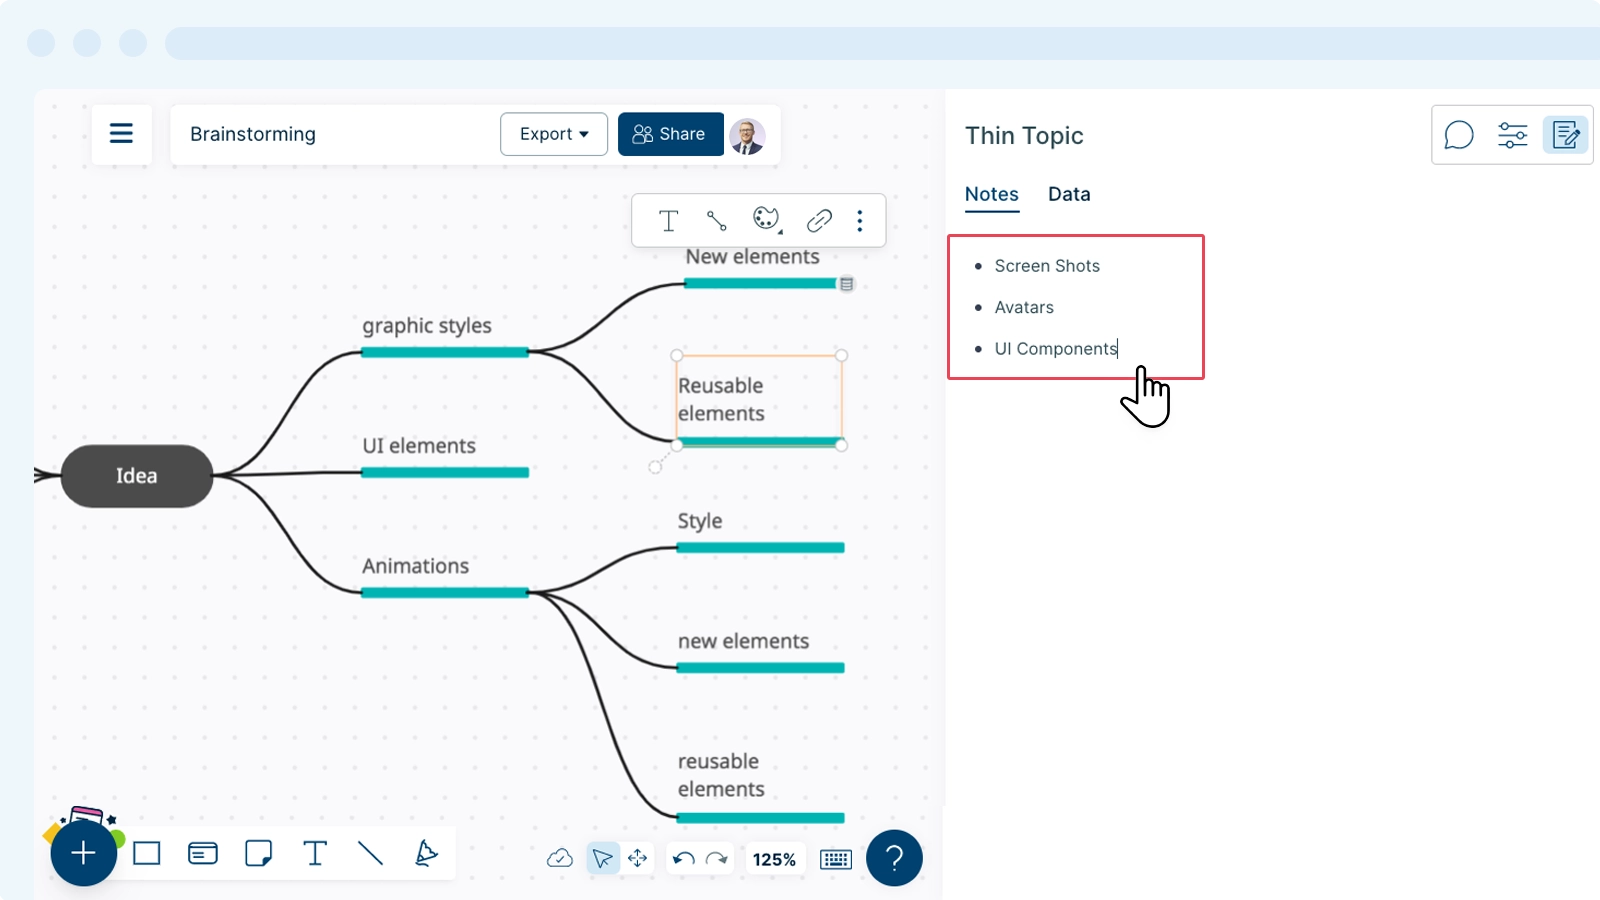
Formatting Content
You can make use of the different formatting options under the Notes panel using the content blocks that help you structure your content, which makes it easier to read and engage with.
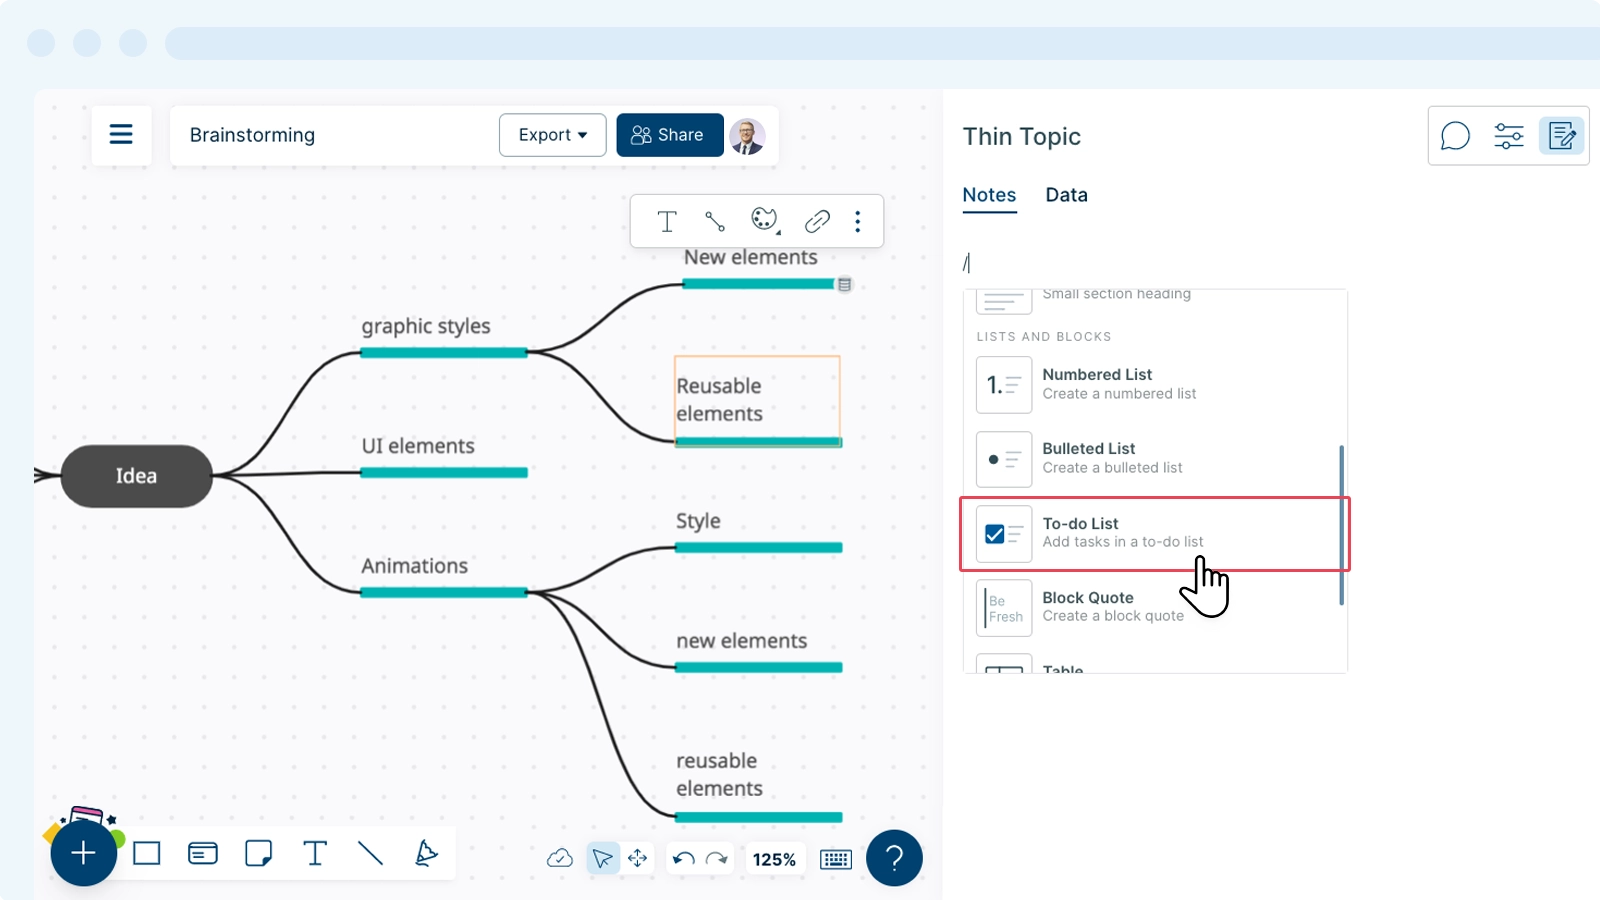
Adding Lists
- Select a shape on the canvas and go to the Shape Data panel.
- Enter /(forward slash).
- You can select number of lists: bulleted list, numbered list, option list, or to-do list as follows:


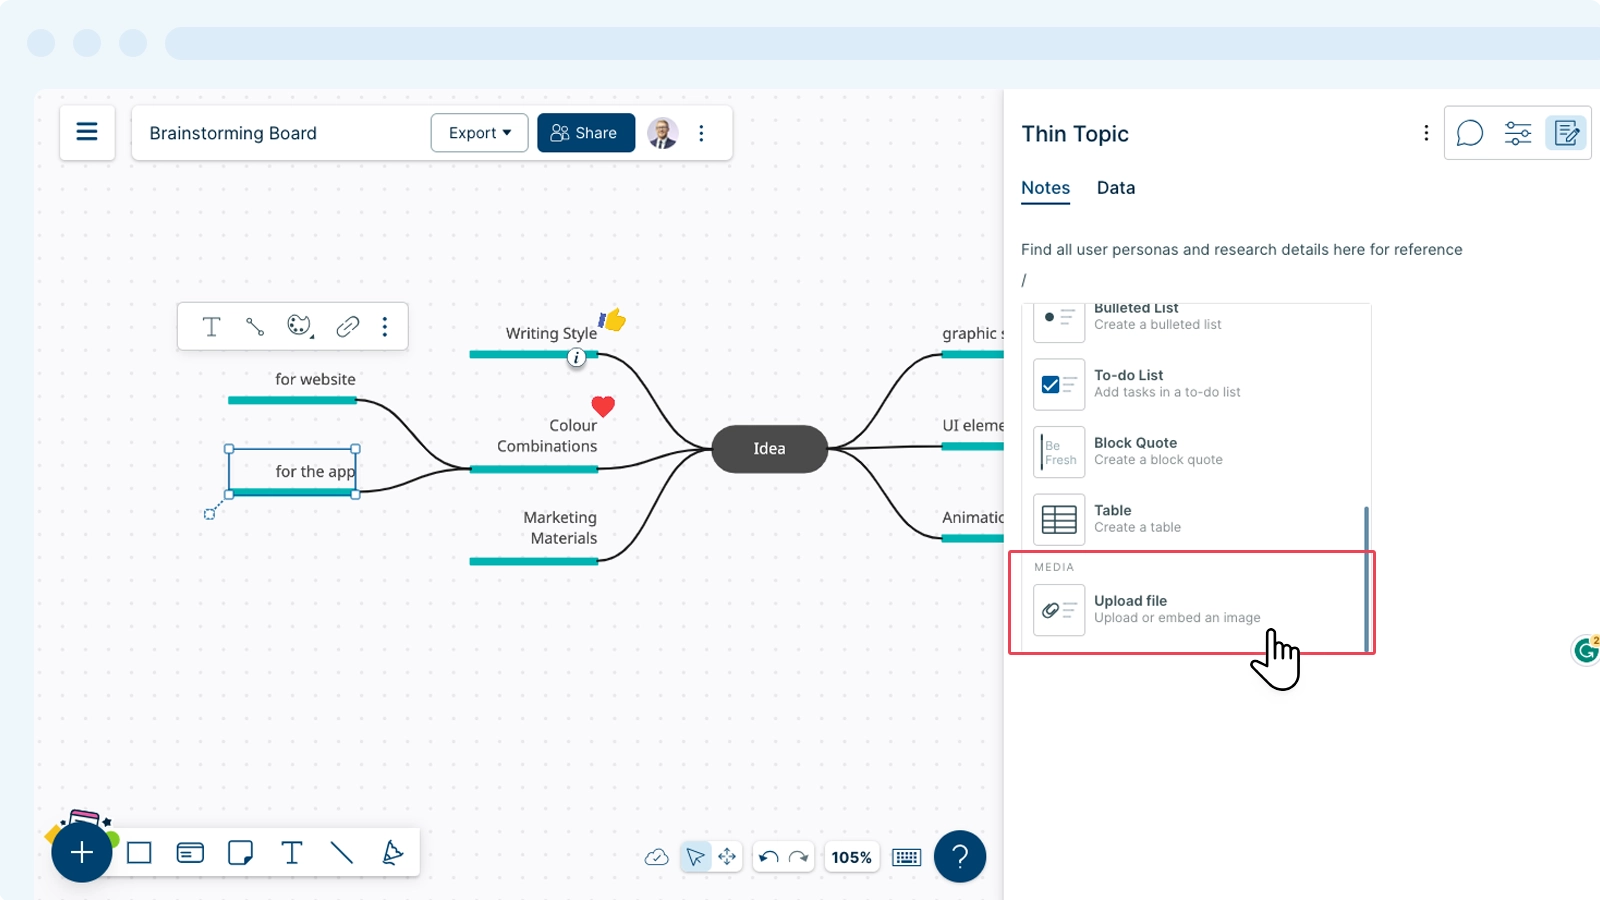
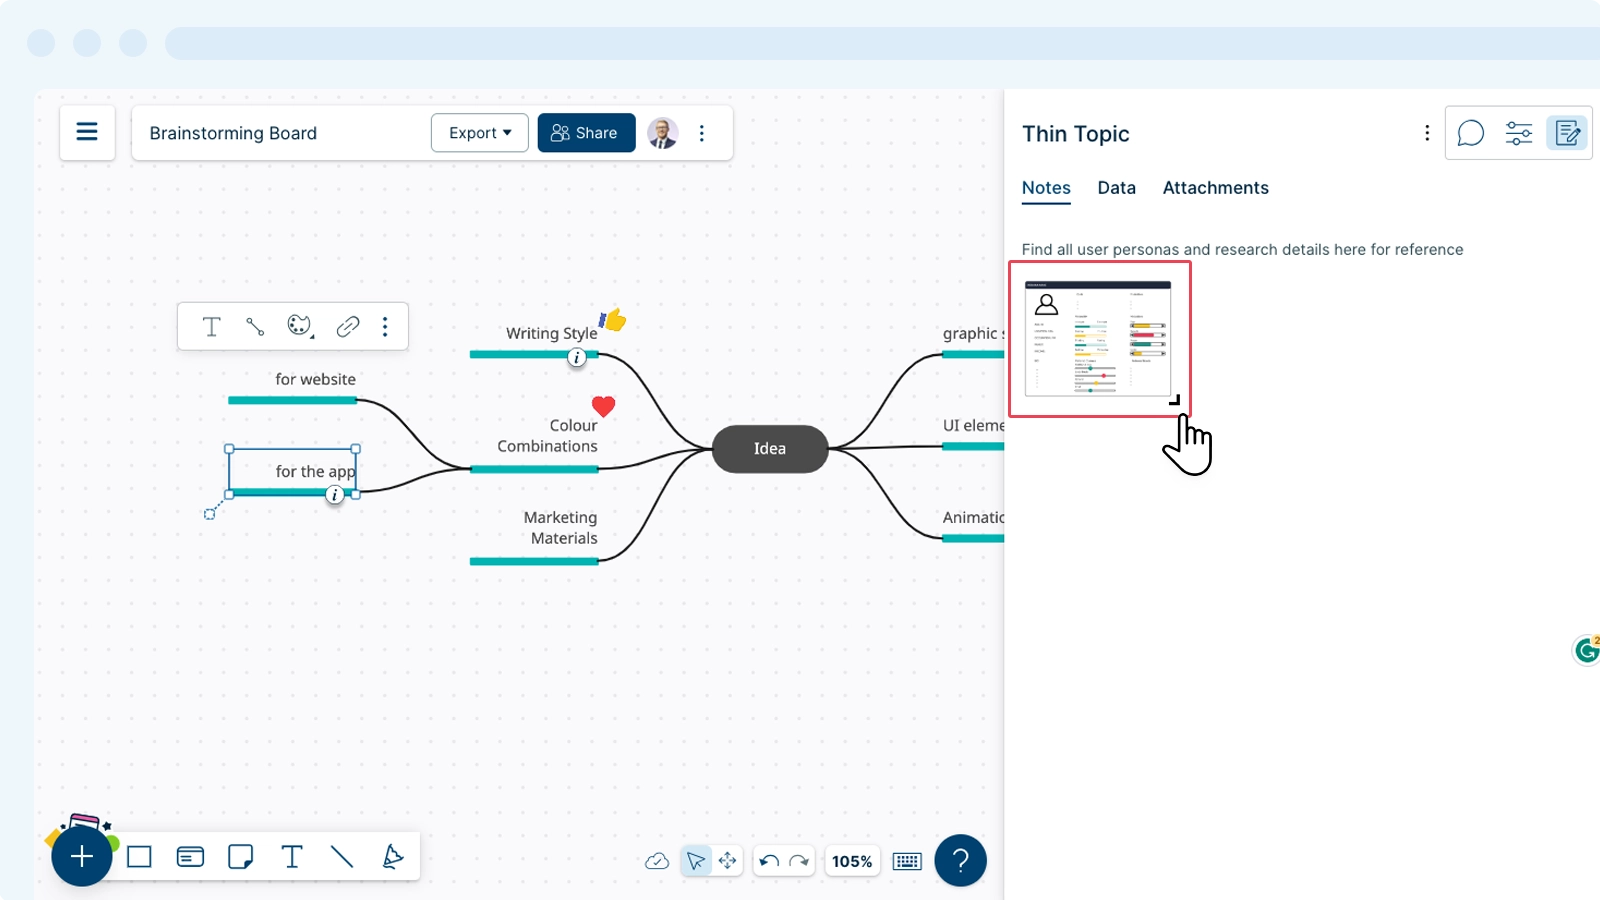
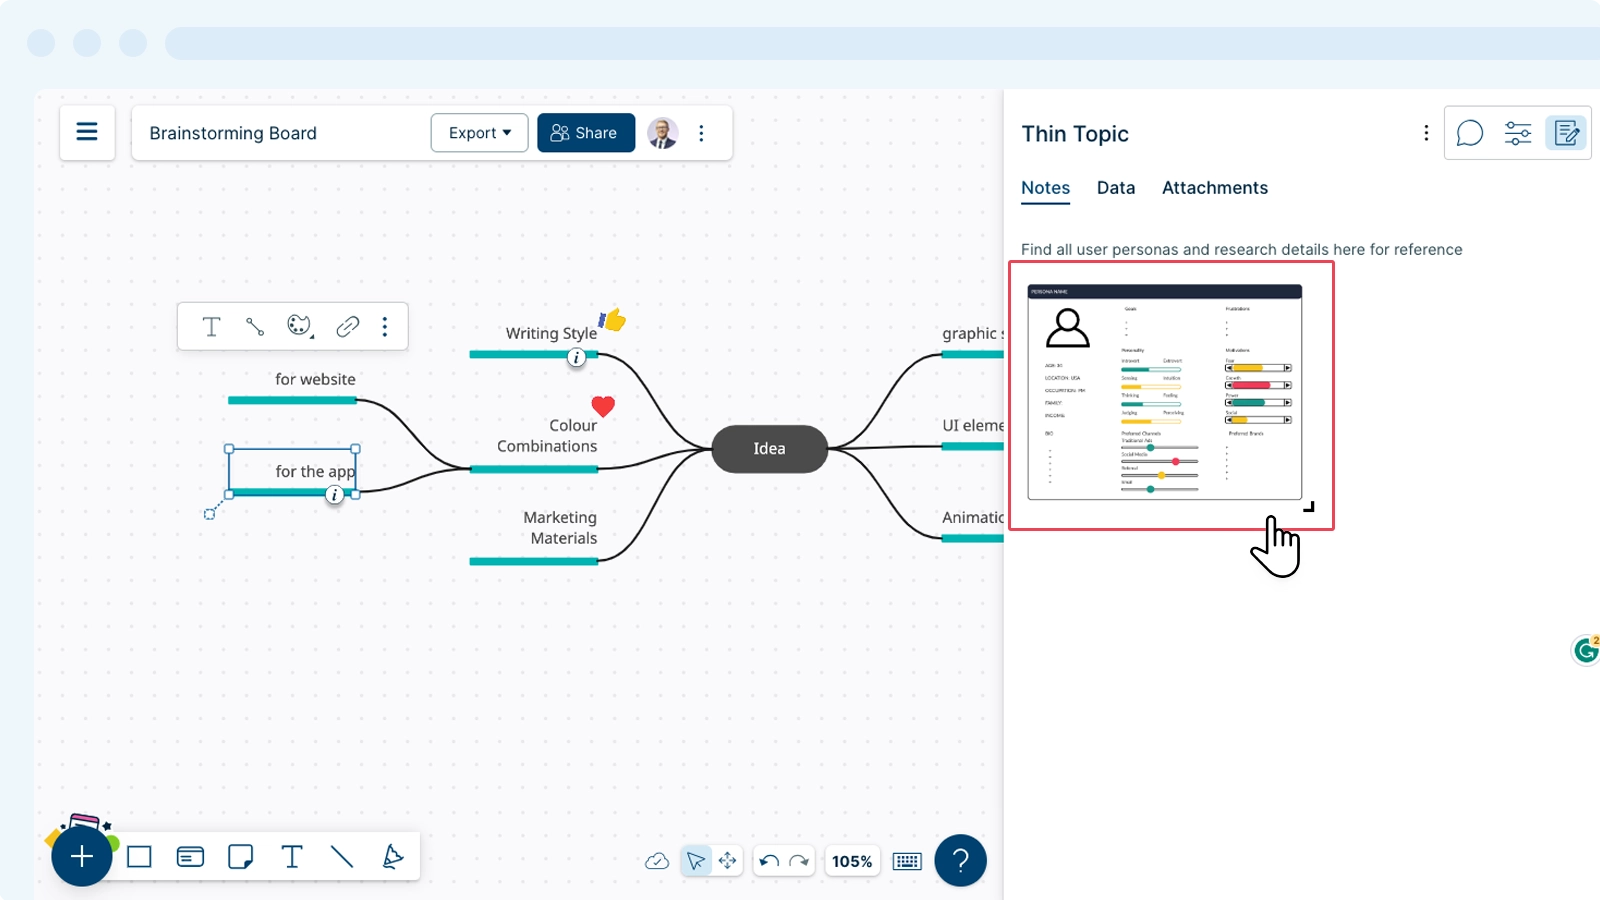
Adding/Embedding Images
Incorporate external links, graphical presentations and designs in your notes as follows:
- Select a shape on the canvas and go to the Shape Data panel.
- Enter /(forward slash).
- Select the Upload File option.
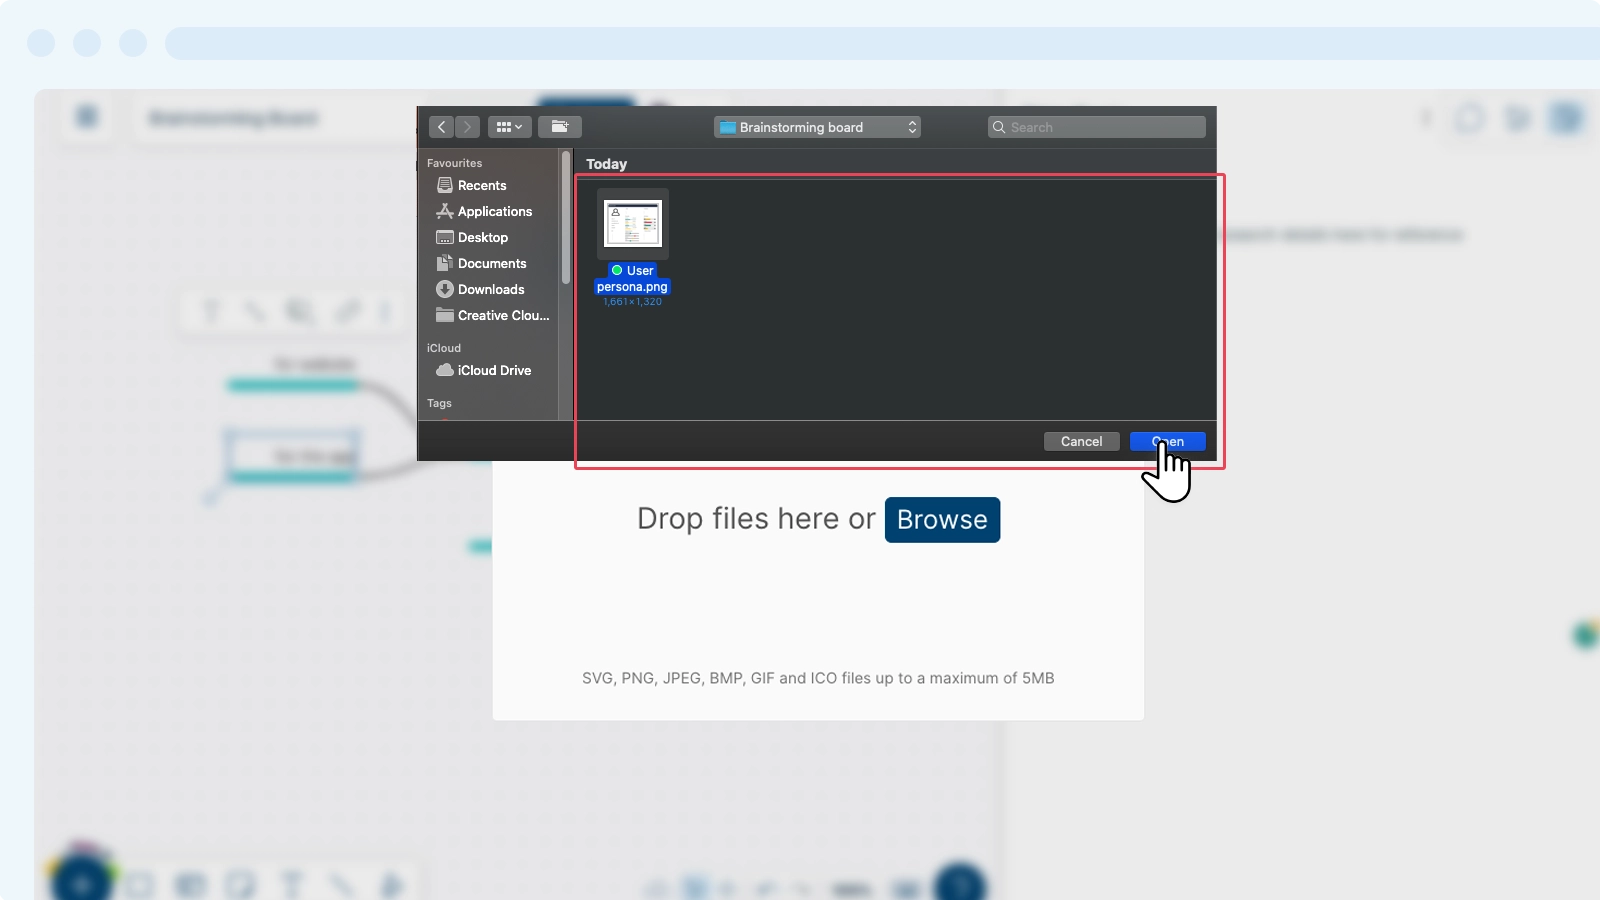
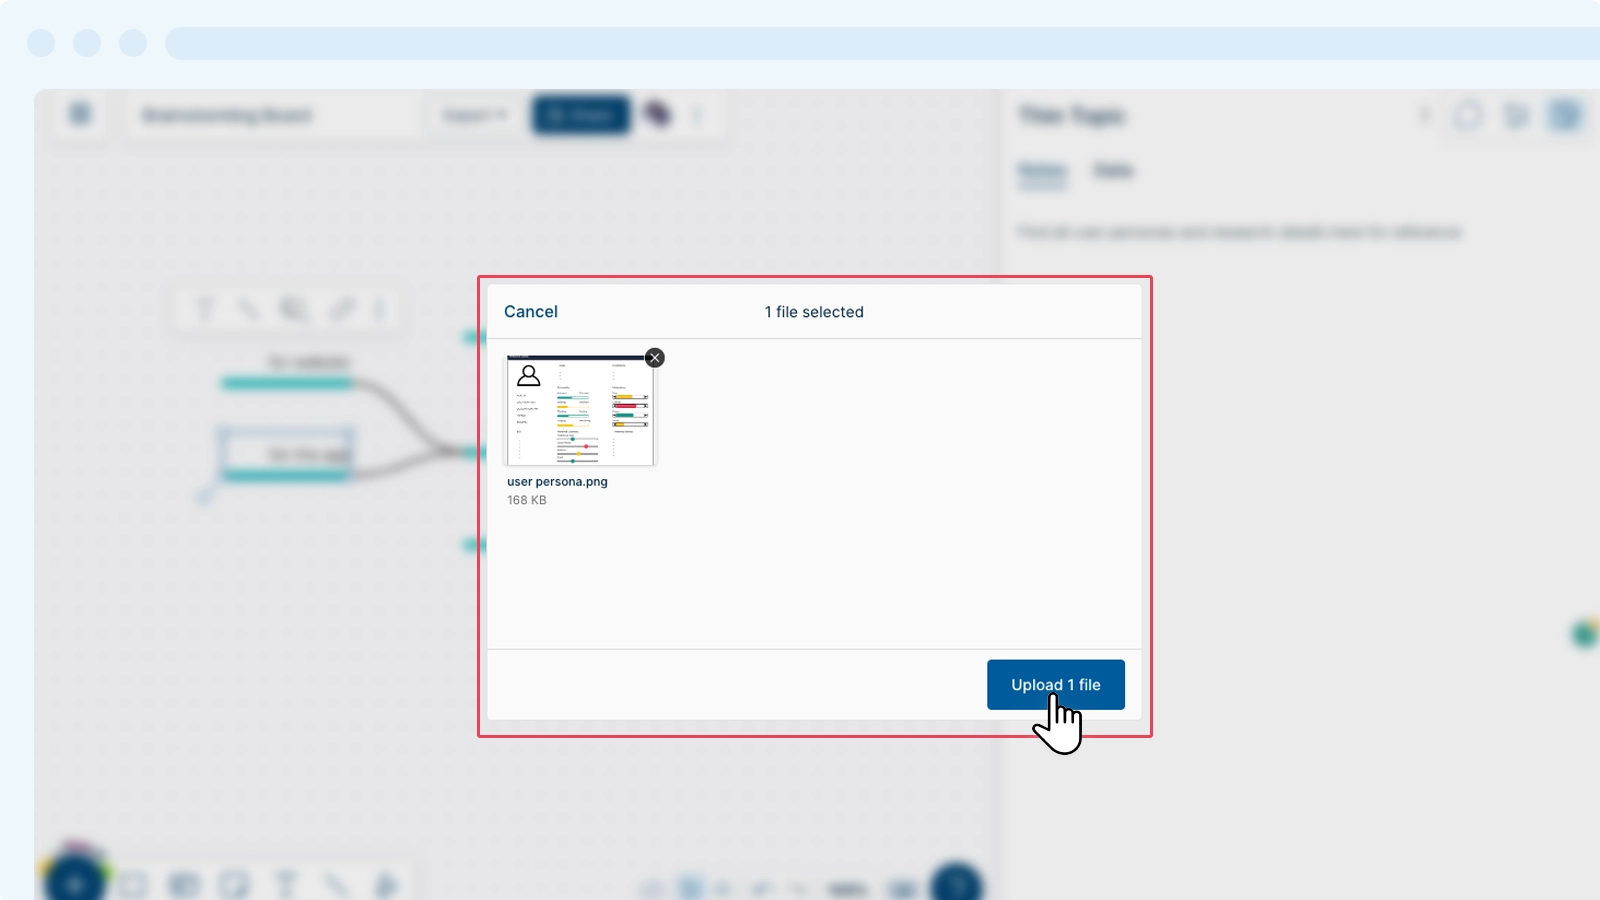
- Select Browse and upload the image directly onto the Notes & Data panel.
- Once added you can resize the image as required.
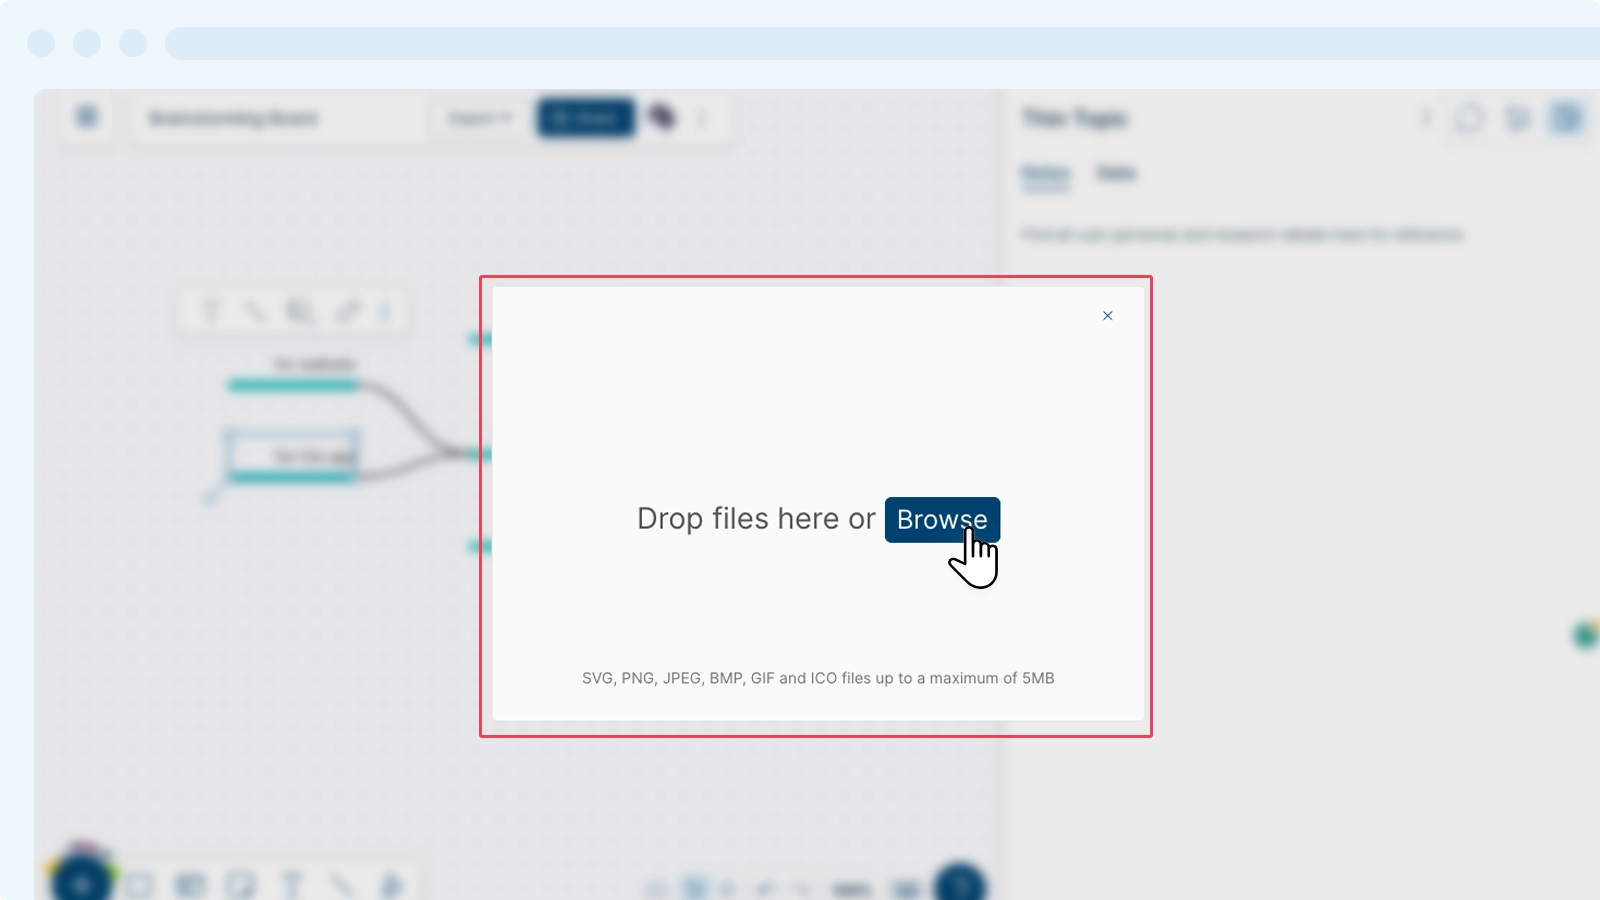
Note: You can import SVG, JPEG, PNG, PDF, BMP, GIF and ICO files upto 5MB.
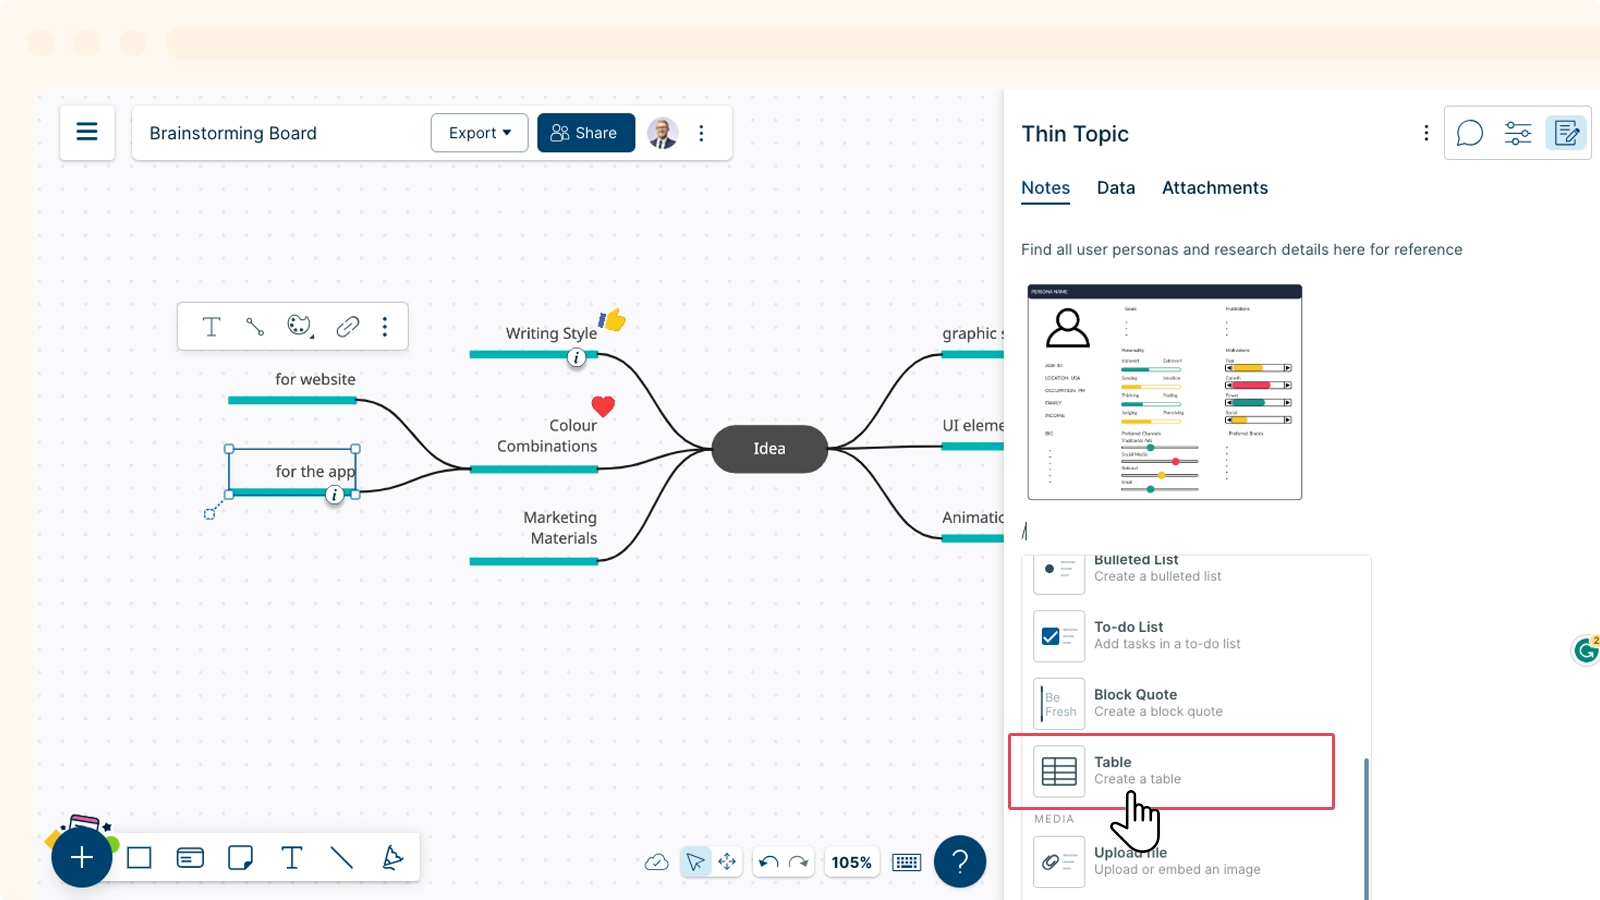
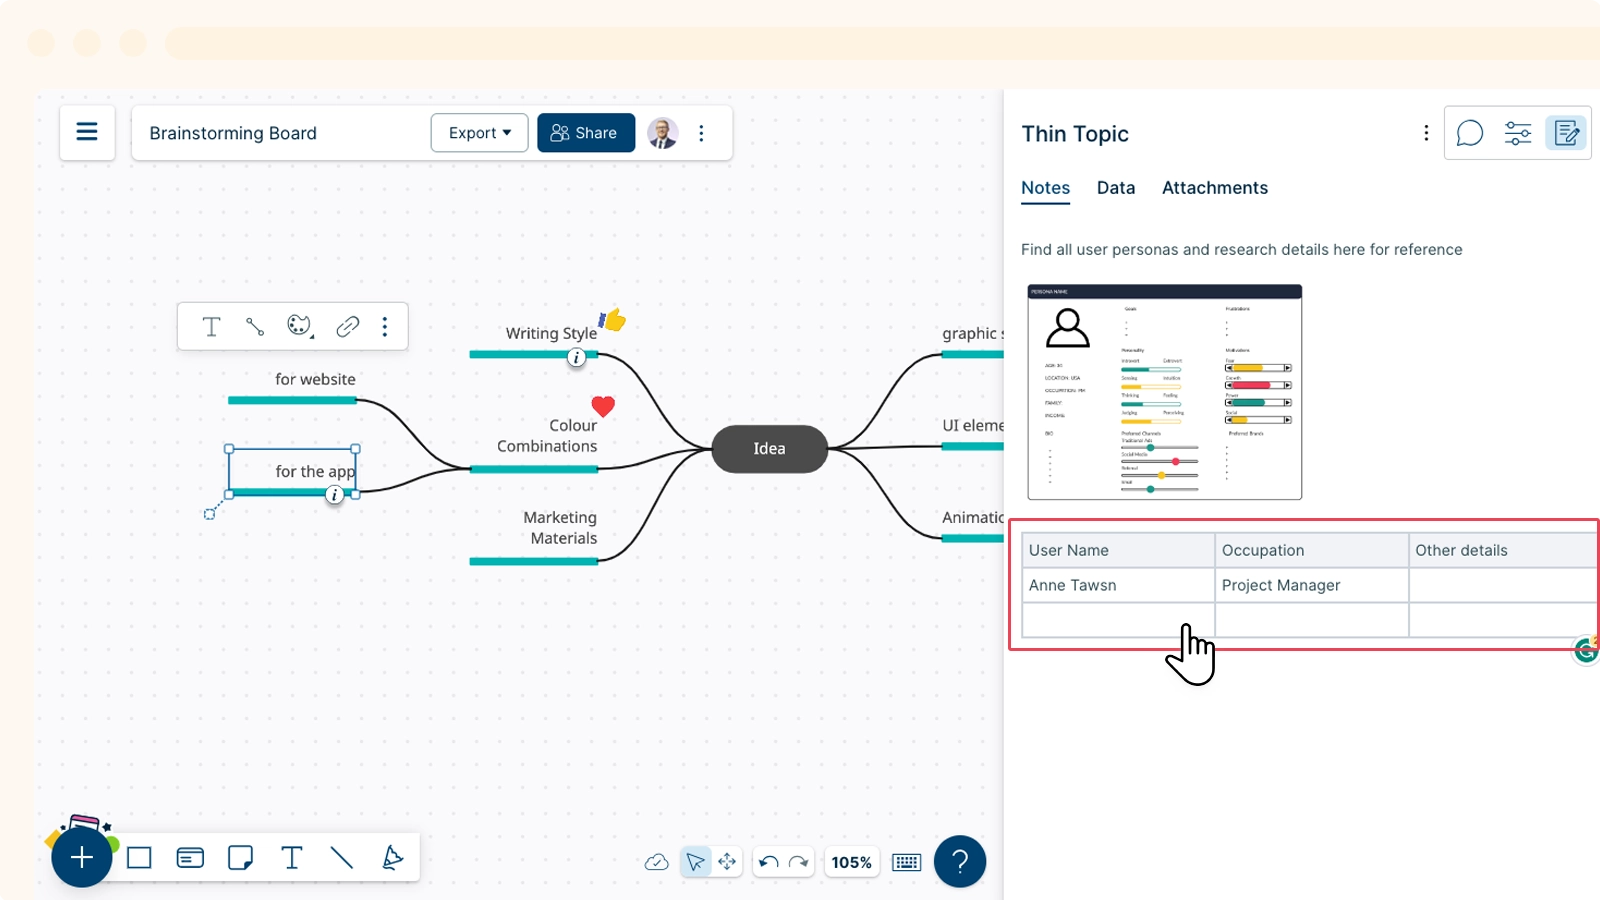
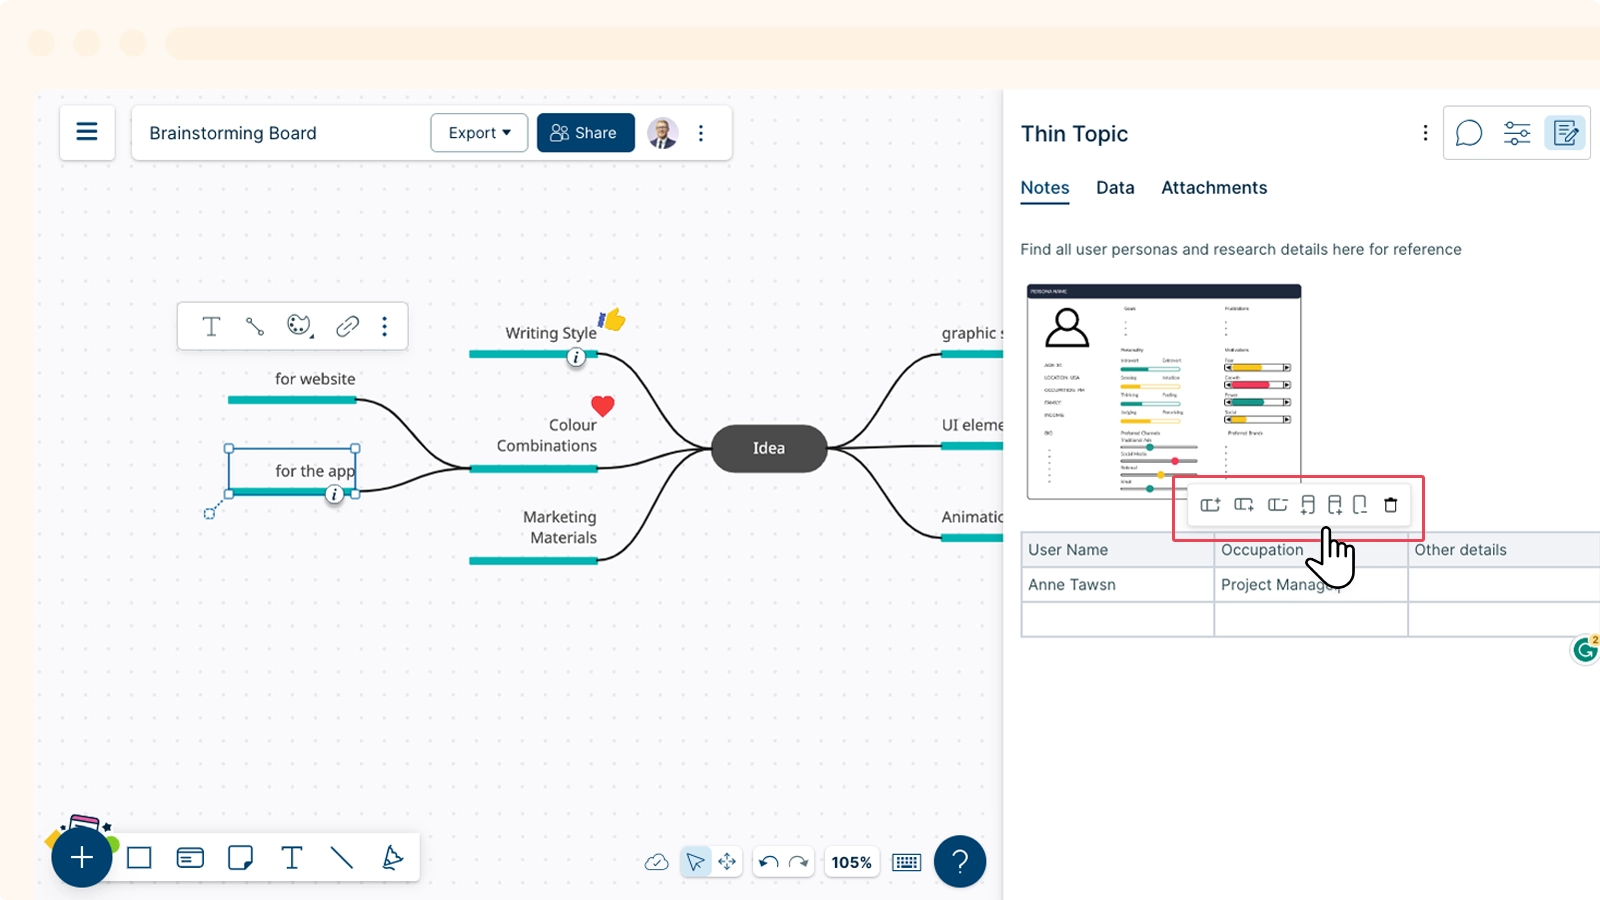
Adding Tables
You can add and customize tables in the data panel to better organize your information.
- Select a shape on the canvas and go to the Shape Data panel.
- Enter /(forward slash).
- Select the Table option
- You can now customize your table by adding and removing rows and columns by choosing the options that appear when you click on the table.
Viewing Notes
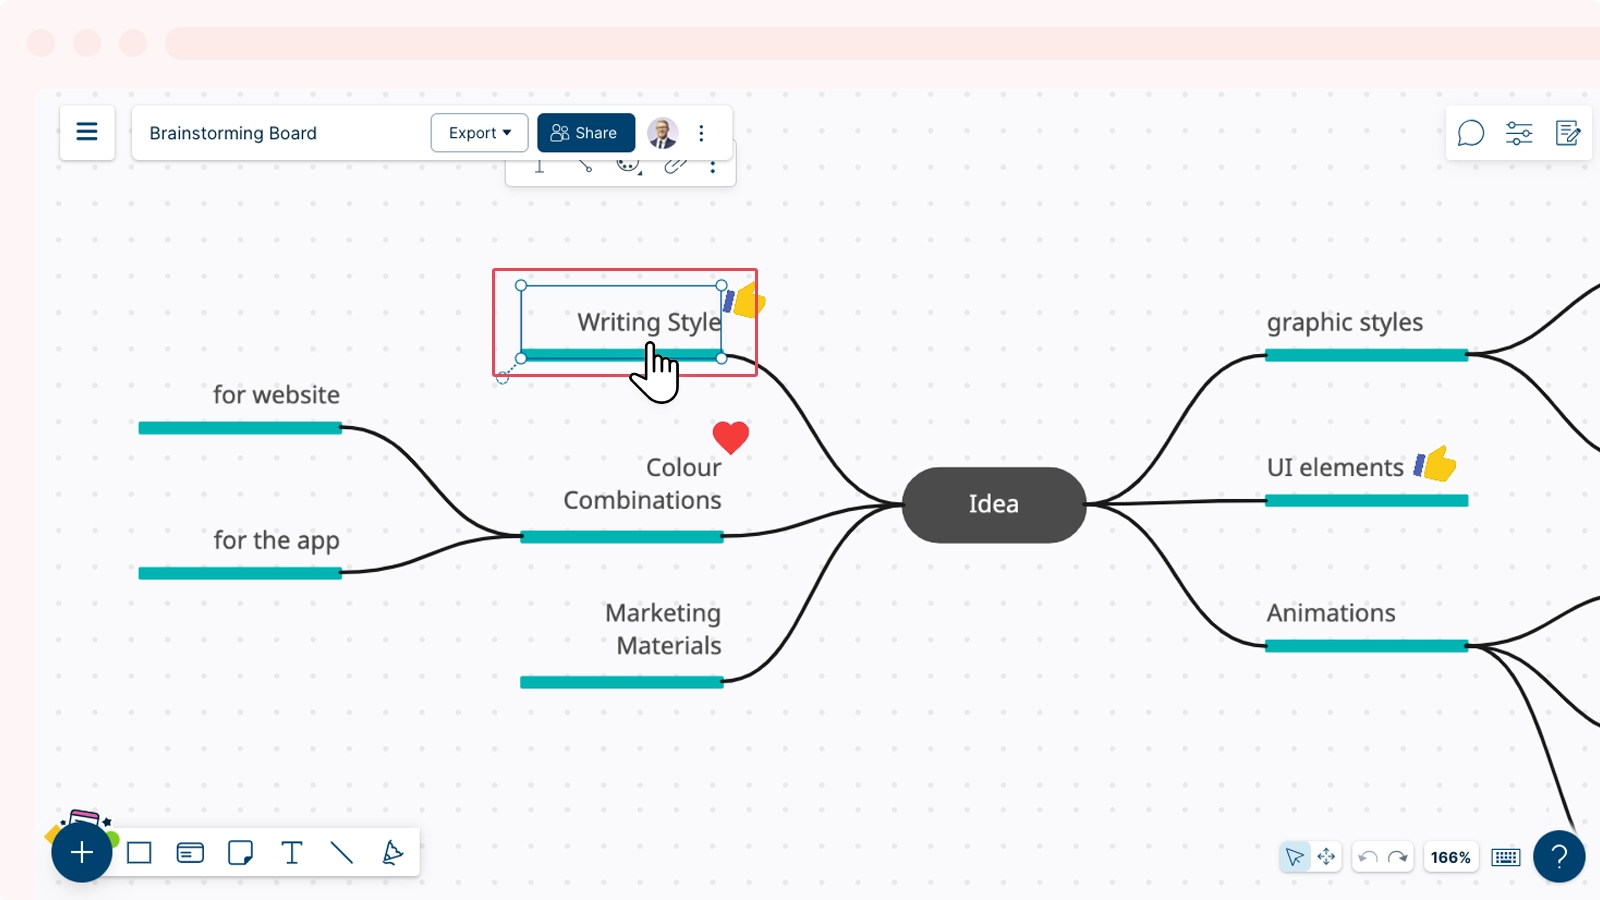
A ![]() Database icon appears on all shapes that contain Notes. You can get a preview of the Notes added to a shape hovering over the database
Database icon appears on all shapes that contain Notes. You can get a preview of the Notes added to a shape hovering over the database![]() Database icon.
Database icon.